After reading this Quick Start Guide, you'll be familiar with all the features, settings, and operation modes of Offigneum.
If you're new to Offigneum, we recommend reading the guide from start to finish to gain a complete understanding of how to use it.
› Using Offigneum for the First Time
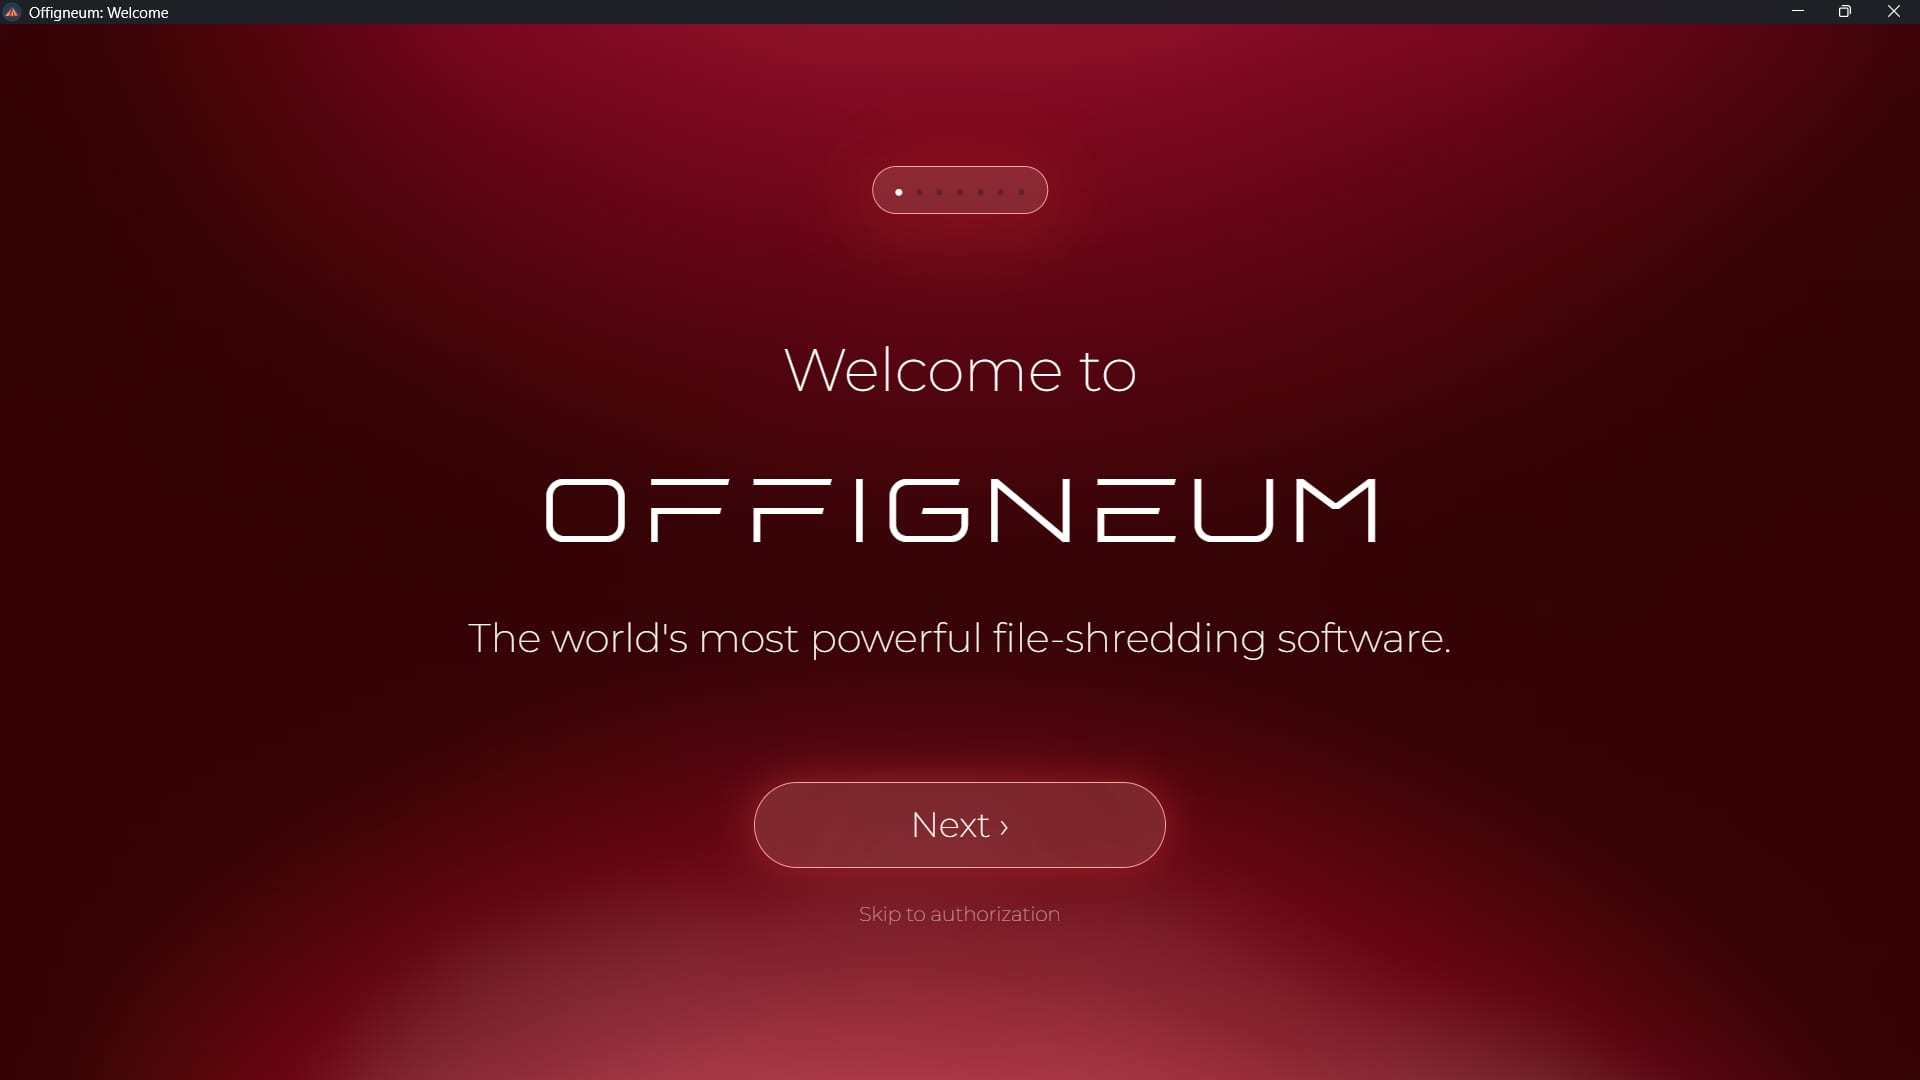
When you open Offigneum for the first time, you'll be greeted with seven welcome pages that explain what Offigneum does and how it can be useful in different scenarios.
You can navigate through the pages using:
- The "Next" button (at the bottom of each page) or the "Back" button (indicated by the arrow symbol "←" in the top-left corner).
- The "Esc" or "Enter" keyboard keys (when available).
- The small white circles at the top of the program (when available).
If you'd like to skip the introduction and go directly to the "Authorization" page, where you can enter your Ambeteco account details and start using Offigneum, simply click the "Skip to Authorization" button at the bottom of the window.
› Authorization
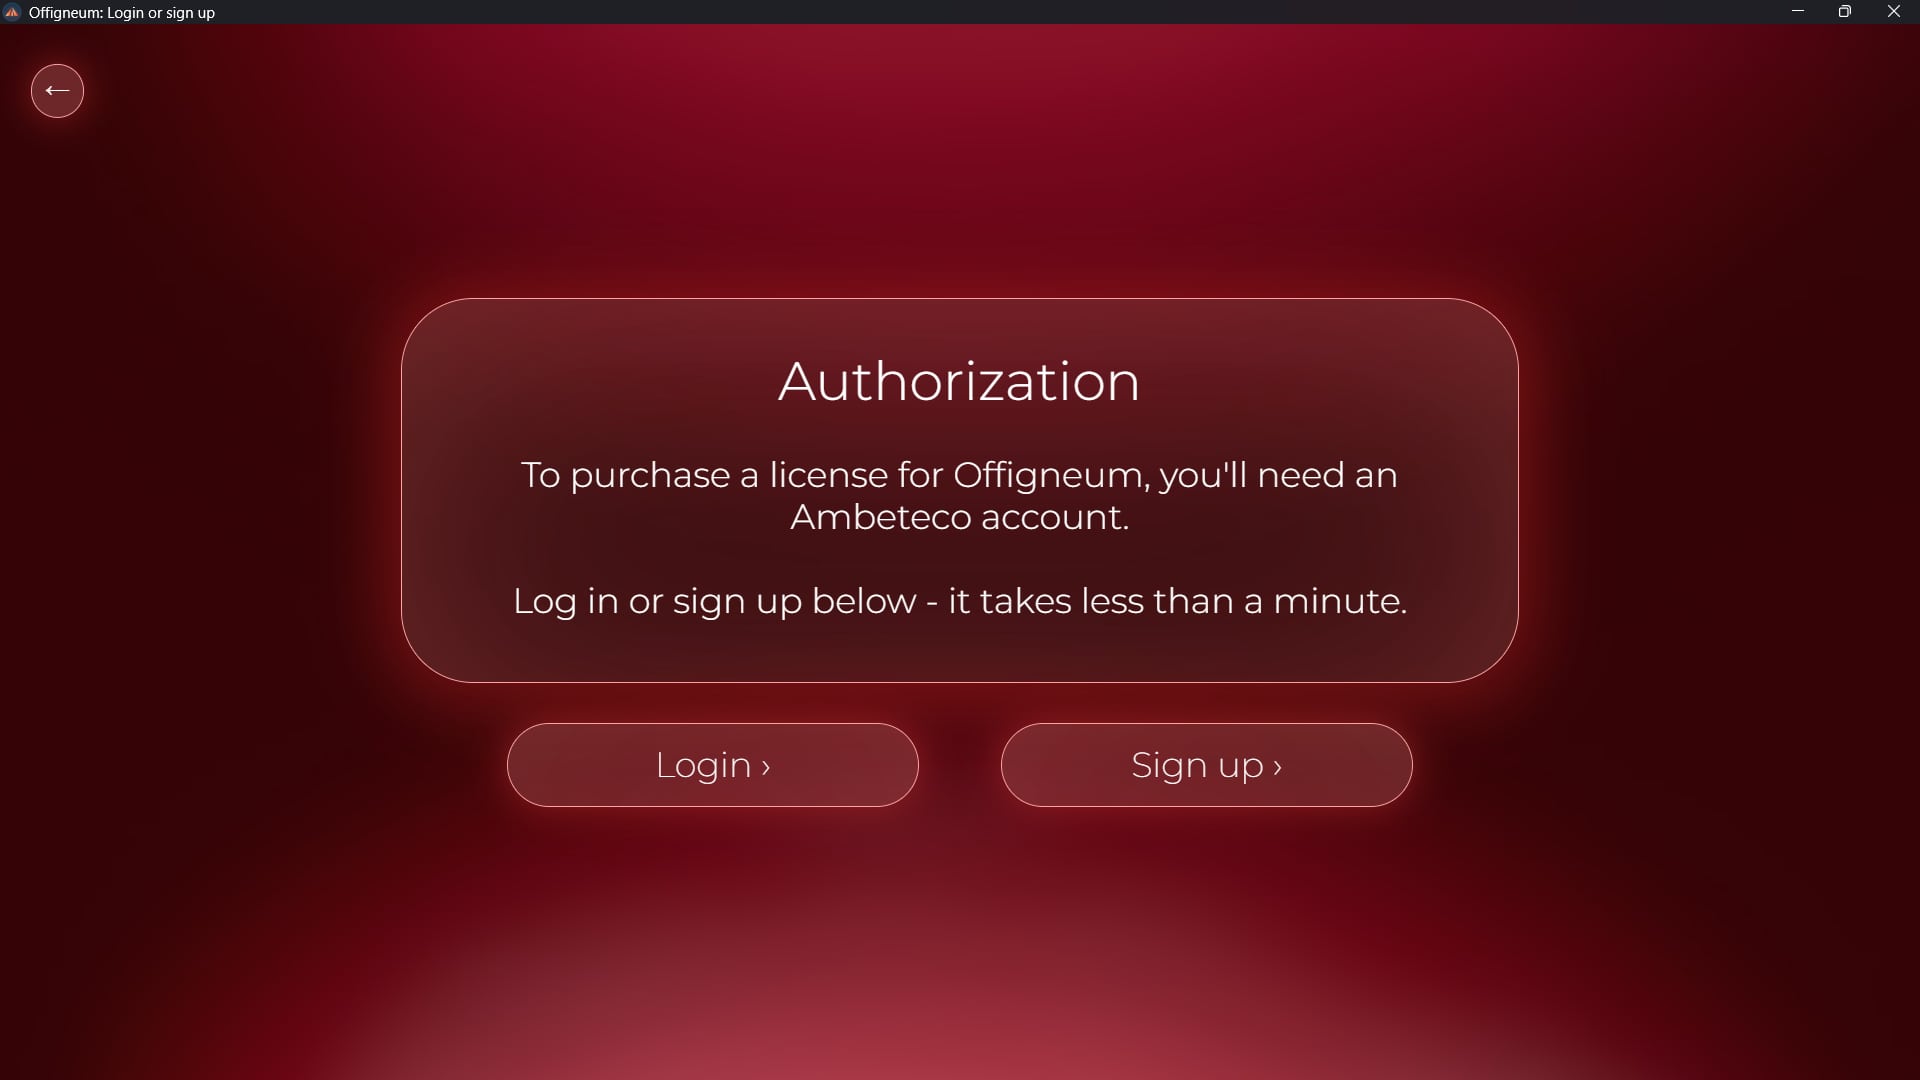
To use Offigneum, you’ll need an Ambeteco account. Instead of relying on outdated license keys, we've introduced an account-based login system, so one Ambeteco account gives you access to all our software.
On the "Authorization" page, you can either log in to your existing account or create a new one using the respective buttons.
You only need to log in or register once, as Offigneum uses a secure authentication algorithm to store your account information, eliminating the need to authenticate every time.
› Login
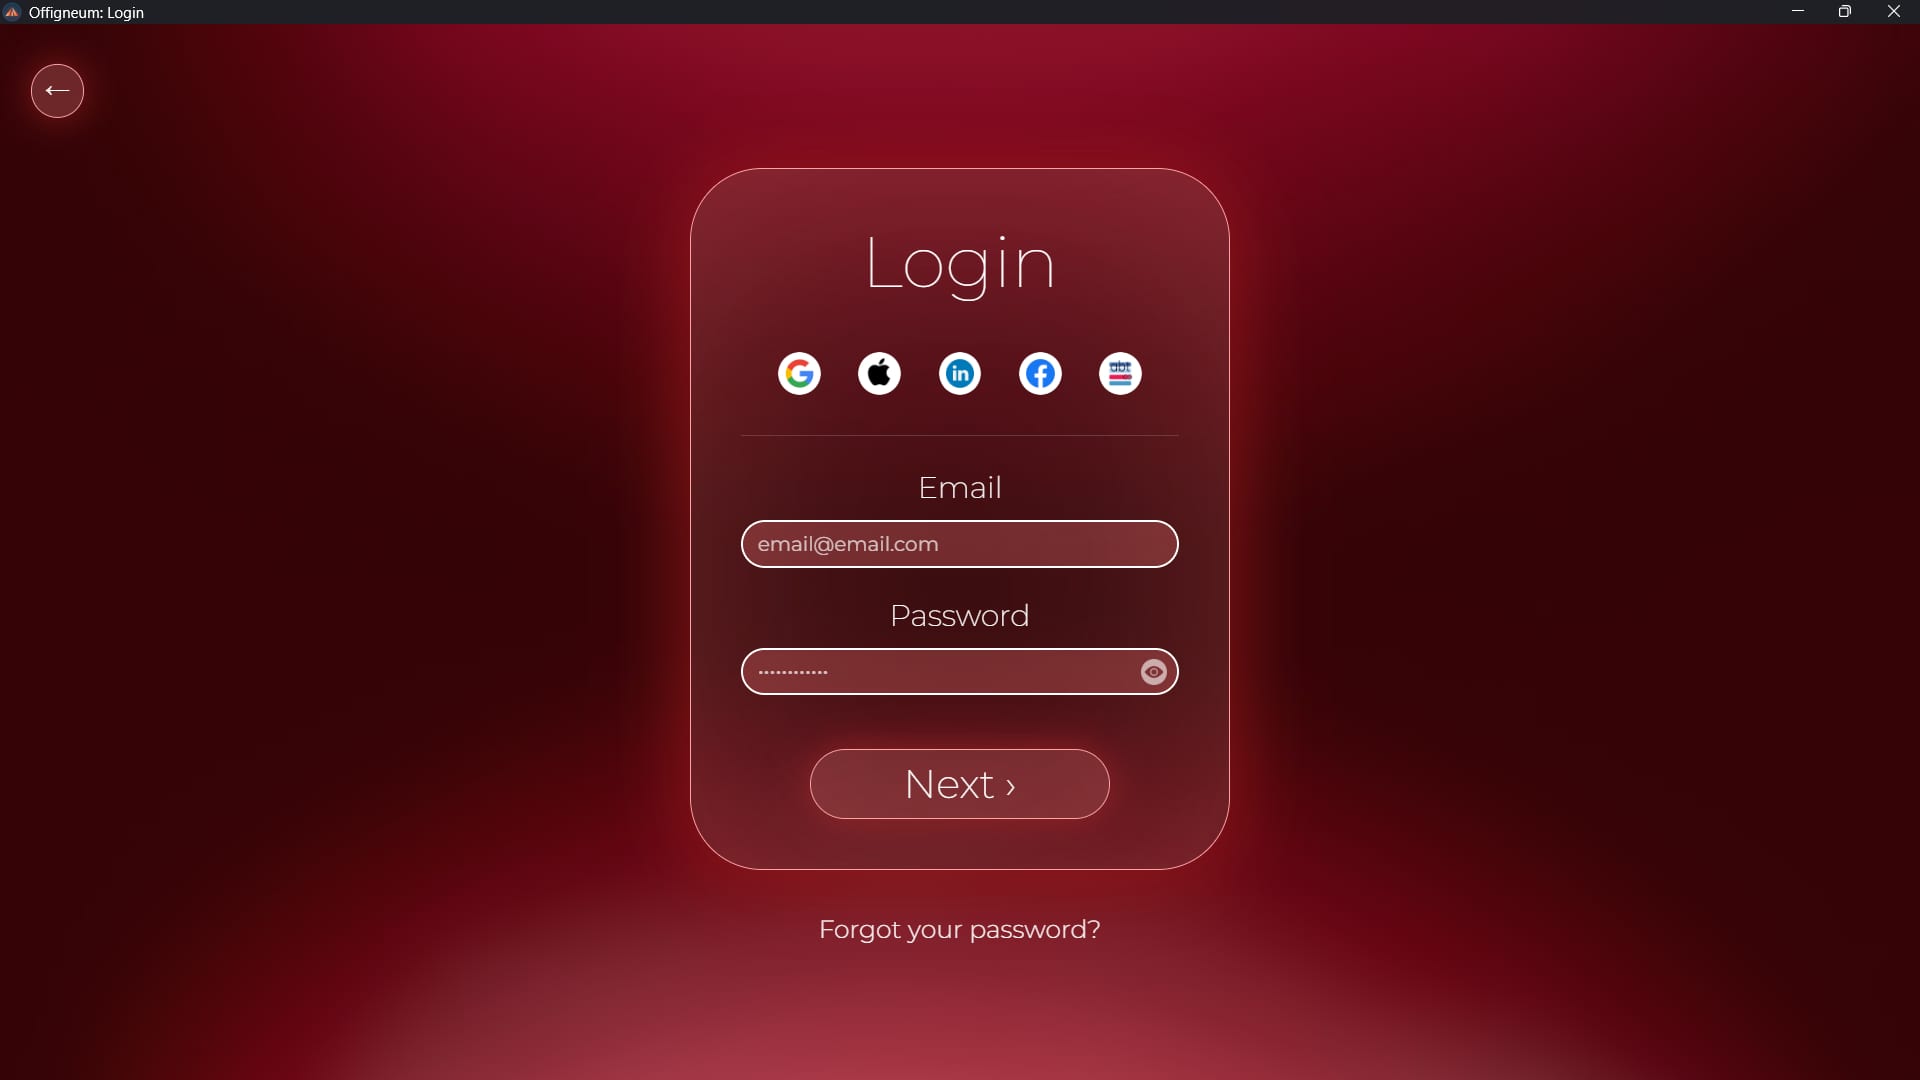
If you already have an Ambeteco account, simply log in using your email and password. You can click the eye icon to show or hide your password.
Alternatively, you can quickly log in using your social media accounts or Ambeteco Connect. Google, Apple, Facebook, and LinkedIn are supported for quick login, while the Ambeteco logo will open Ambeteco Connect.
› Sign Up
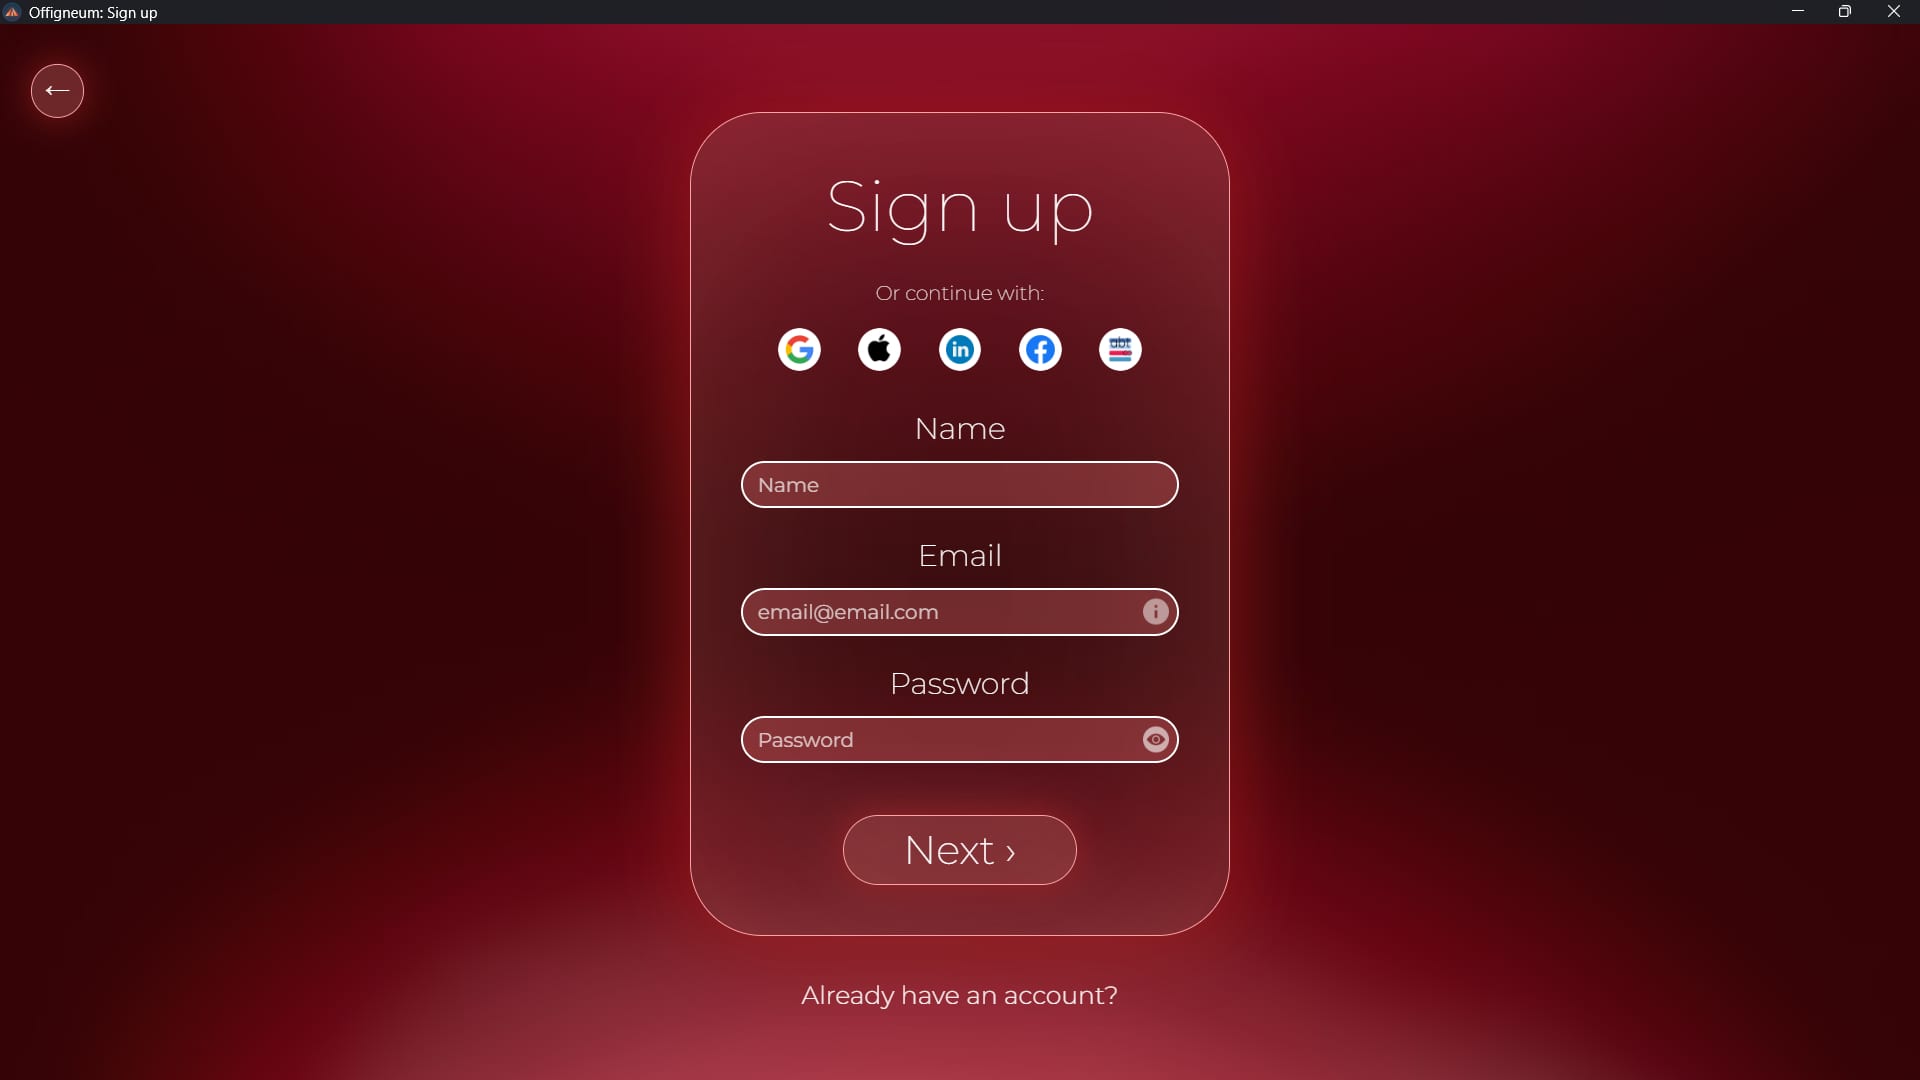
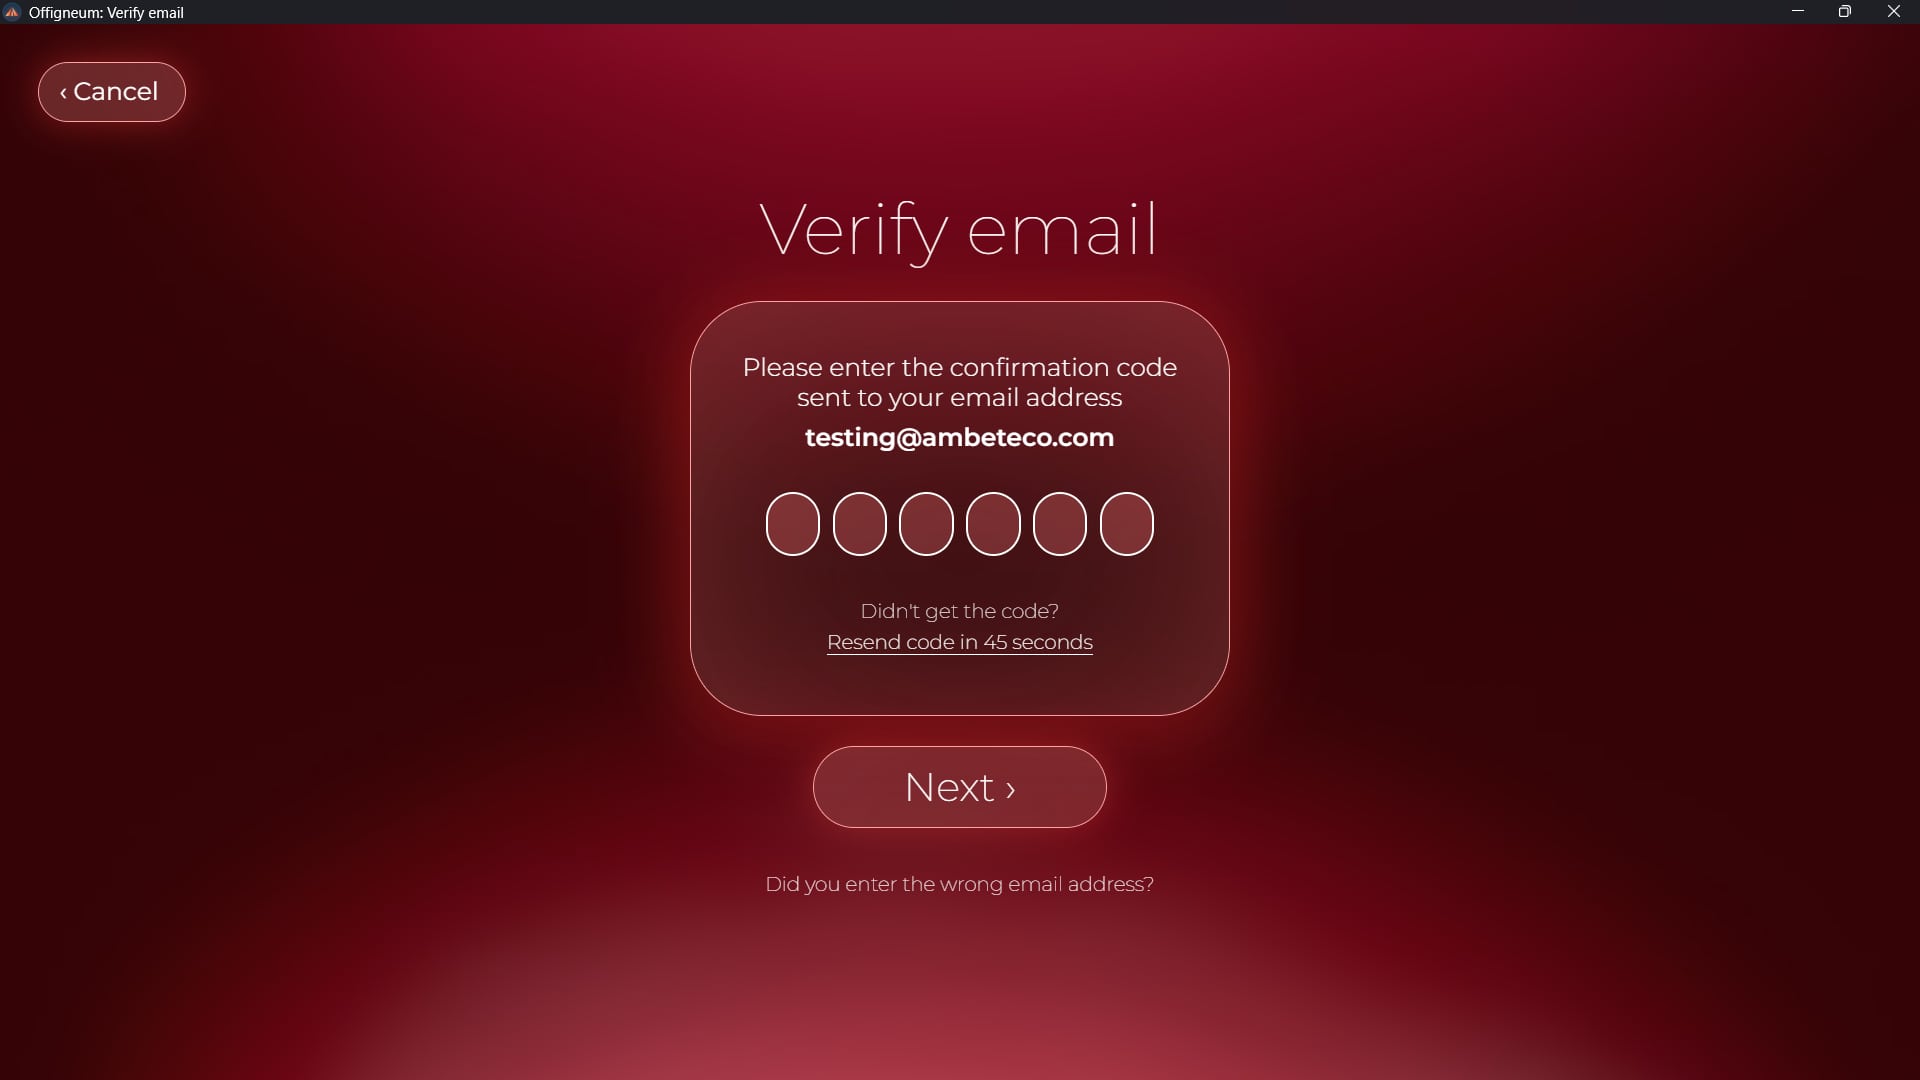
Creating an account is simple: just enter your name, email, and password to register. We’ll send a verification code to the email you provided. Once you enter the code, your Ambeteco account will be activated, and you can start using it immediately.
Alternatively, you can quickly sign up using your social media accounts by clicking the respective buttons (Google, Apple, LinkedIn, Facebook).
› Ambeteco Connect
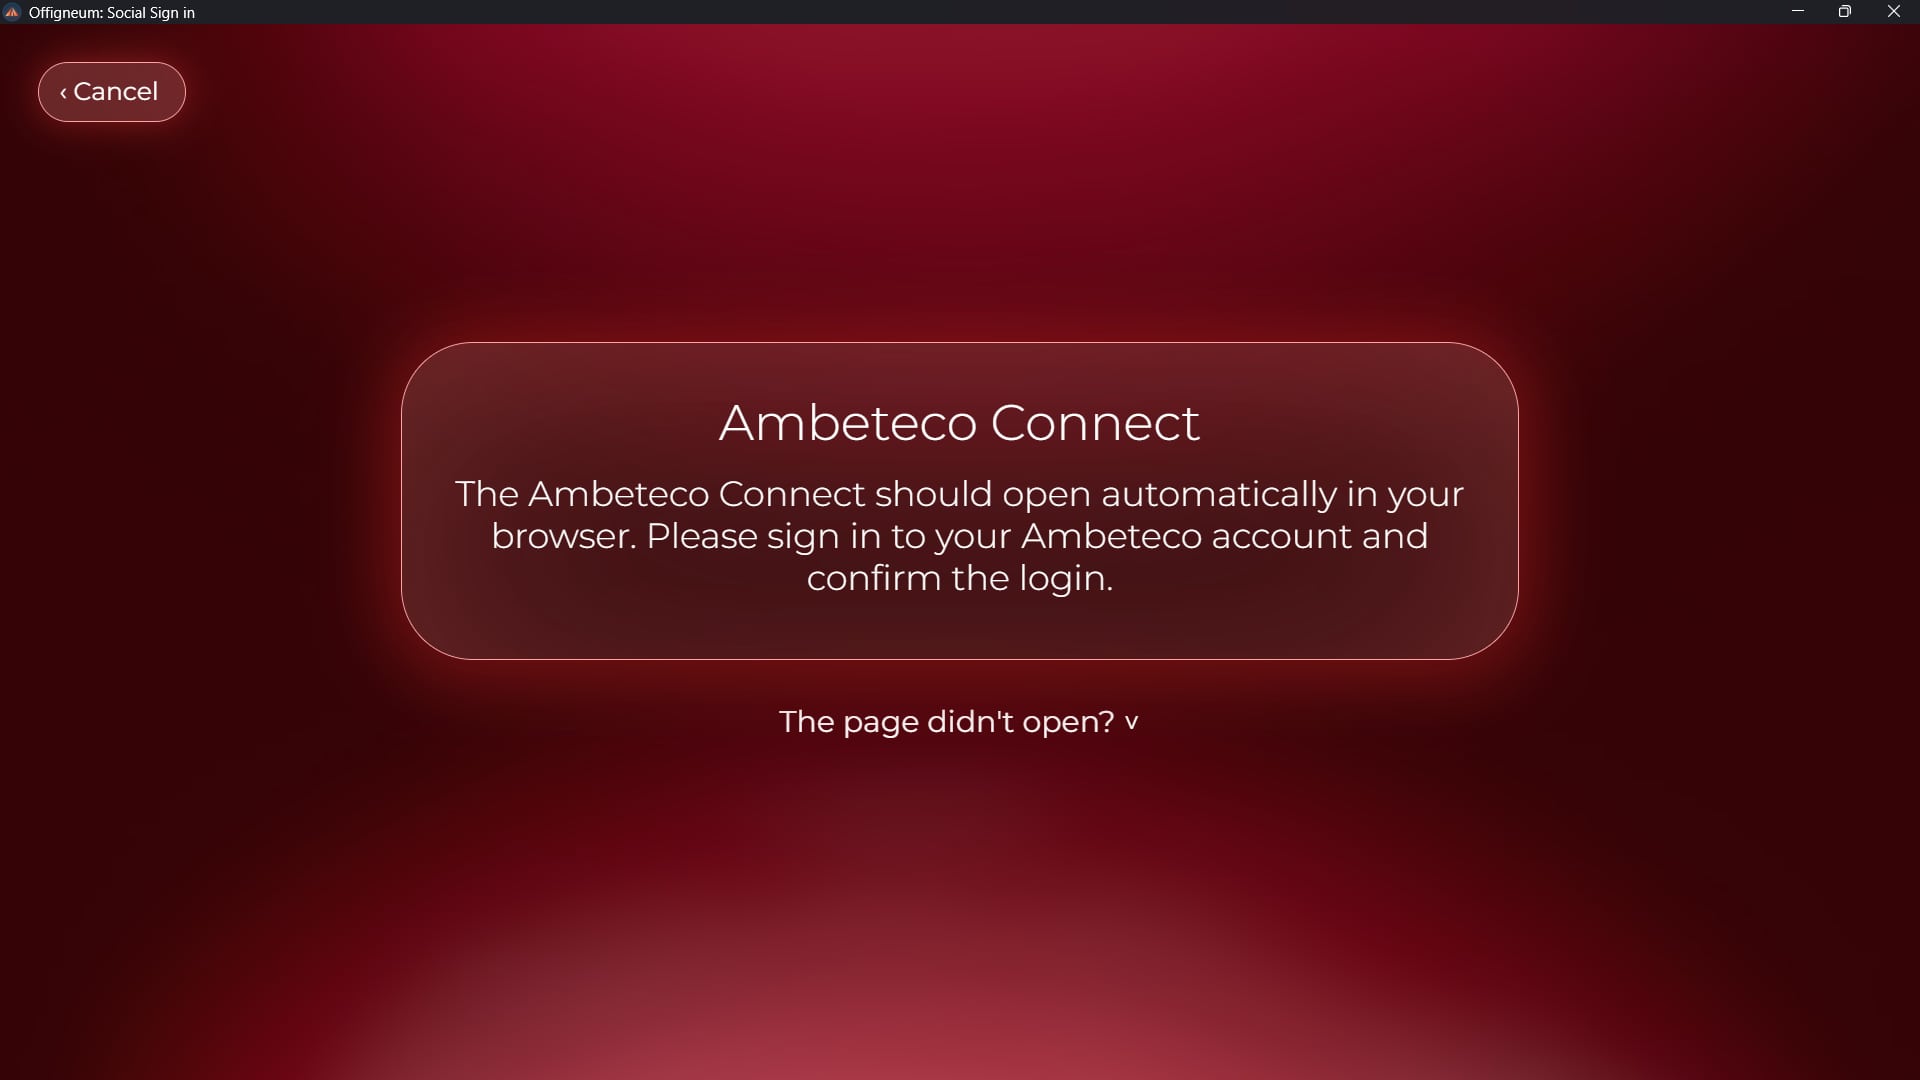
This window will appear after you press any social login button.
The Ambeteco website will open, and you will be asked to confirm the authentication.
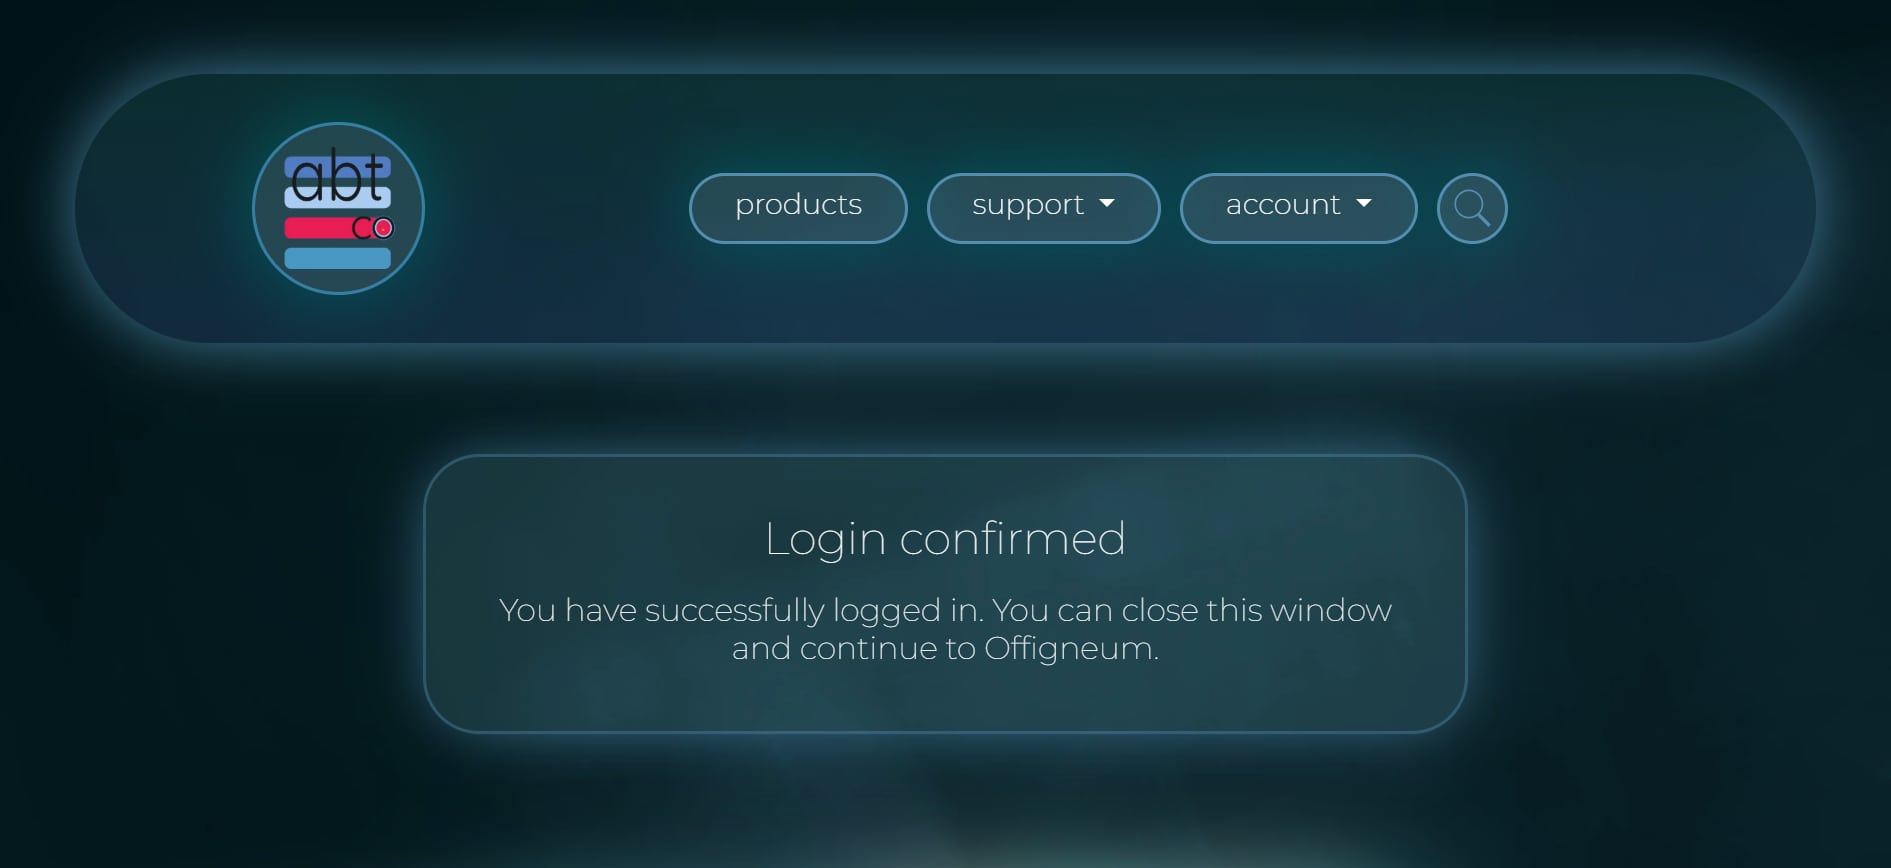
After confirming the connection, you can simply close the page.
Ambeteco Connect is a quick and secure authentication method that allows you to easily authenticate your account with just one click. It allows you to synchronize your account from our website to any Ambeteco software. When you click on the social media login or signup buttons, Ambeteco Connect will automatically attempt to authorize your account, eliminating the need for manual login.
Here's how to use Ambeteco Connect:
- Click any social media button in the "Sign up" or "Login" window.
- Your browser will open, taking you to the Ambeteco Connect page.
- If you're not logged into your Ambeteco account, or if you don't have one, you can register or log in on this page.
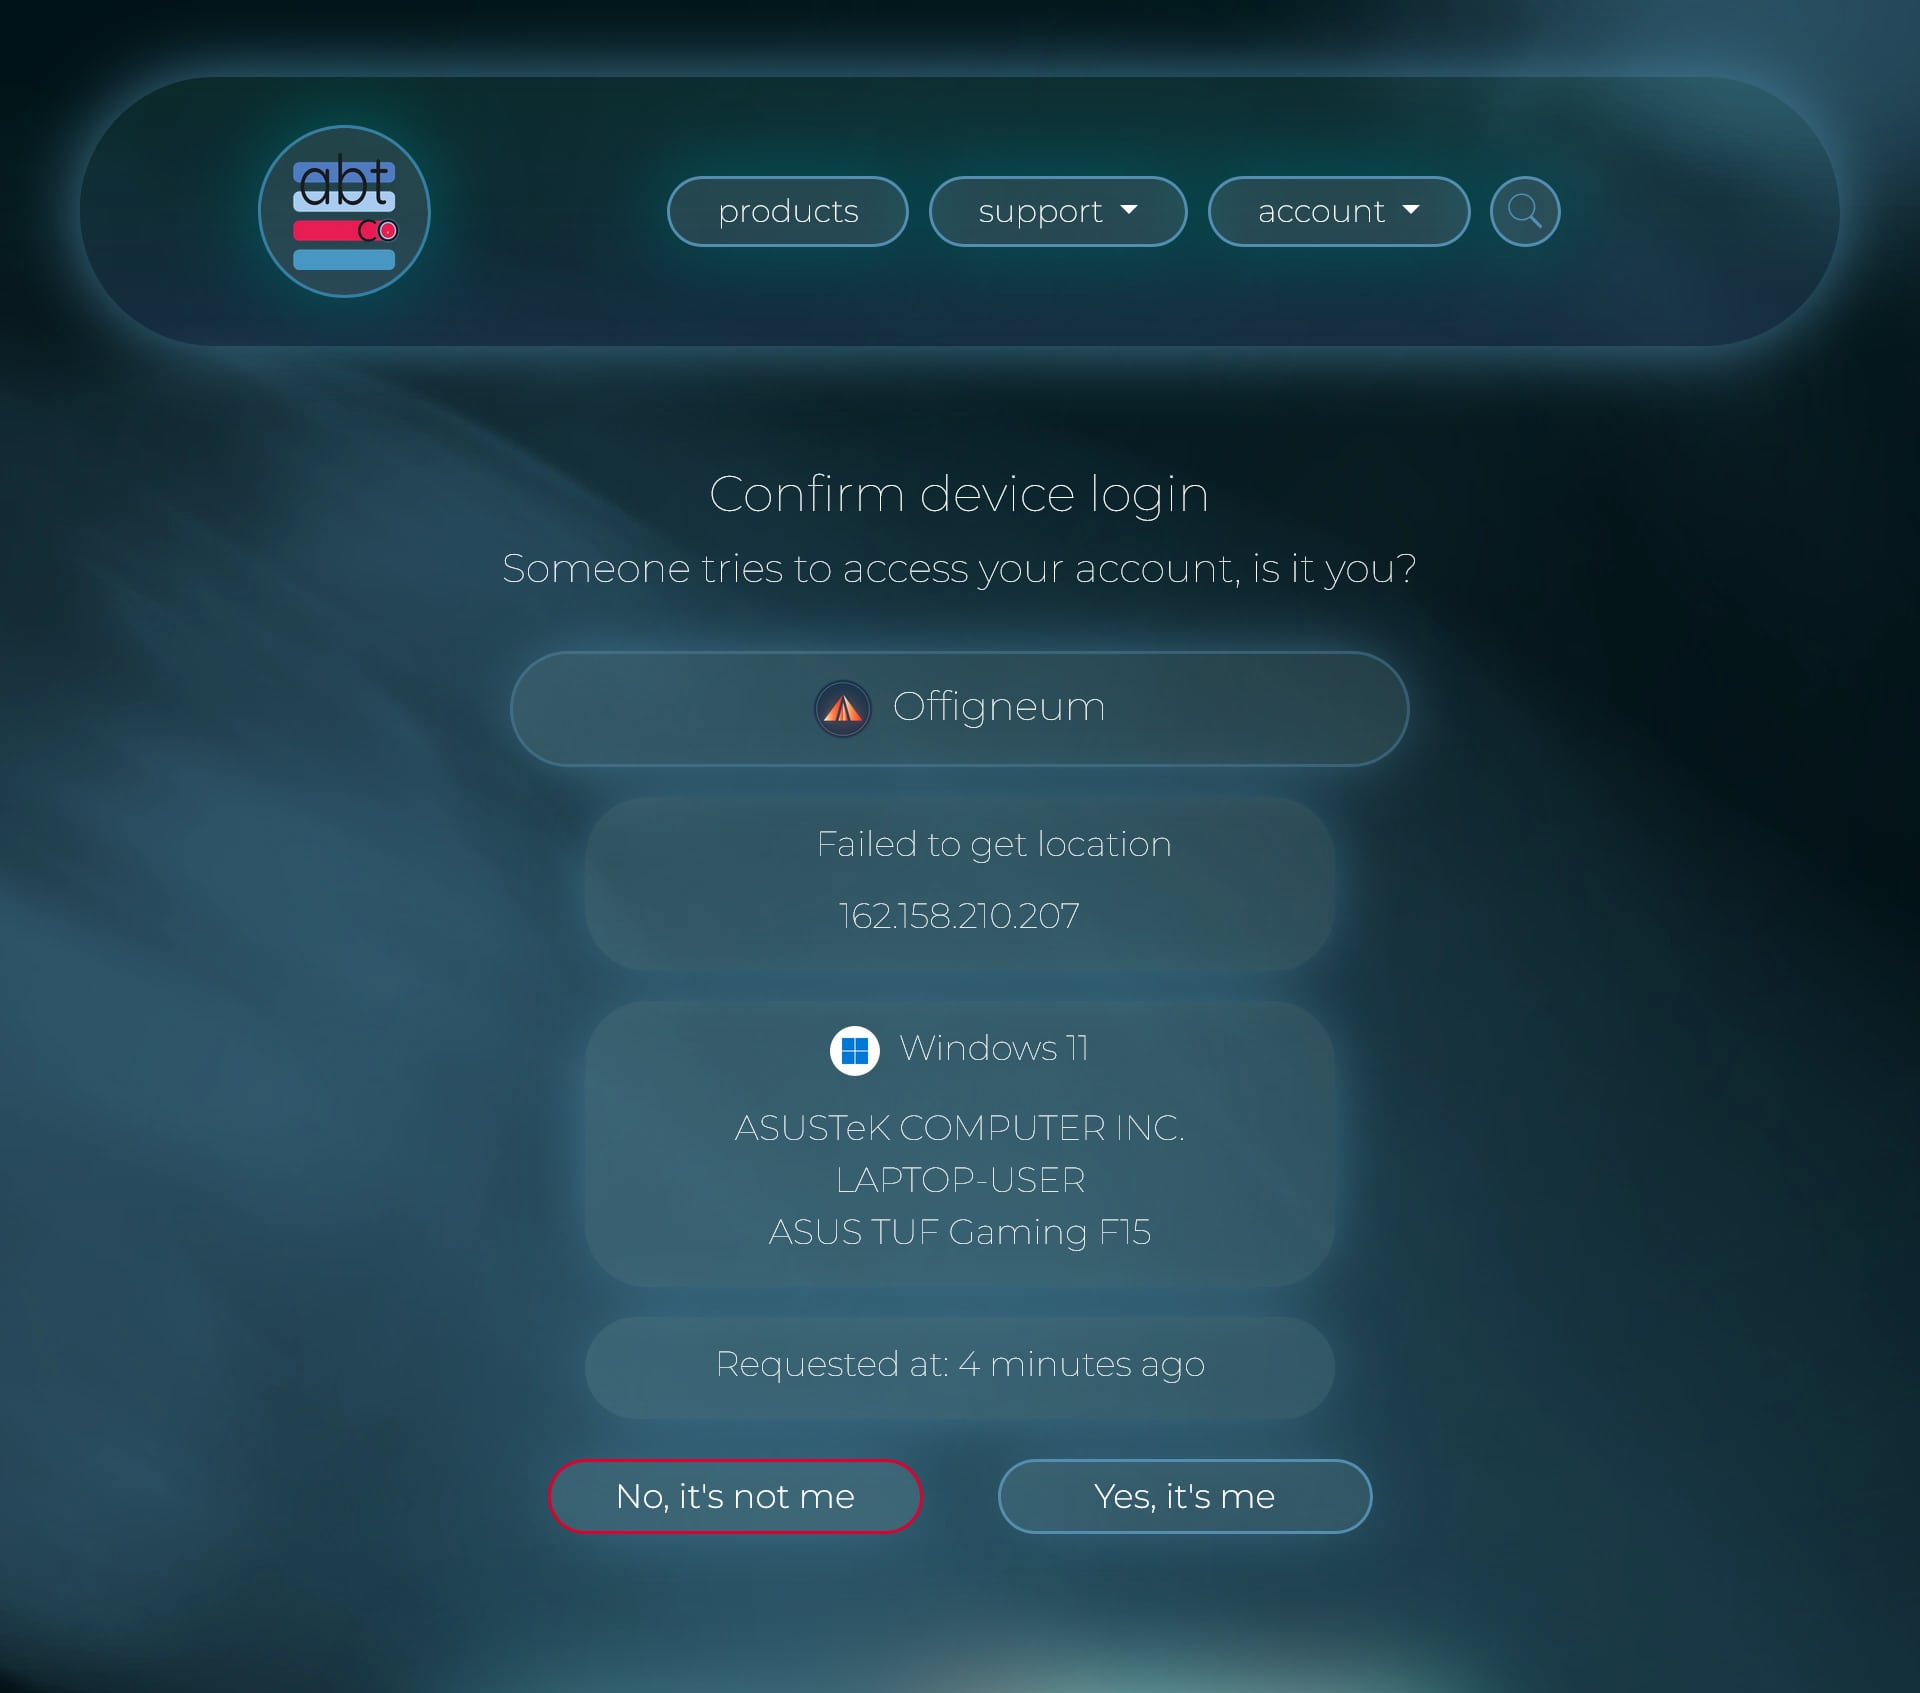
- Once authenticated, a new page will appear asking you to confirm the connection request. You’ll be able to review the request and choose to confirm or deny it.
- After confirming the request, Offigneum will automatically sync your account.
› Select a License
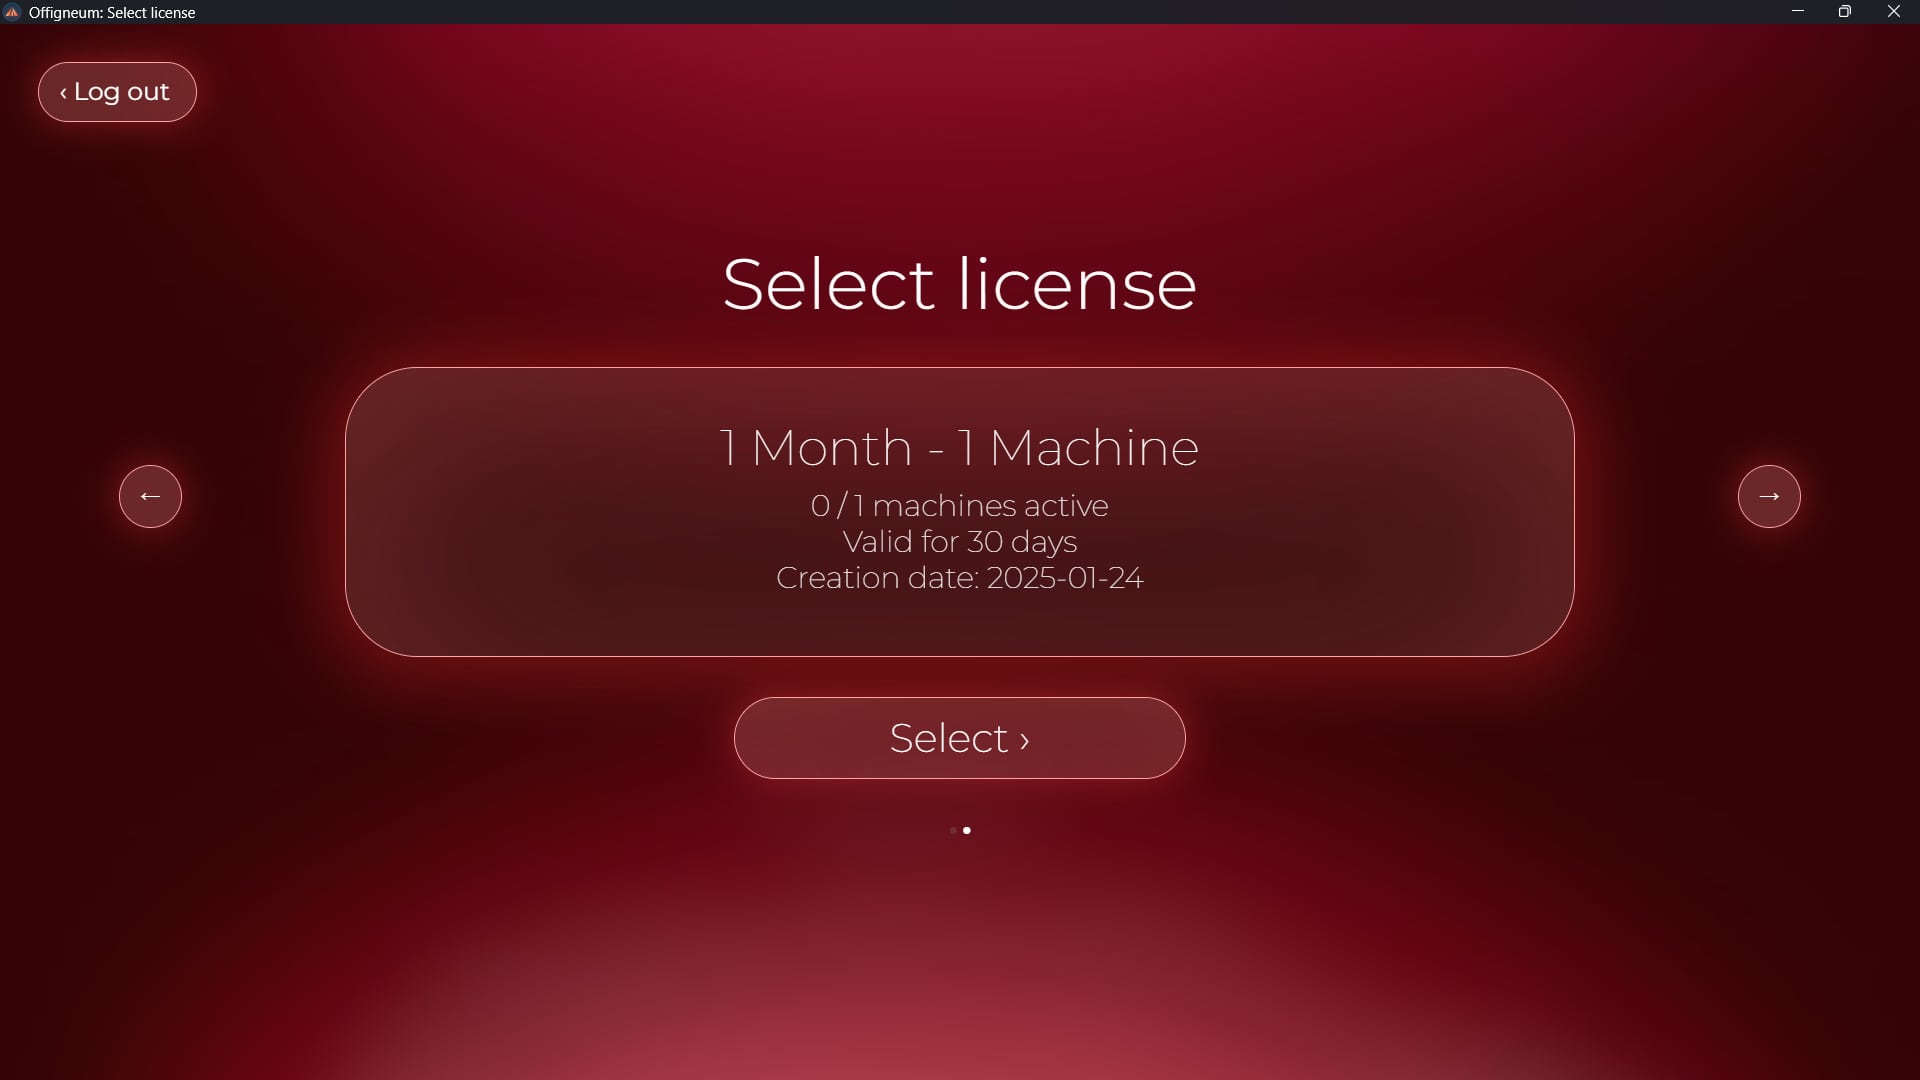
If your account has only one license for Offigneum, the main page will open automatically, and you can start using the program immediately. If you have more than one license for Offigneum, you will need to select the license you want to use by clicking on the arrows located on the left and right sides of the window and then clicking on the "Select" button at the bottom.
› Pricing
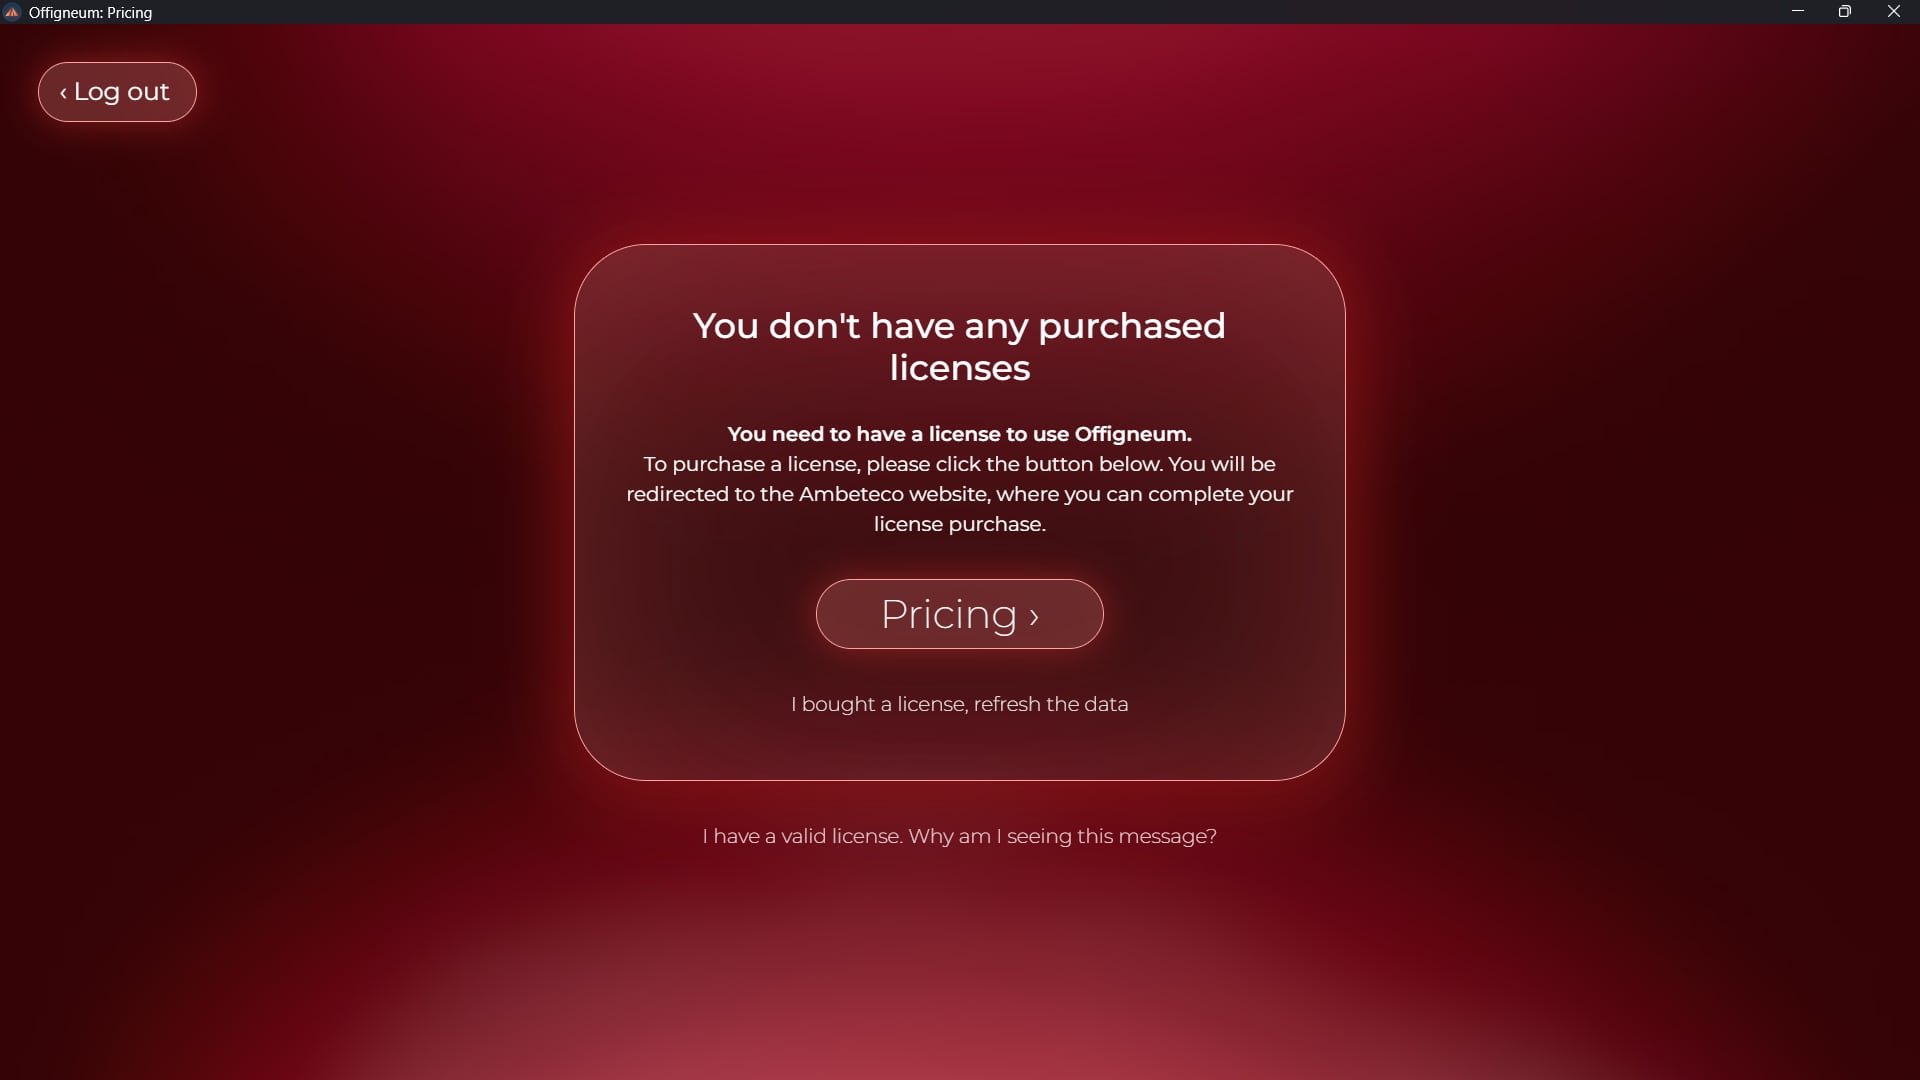
If you don’t have a license for Offigneum yet, the "Pricing" window will appear, directing you to Ambeteco's website to purchase a license. After purchasing, simply click the "I bought a license, update the data" button. Offigneum will update its data and take you to the main window.
› Setup Tour
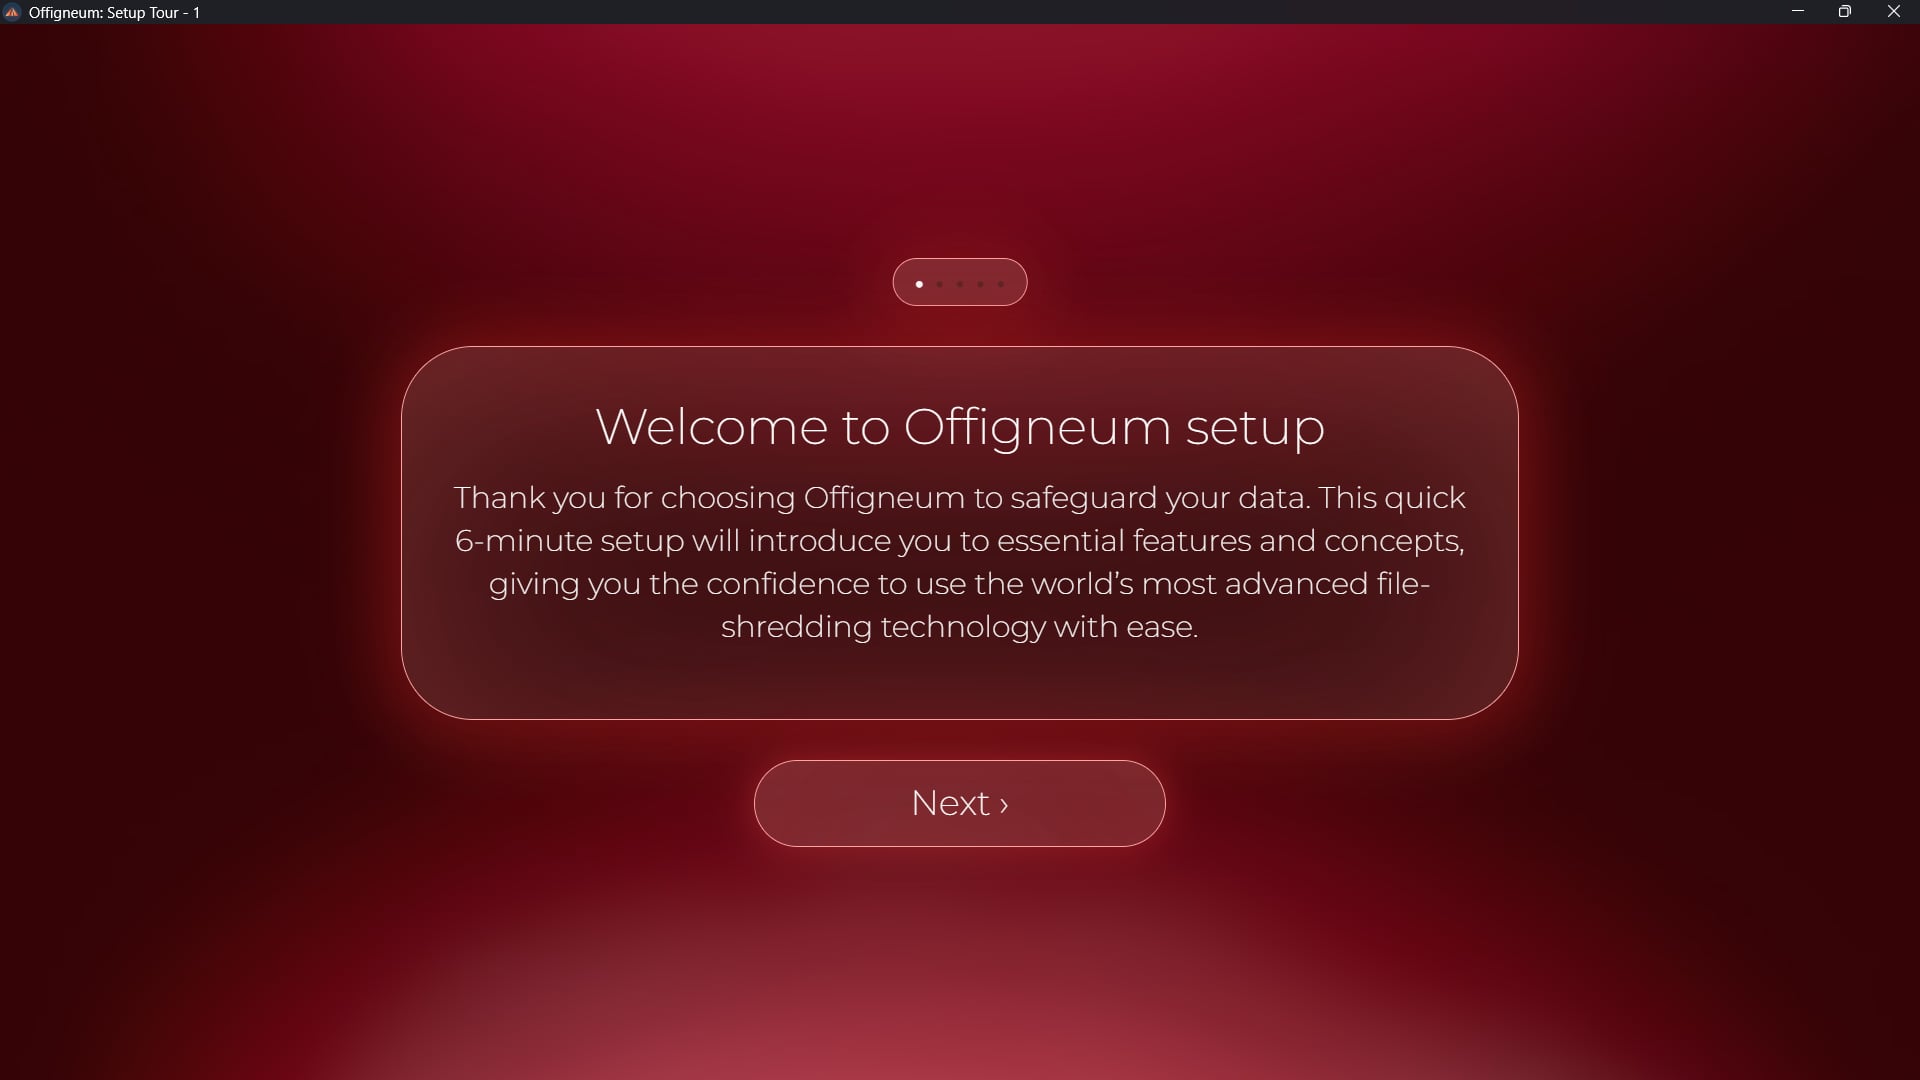
If you have never used Offigneum before, a setup tour will appear where you will be able to personalize the program and learn how to use it.
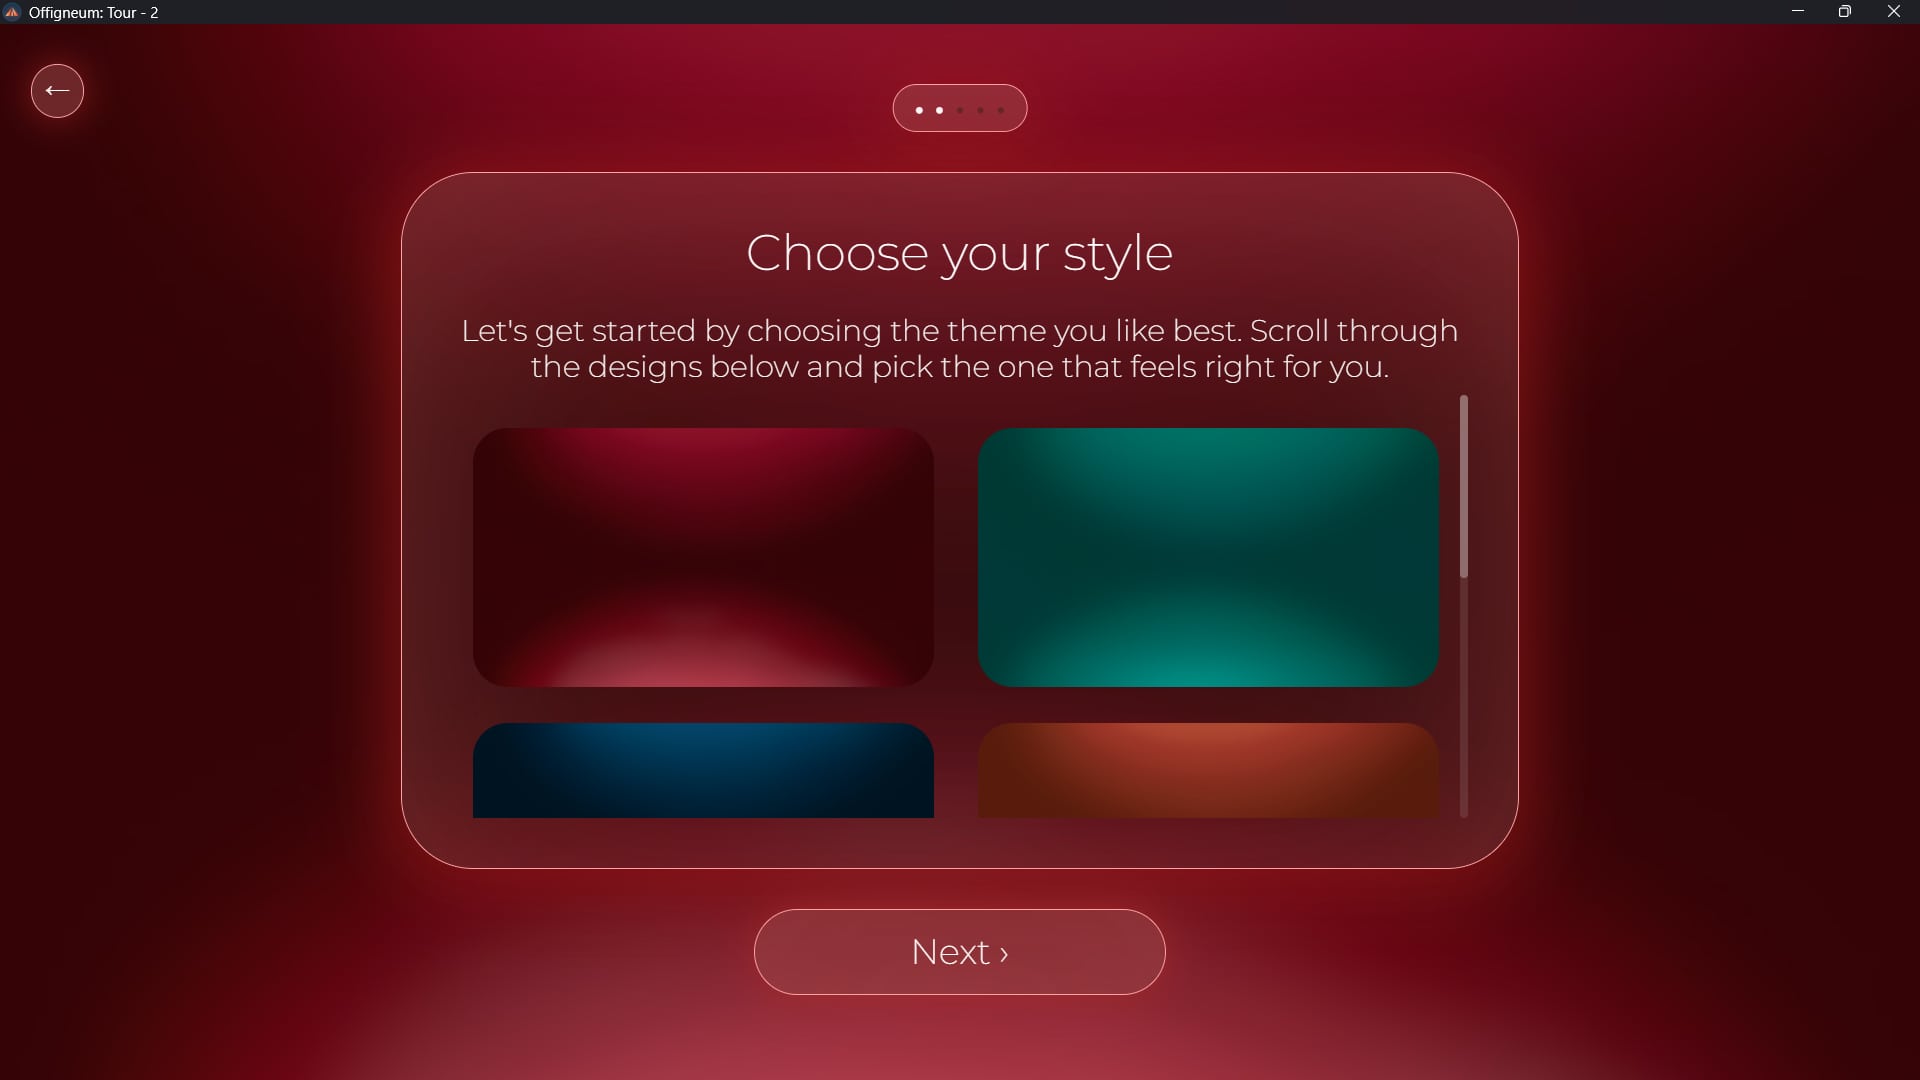
Selecting the theme. Six themes are available.
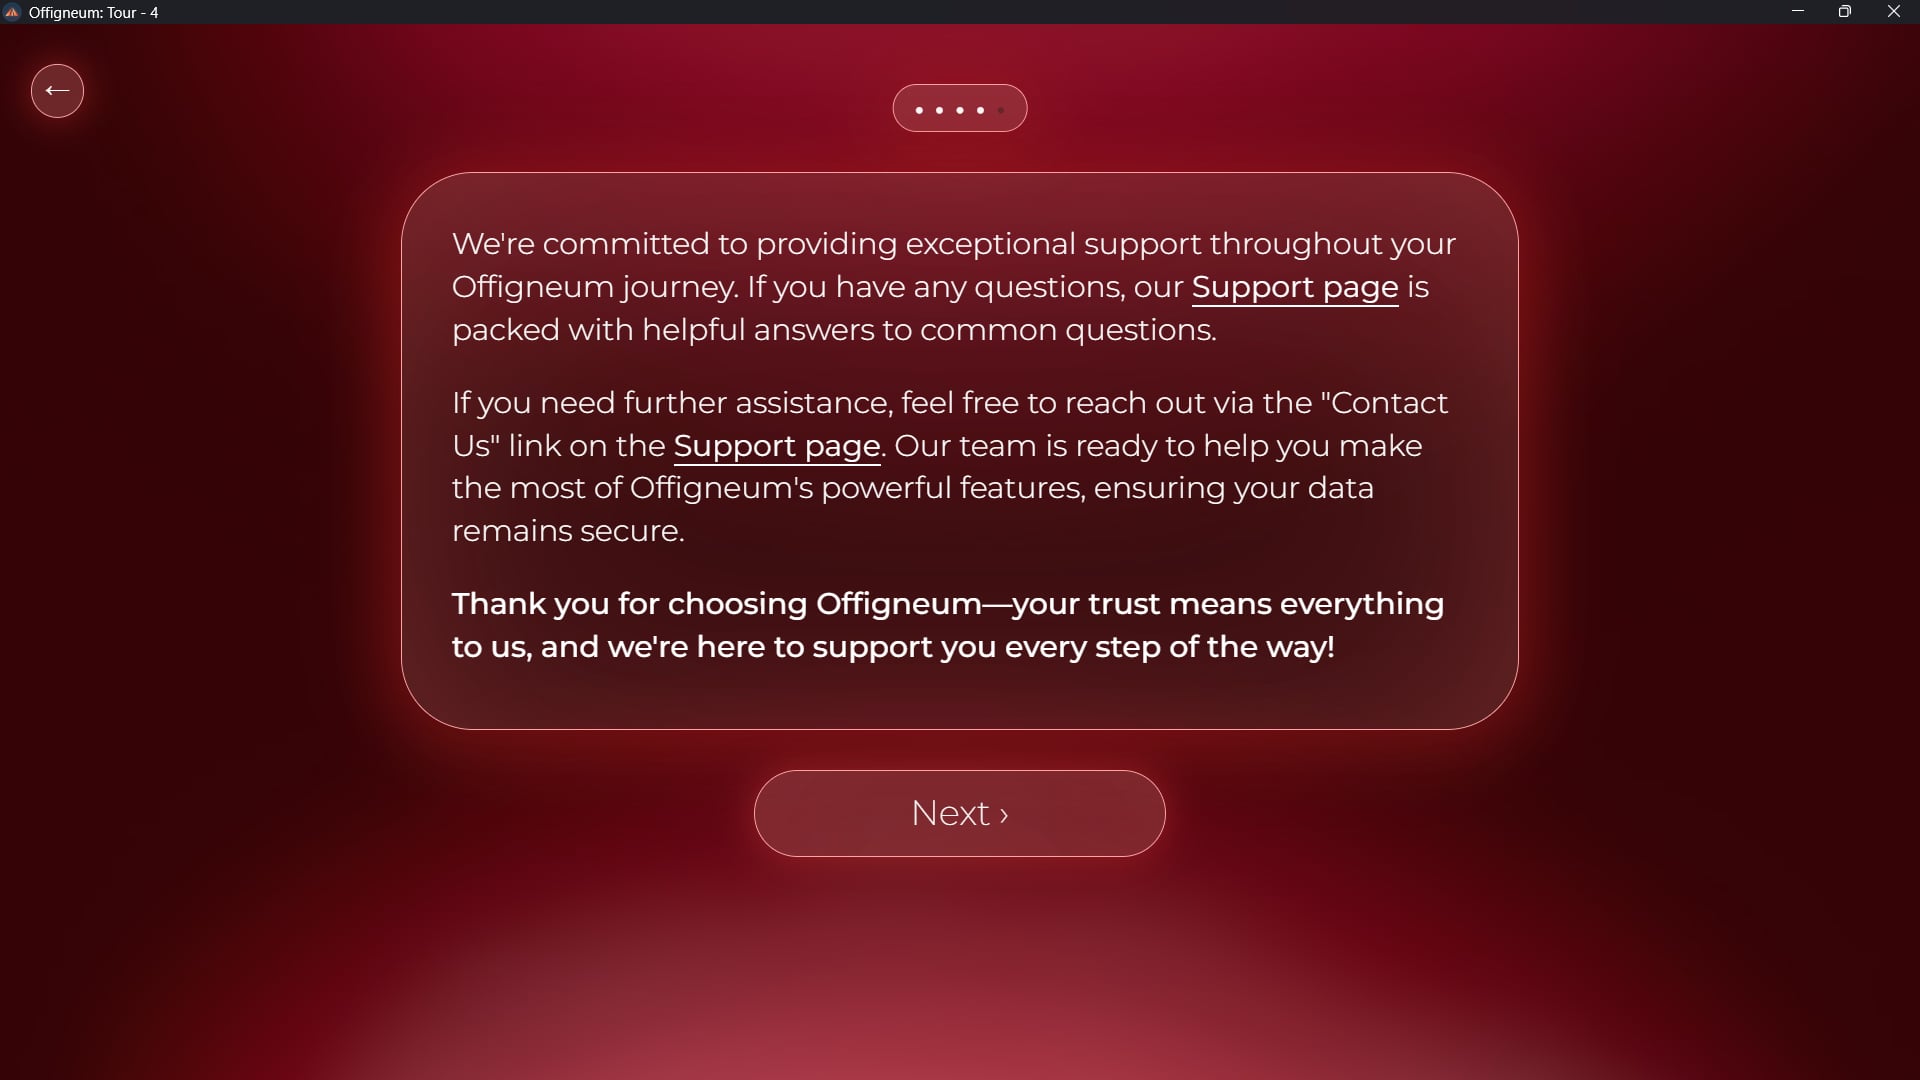
Information about technical support.
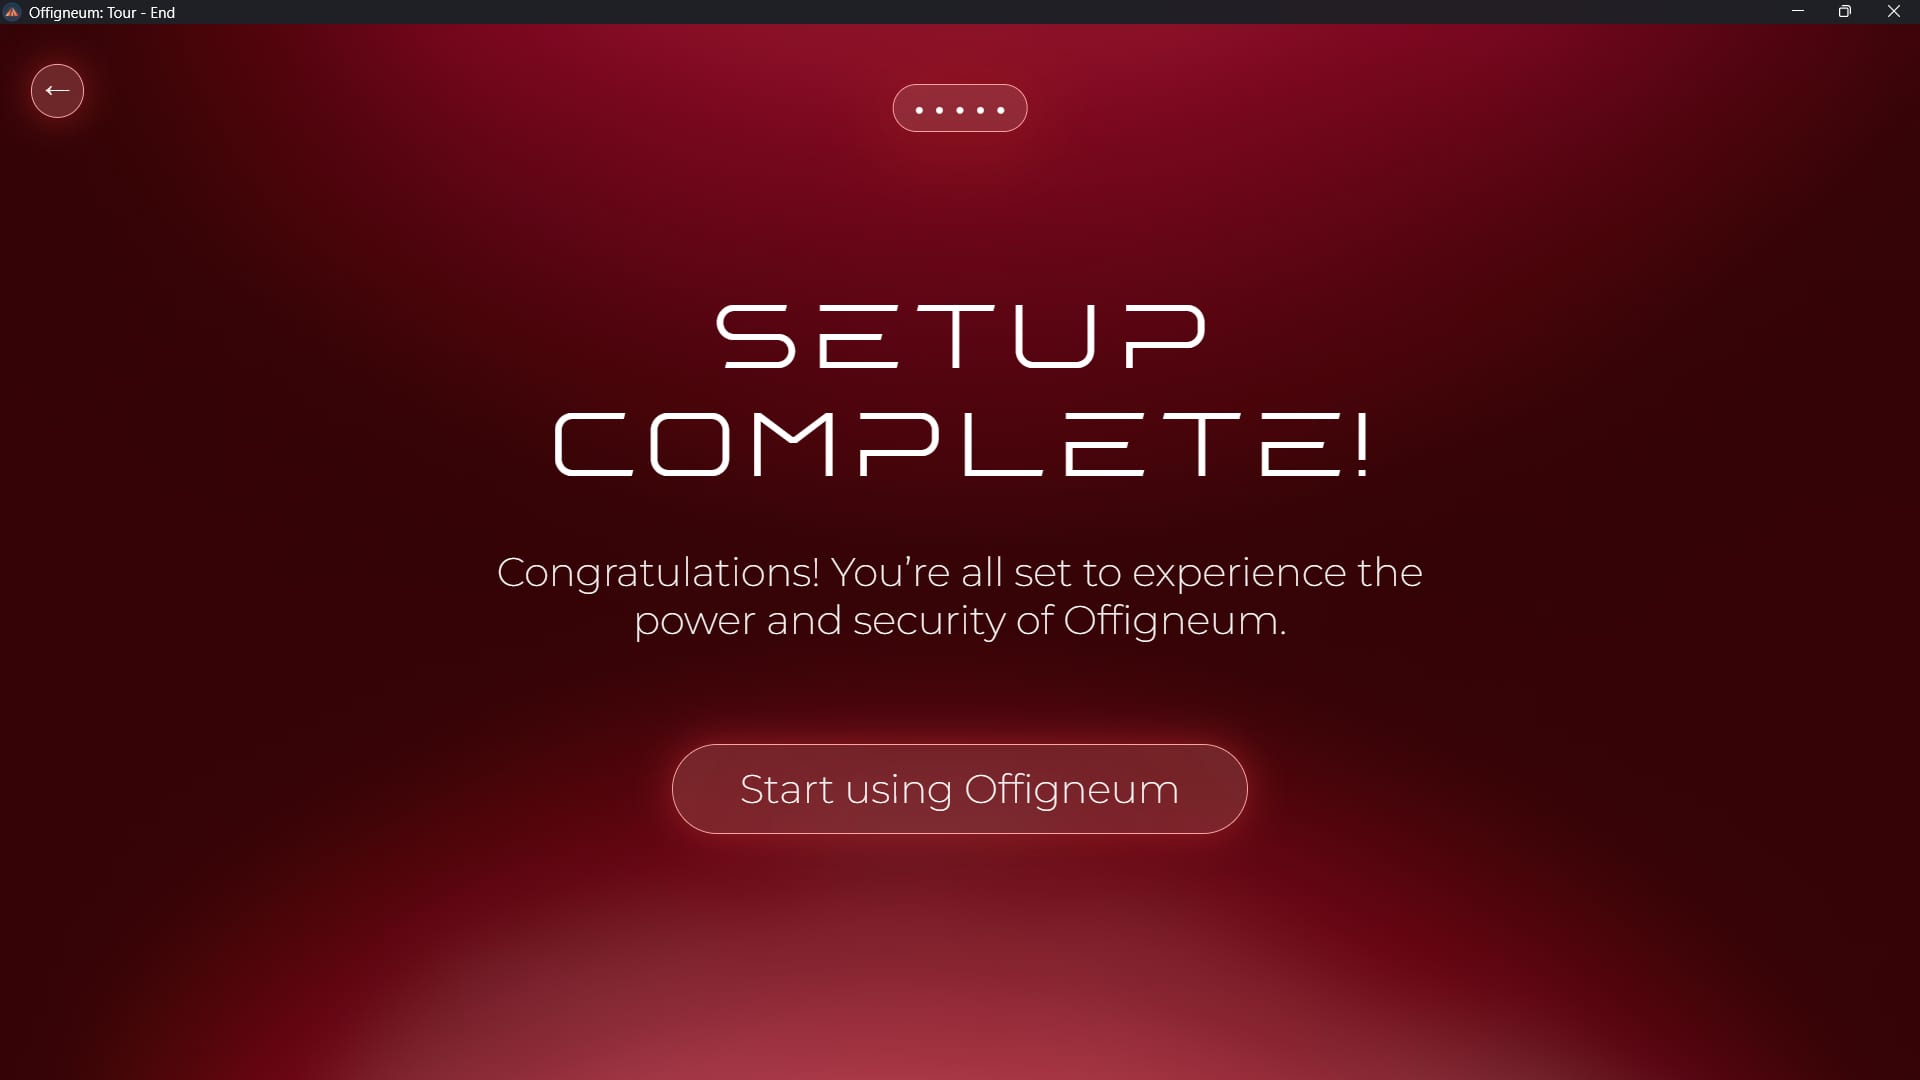
After completing the Setup Tour, click the "Start using Offigneum" button to finish it.
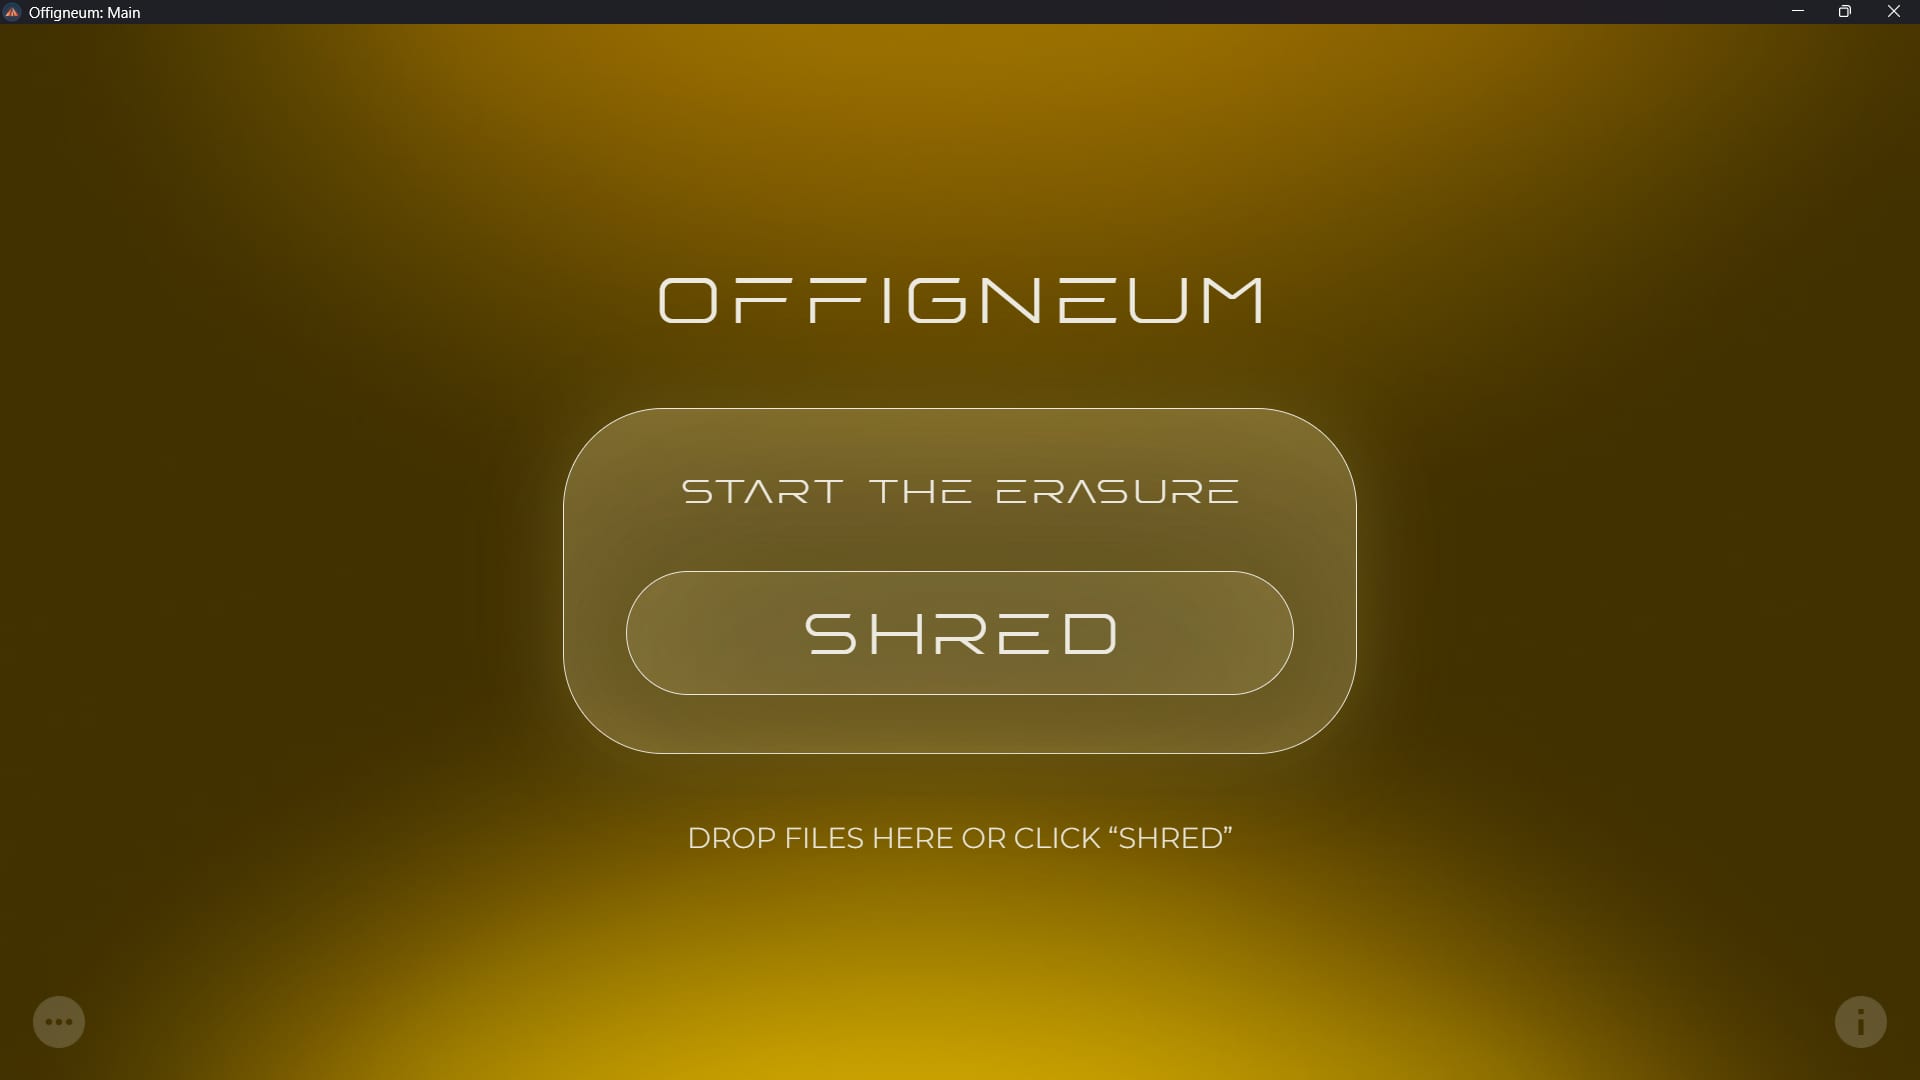
› Main Window
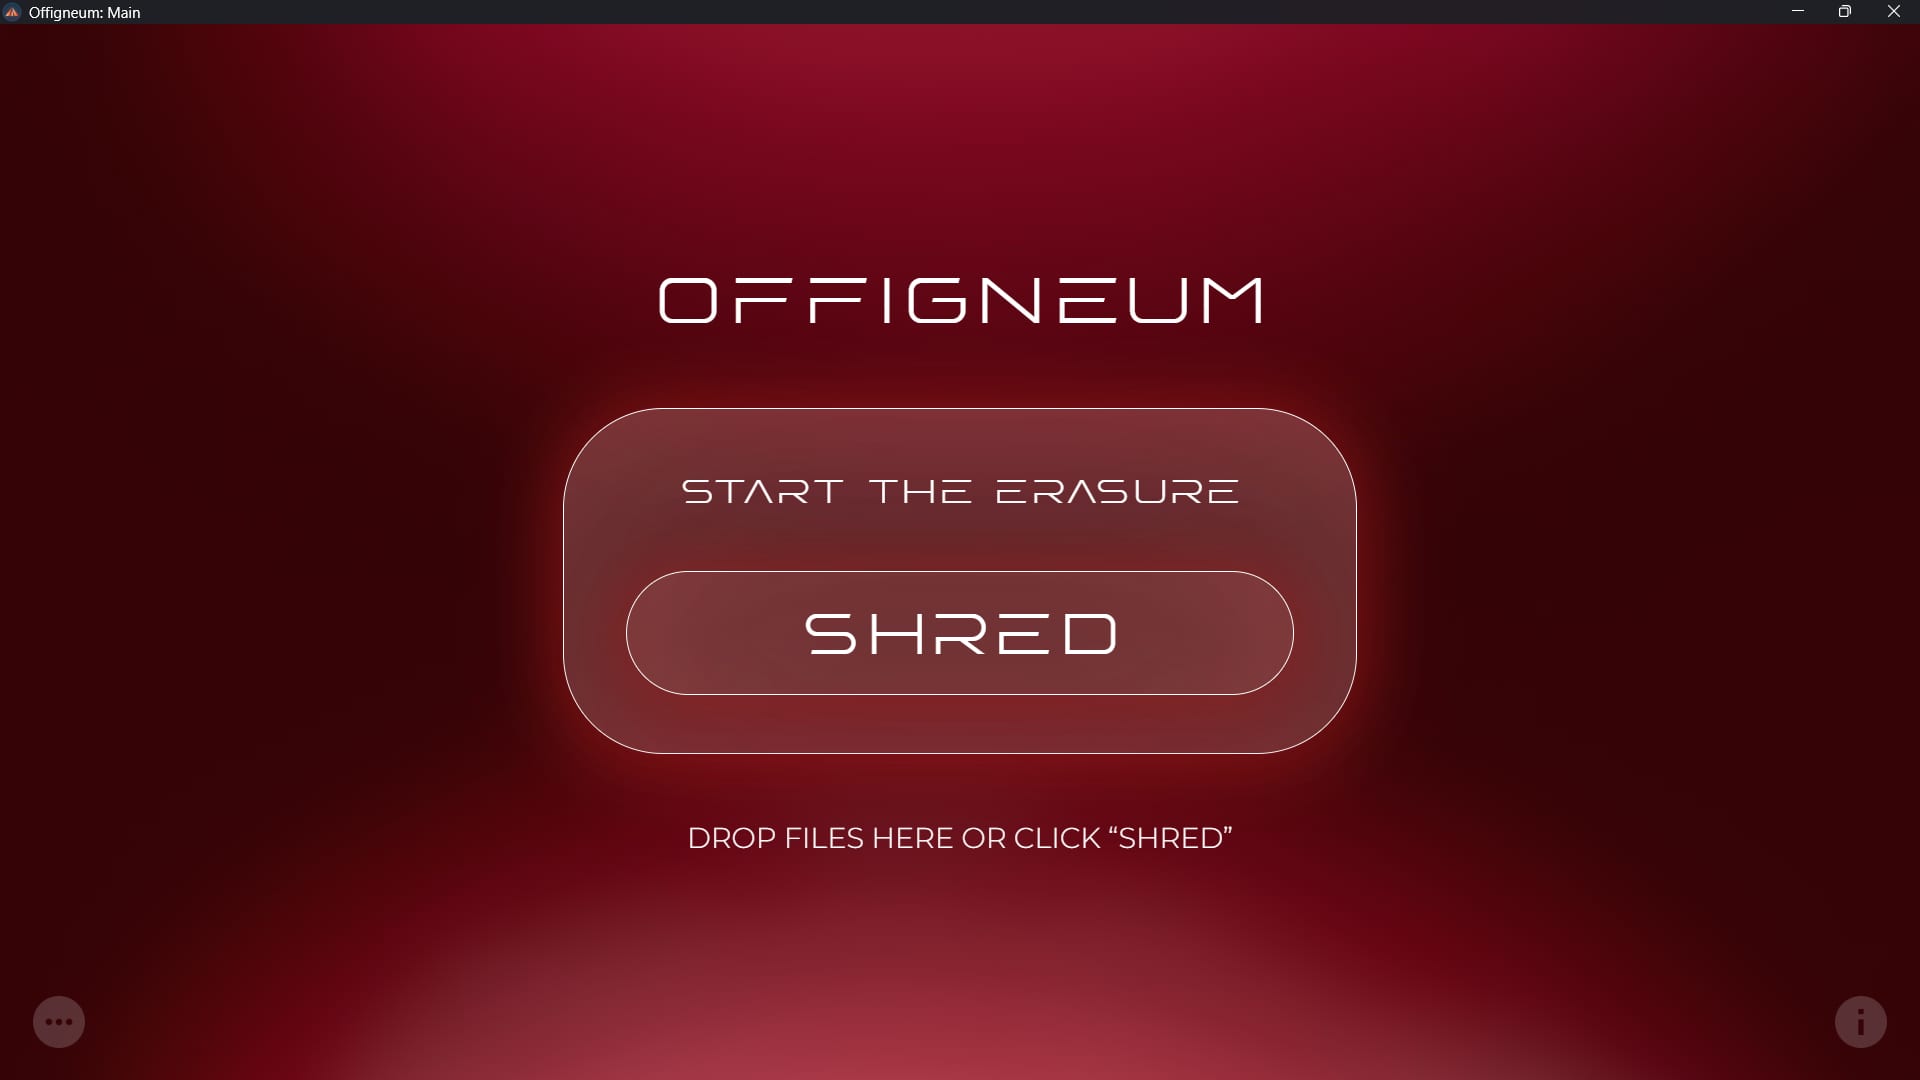
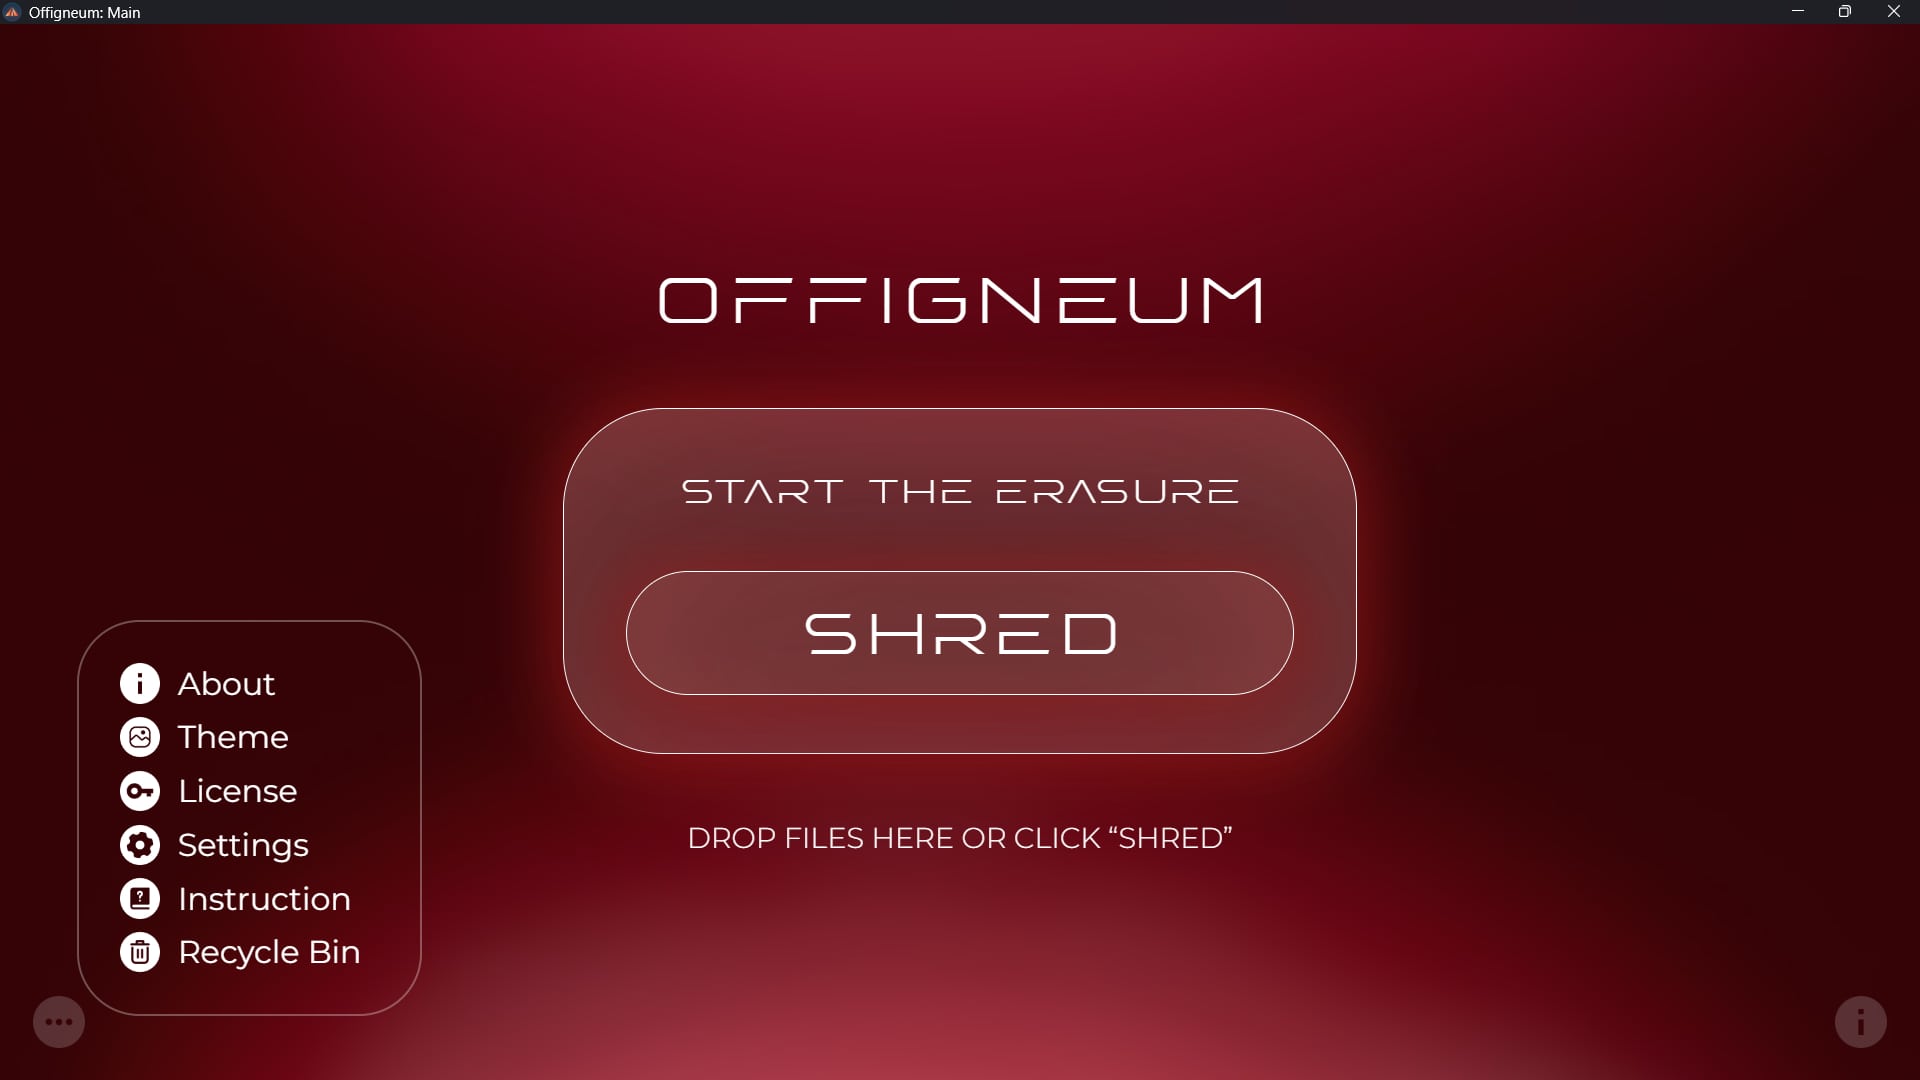
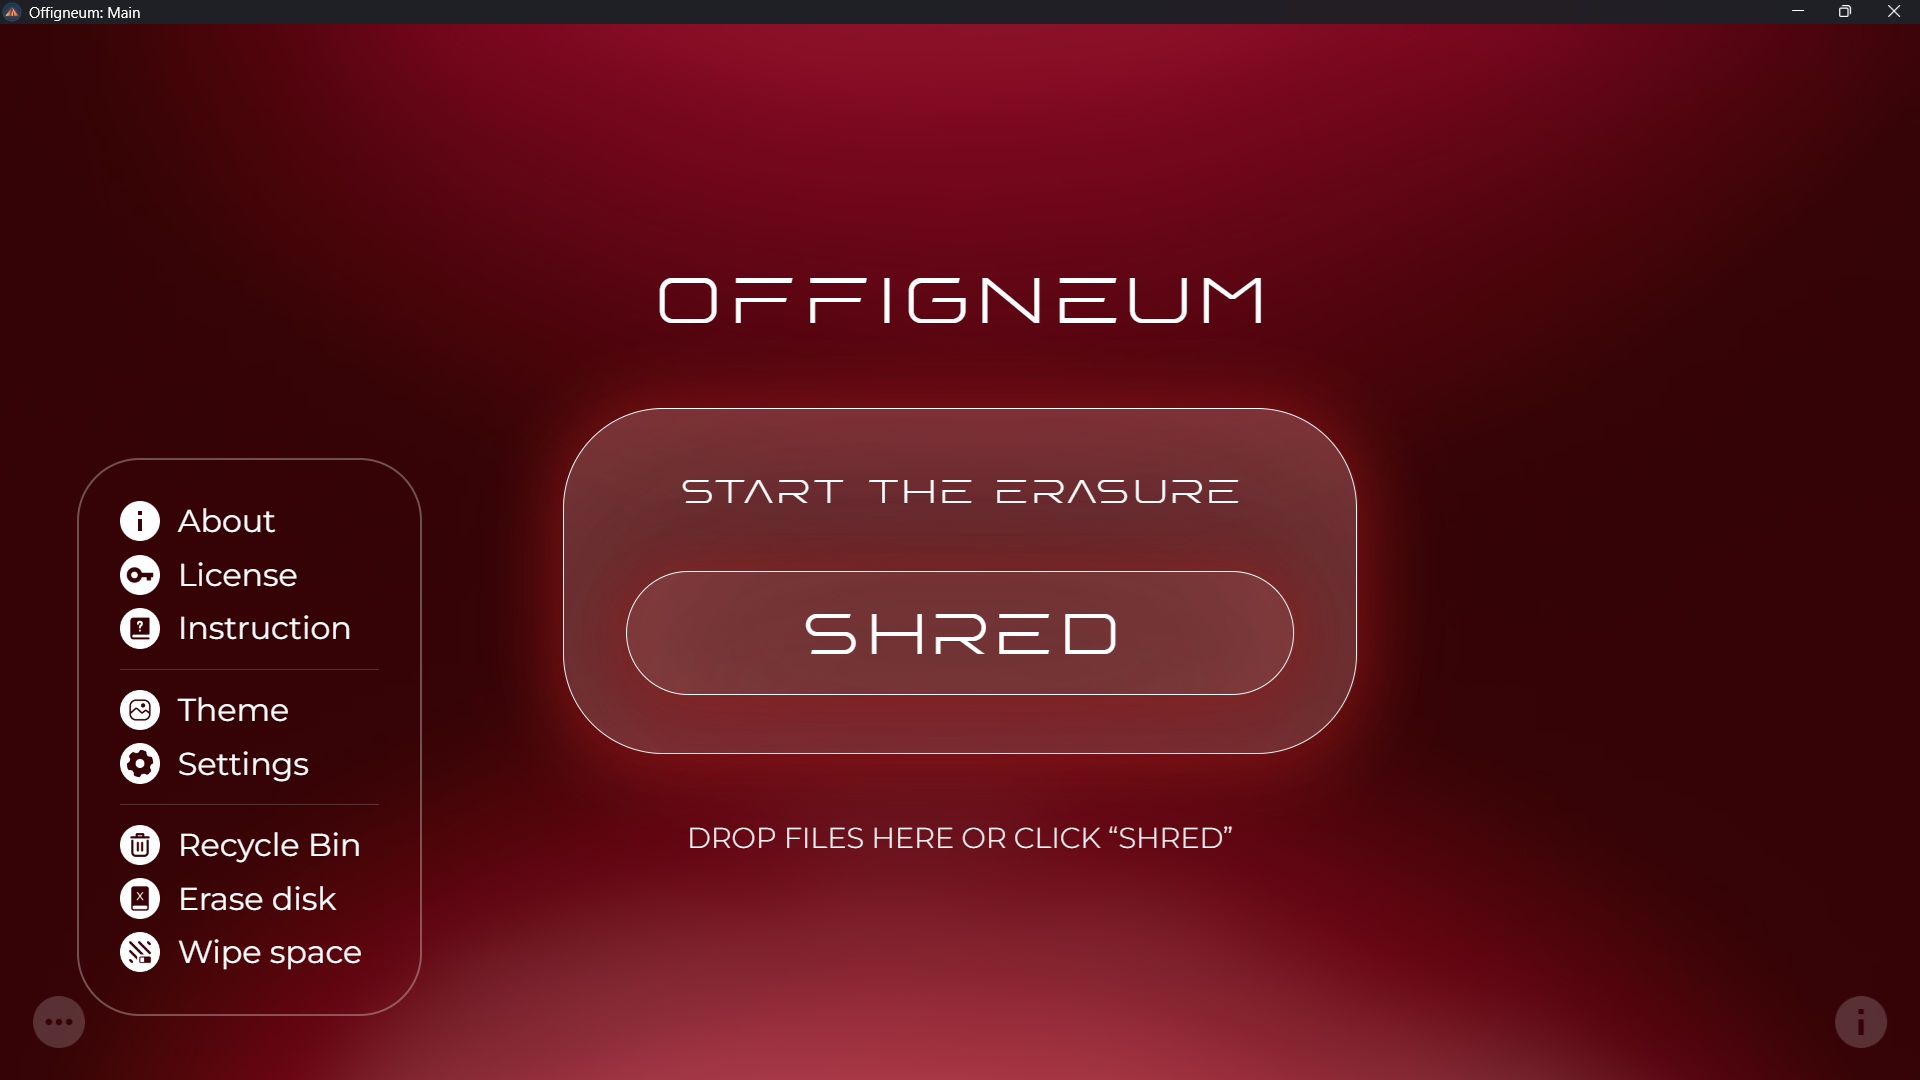
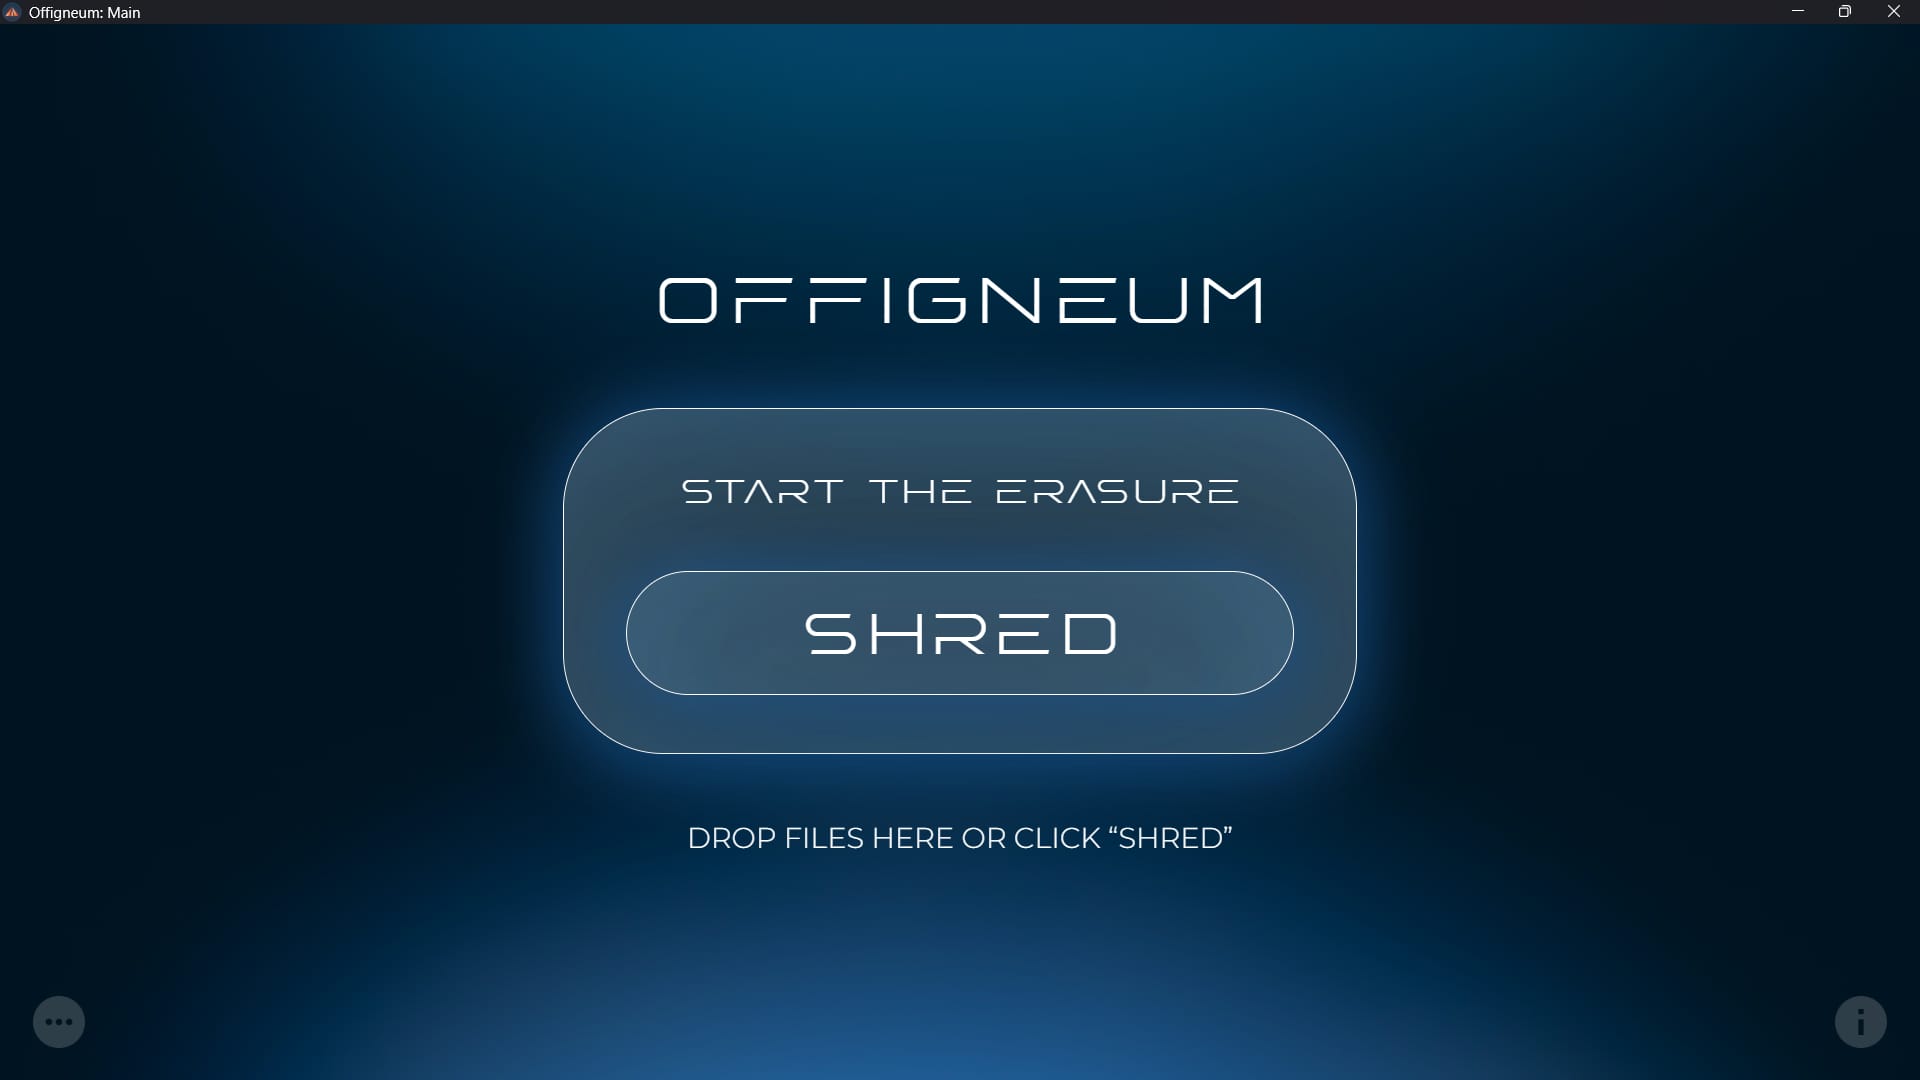
The main window of Offigneum is the first screen you'll see when you open the program. It's the central hub where you can access all functions and settings.
Here’s a quick overview of the buttons in this window:
- "Start the erasure" block (center of the screen): Click here to begin shredding files.
- "Menu" icon (lower-left corner, shown in the image below): This pop-up menu lets you navigate to other Offigneum windows, adjust settings, change the interface theme, shred the Recycle Bin, or view the "License Information" window.
- "About" icon (lower-right corner): Click here to open the "About" window for more details about the program.
› Shredding files and folders
Shredding files is easy with Offigneum. Simply click on the "Start the erasure" block to open the Configure Shredding window. From there, you can drag and drop files or folders onto it, or click to open files via the Windows Explorer "Browse" dialog.
From the Main window, click on the "Start the erasure" block. This will open the Shredding Configuration window.
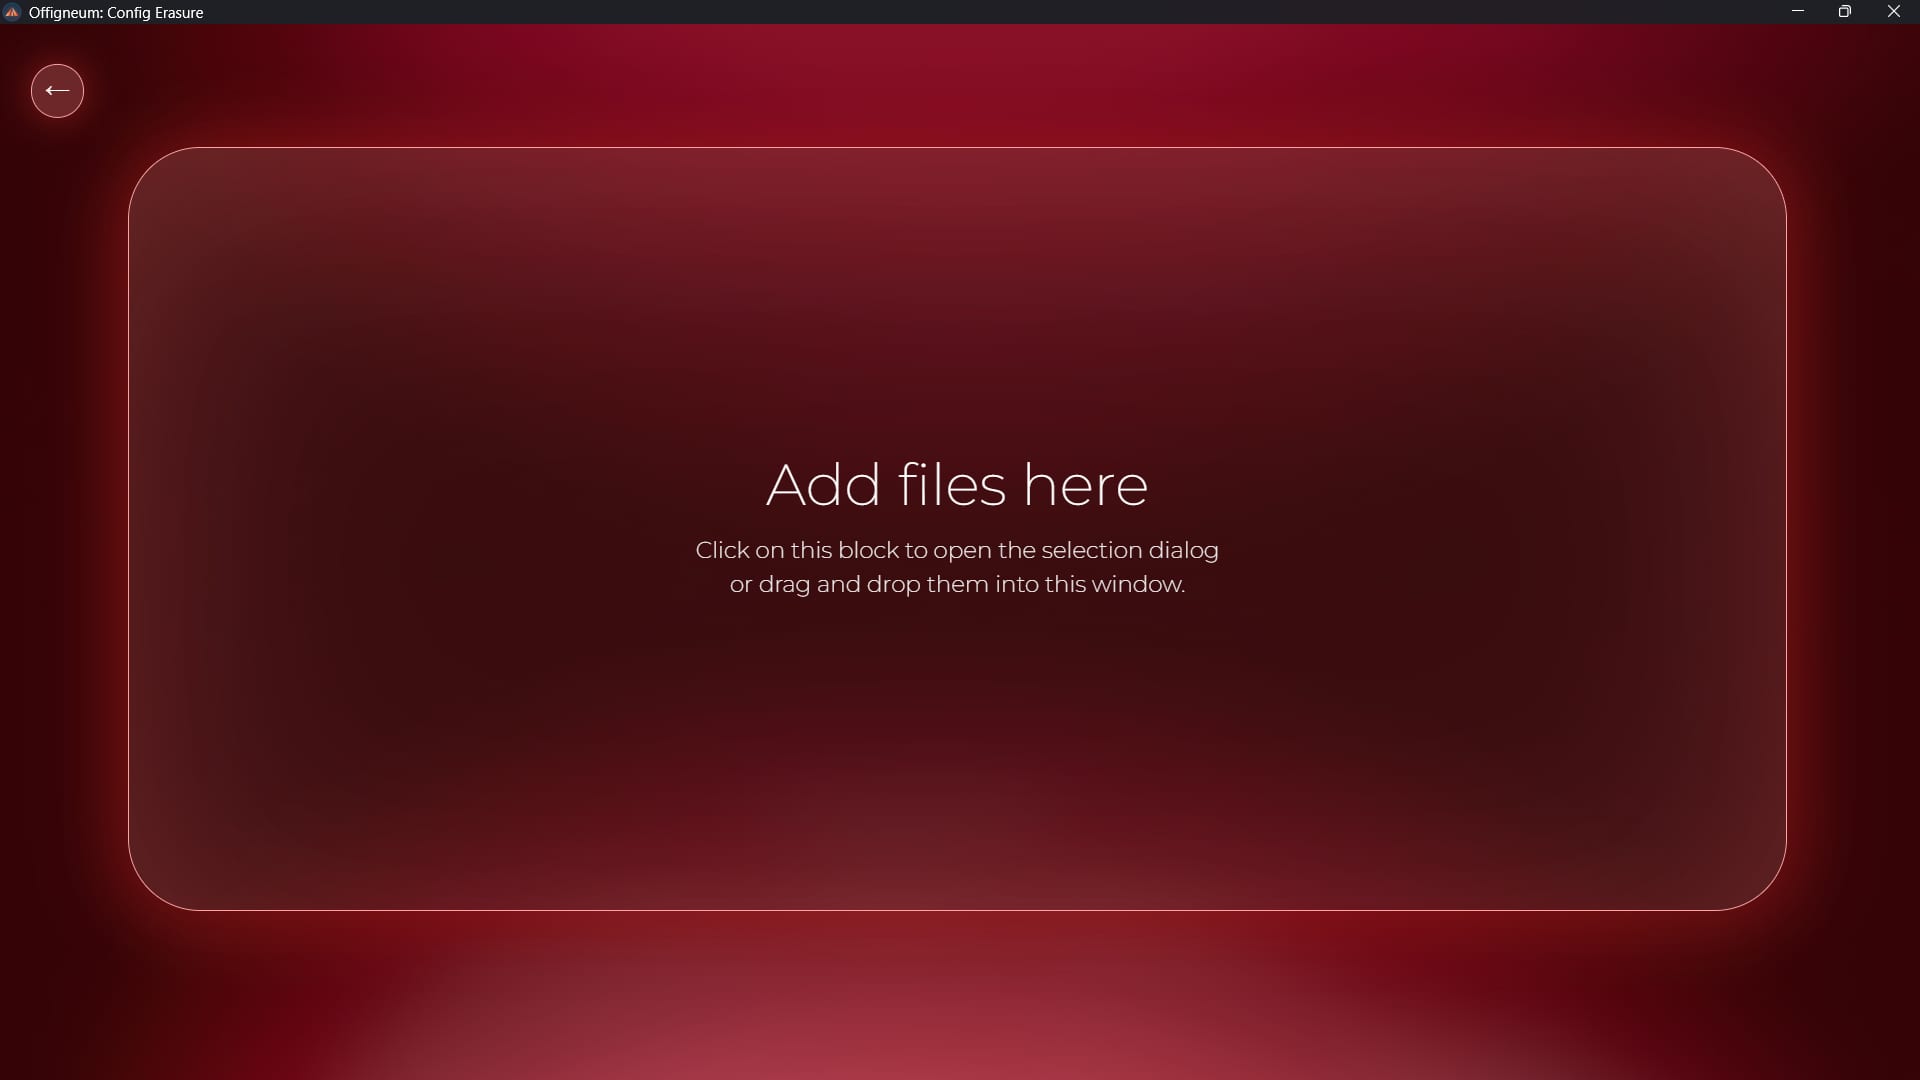
There are two ways to add files/folders for shredding: by drag and dropping, or by using the Explorer dialog.
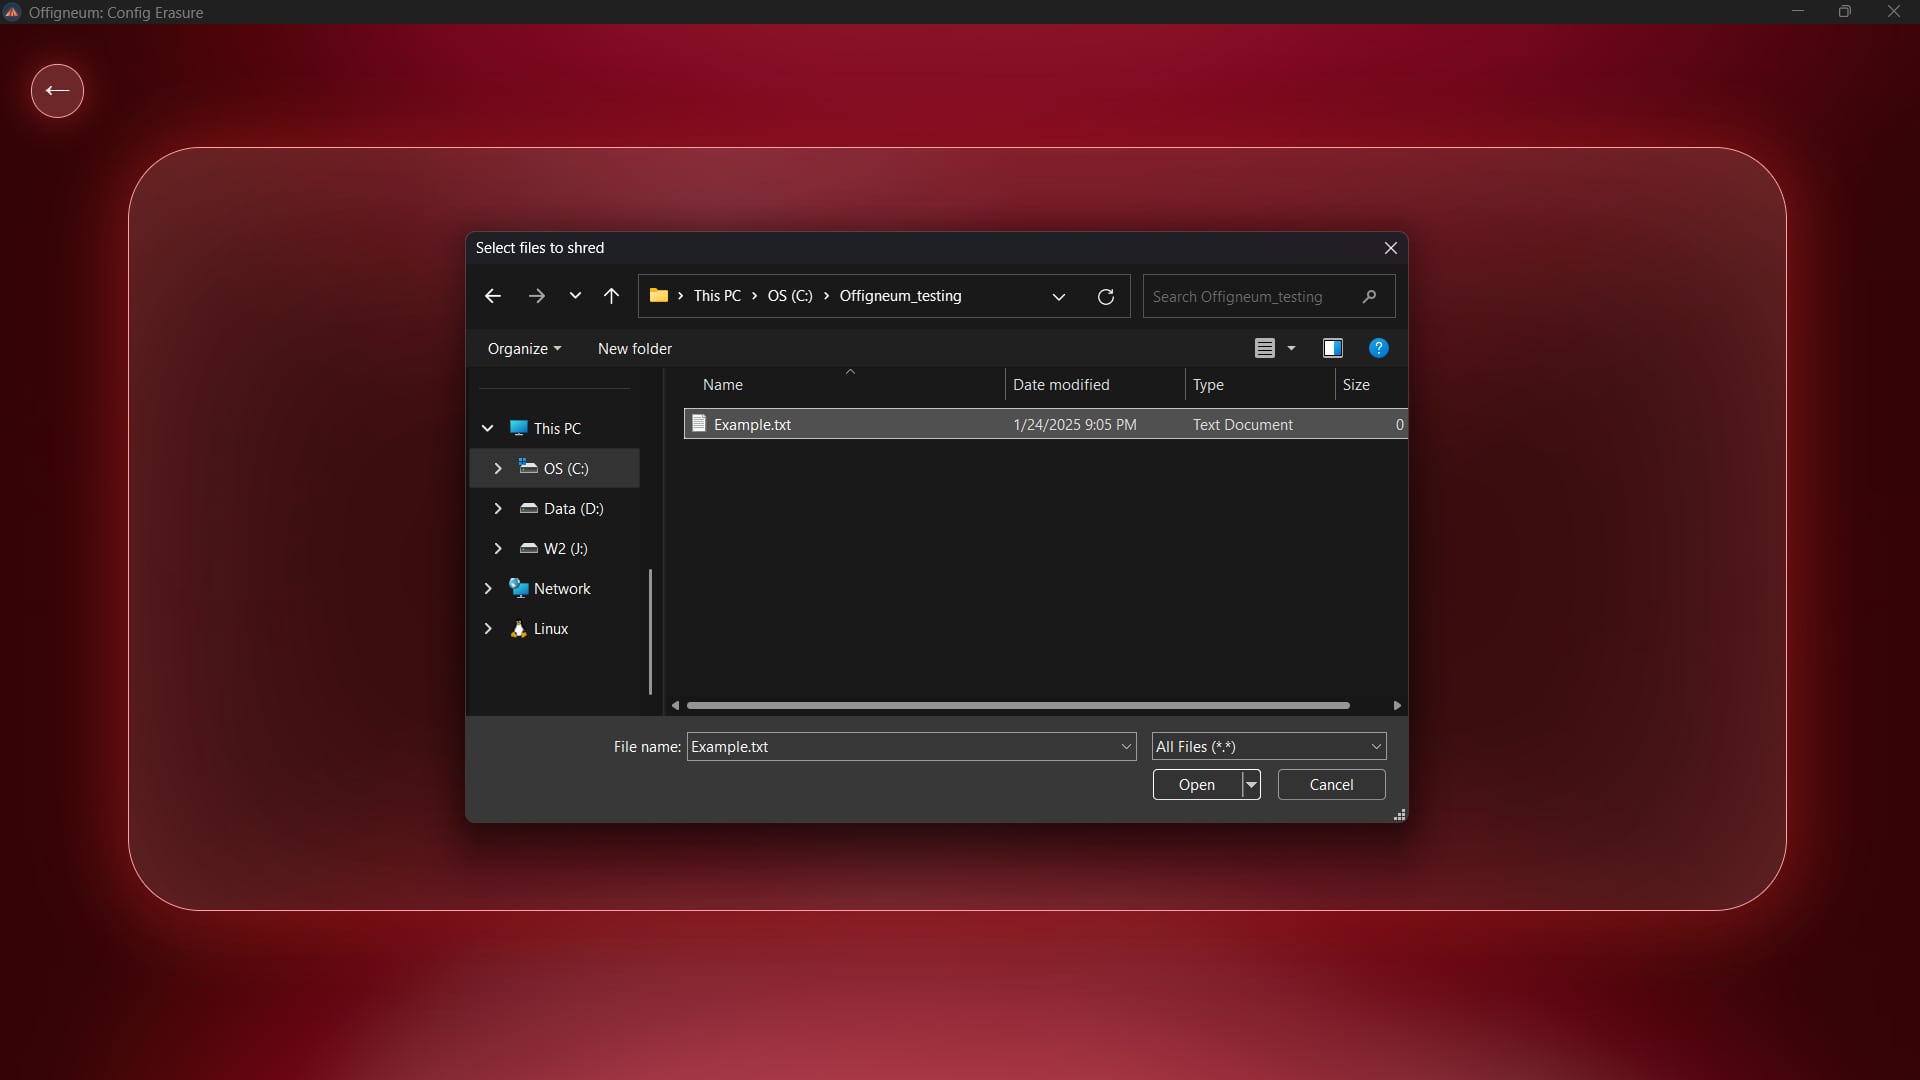
Option 1: Click to add files via the Explorer "Open" dialog.
Option 2: Drag and drop the files you wish to shred onto the window.
Done! Offigneum will open the "Shredding Configuration" window, displaying the files and folders you added. After adjusting the shredding settings, you can begin the erasure process.
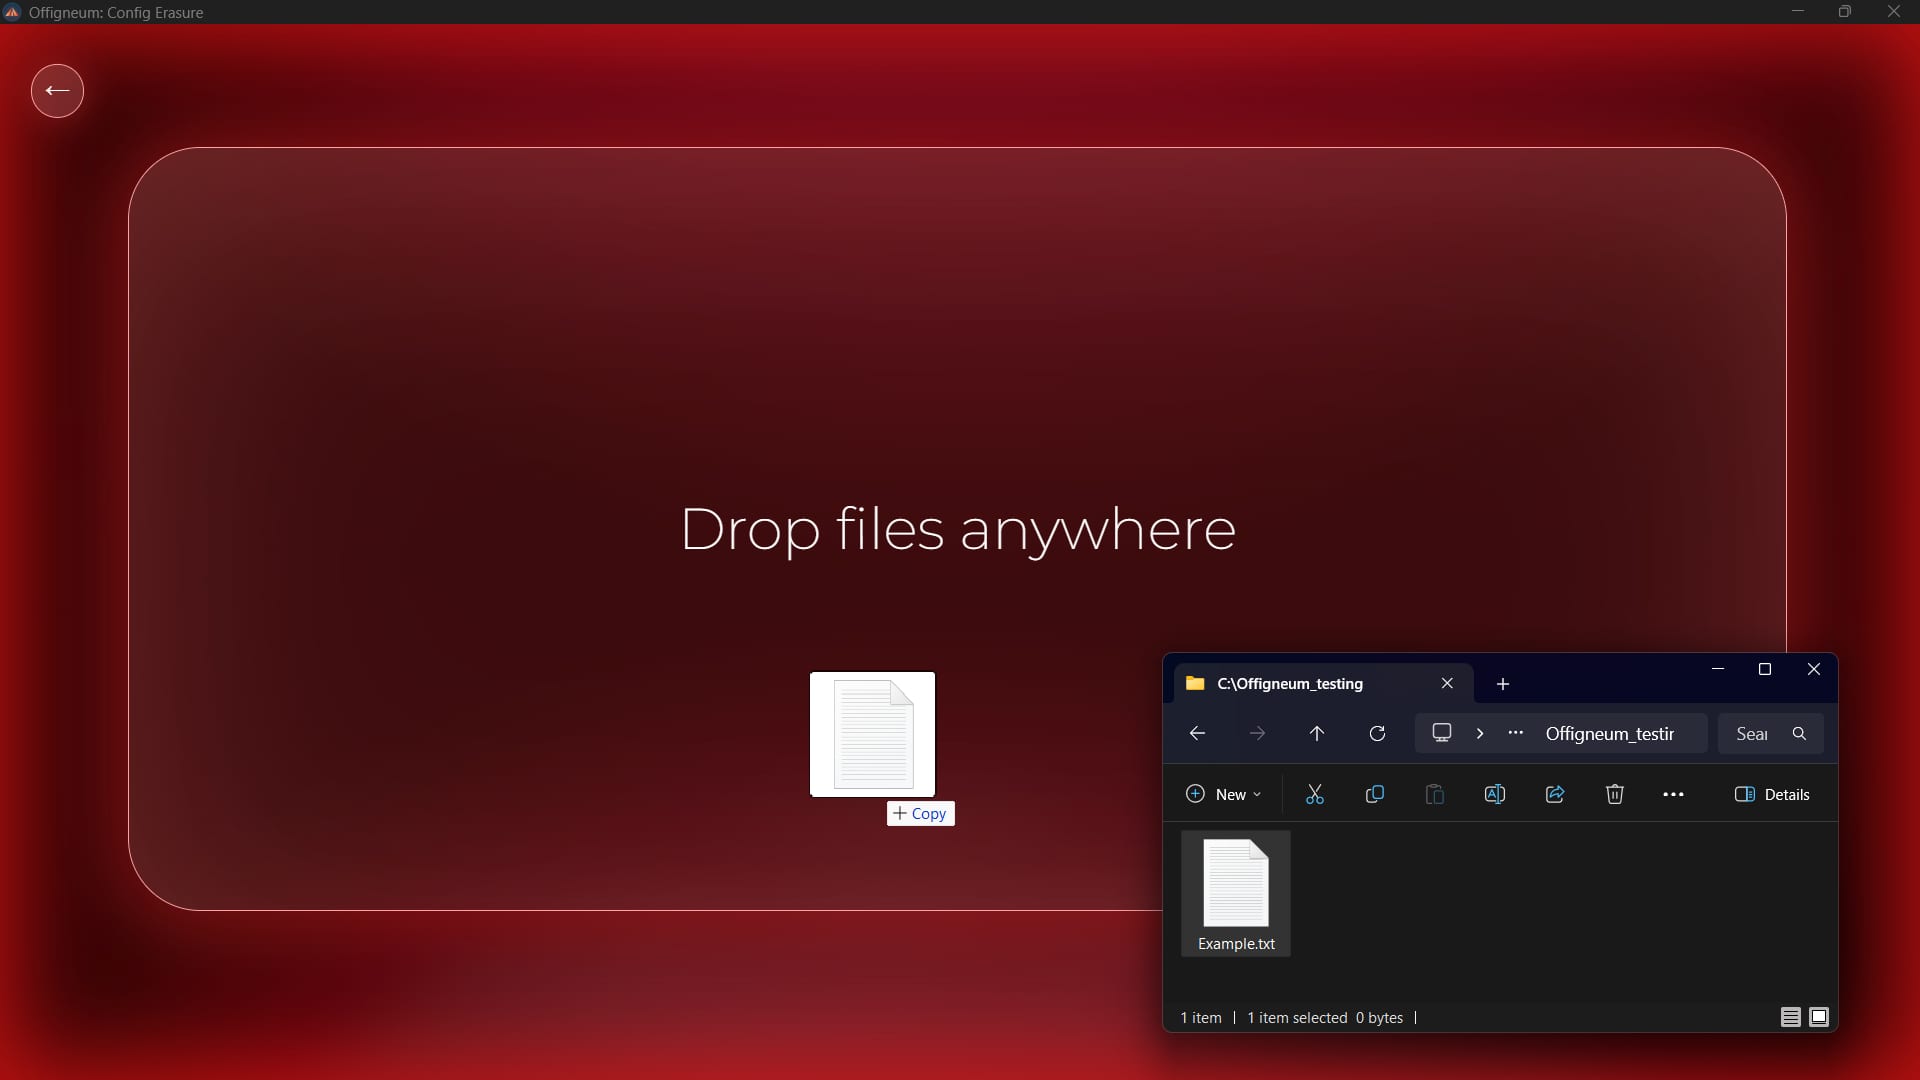
Alternatively, one of the easiest and most convenient ways to shred files or folders is to simply drag and drop them onto the Offigneum Main window.
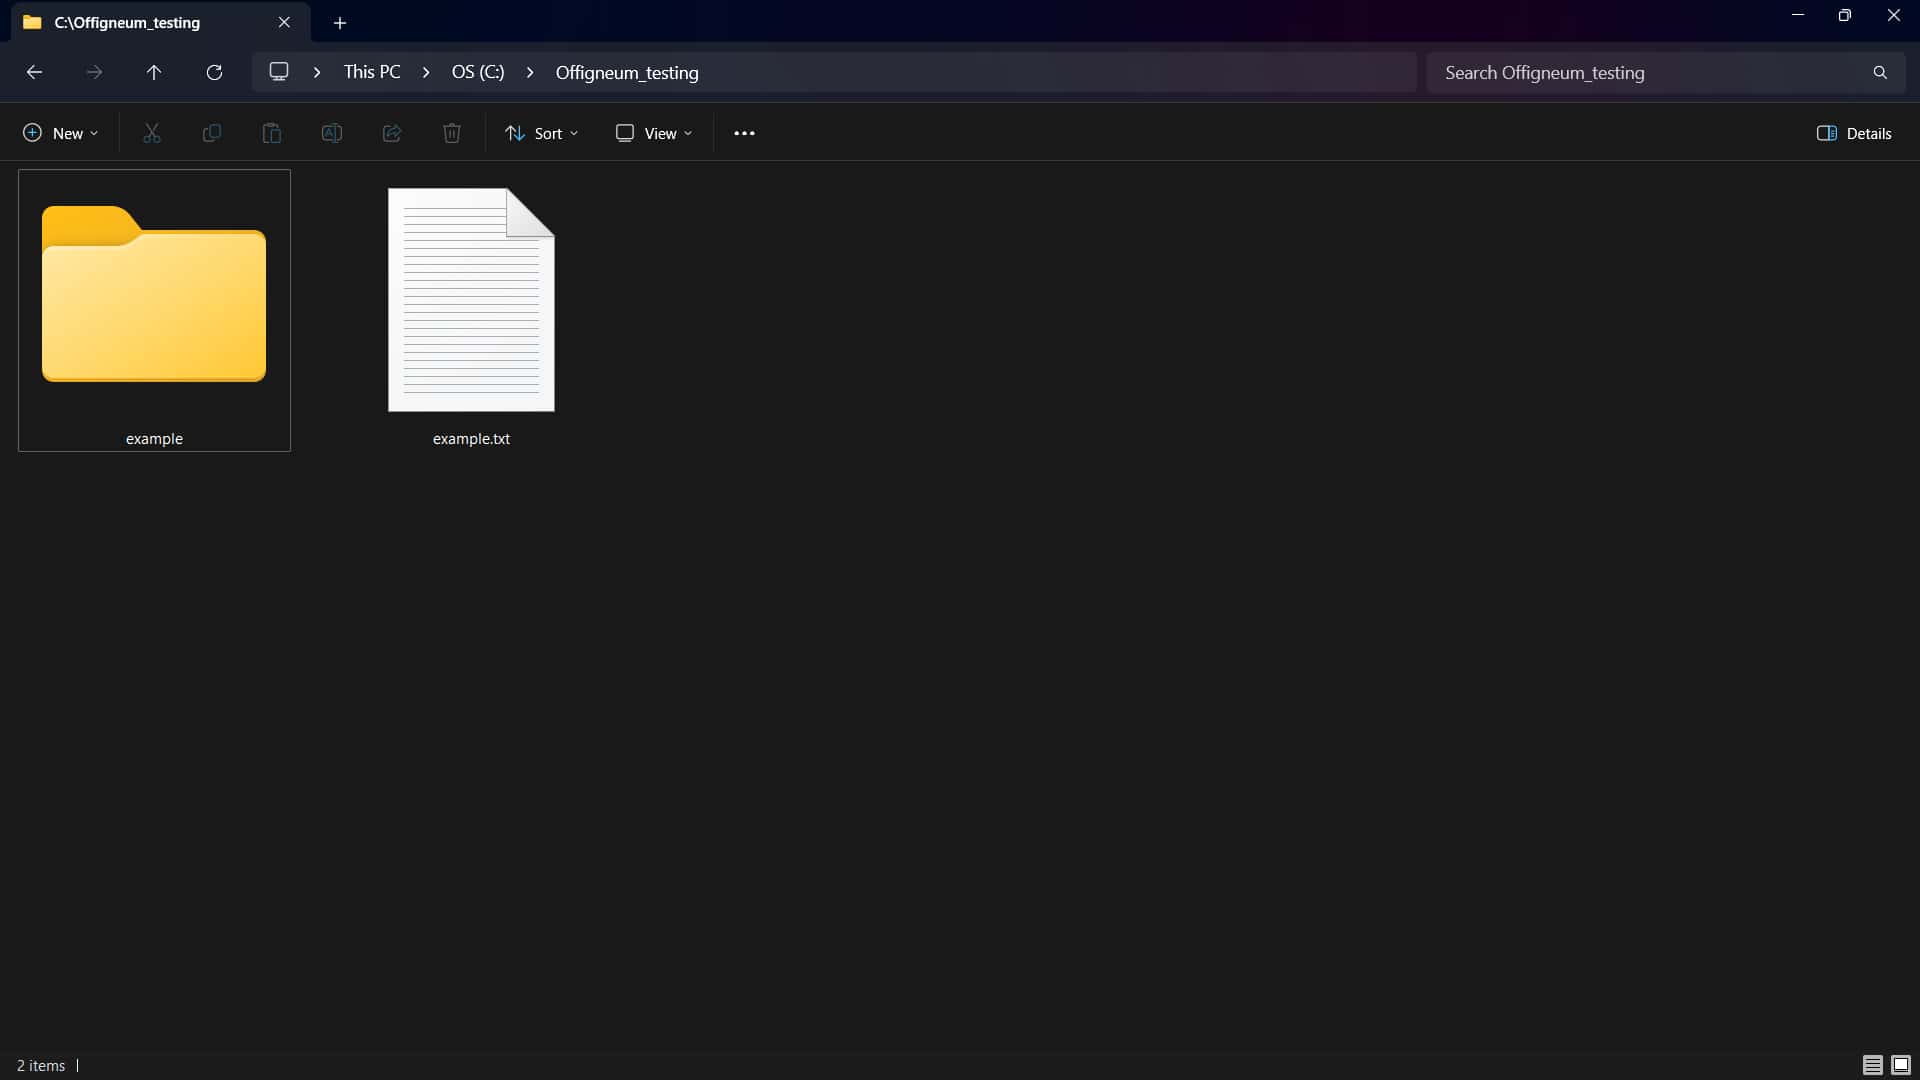
Select any files or folders you wish to shred in Explorer.
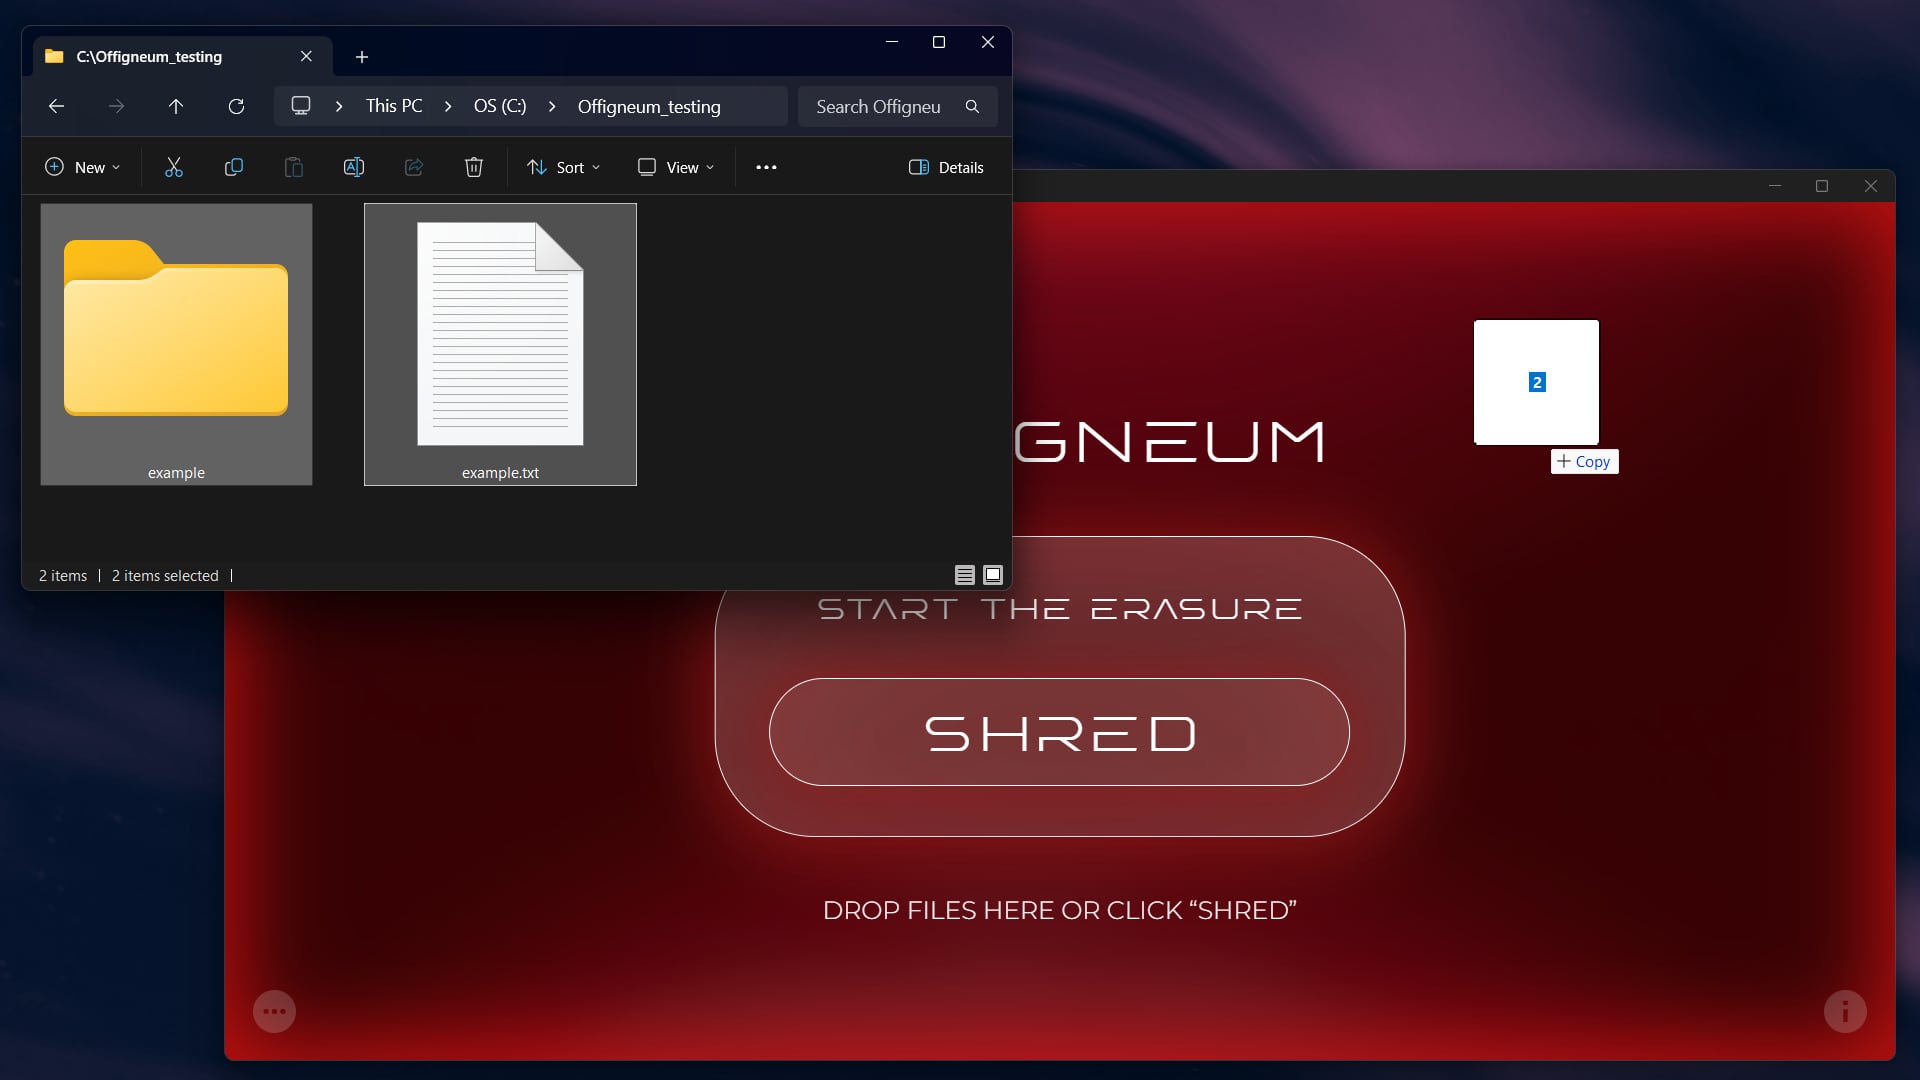
Drag and drop them onto Offigneum's Main window.
Done! Offigneum will open the 'Shredding Configuration' window, where you can view the files and folders you’ve dragged and dropped. After configuring the shredding settings, you can start the erasure.
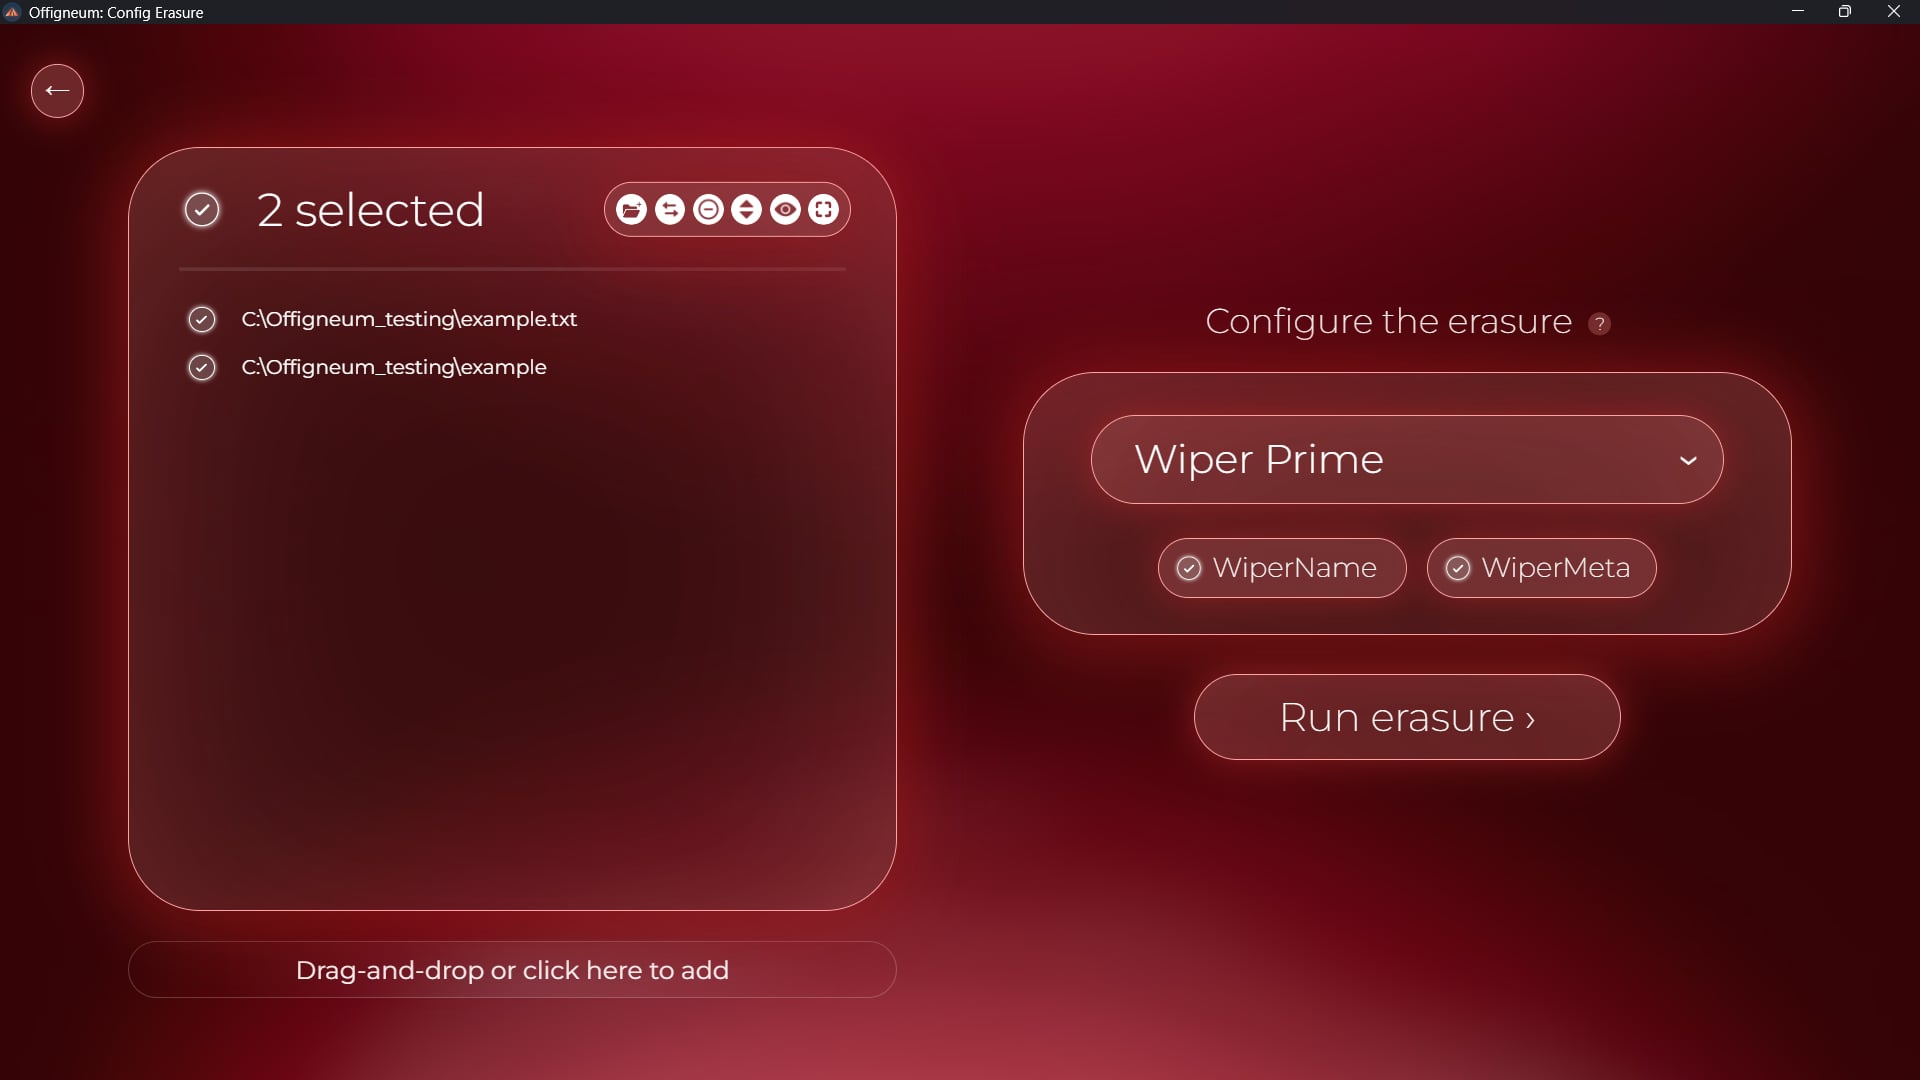
The window you're currently viewing—the Shredding Configuration window—lets you add or remove files and folders to be shredded, as well as configure the shredding process. You can adjust the erasure algorithm and toggle the WiperName and WiperMeta technologies. This window is split into two sections. On the left, you'll see a list of the files and folders you've selected for shredding. Everything in this list will be permanently erased.
This block shows the list of files or folders you have selected for shredding. Once you start the shredding, all of the folders and files in this list will be erased.
You can use the checkboxes to adjust the list of items for shredding. Simply click on a checkbox to toggle its selection. You can also use hotkeys for quicker adjustments:
- Shift-click to select multiple items
- Ctrl+A to select all
- Ctrl+Shift+A to deselect all
- Ctrl+I to invert the selection
- Delete or Backspace to remove items from the list
Keep in mind, the checkboxes are only for modifying the list of files/folders to be shredded—unchecking an item won’t stop it from being erased. Ultimately, everything in the list on the left will be shredded.
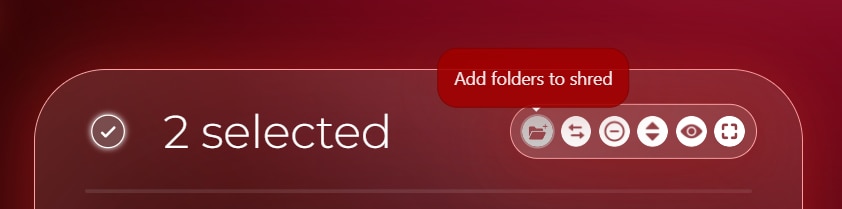
At the top, you'll find six buttons that allow you to modify or configure the list of items selected for shredding: "Add folder," "Invert selection," "Remove selected from the list," "Sort," "Cycle through view modes," and "Toggle fullscreen mode."
You can hover over each button to see a brief label describing its function, and click to activate the corresponding action.
Another method to modify the list of items selected for shredding is by using the buttons at the top of the list. There are 6 buttons at the top that let you change or configure the list of items you have selected for shredding.
1. Add folder: Click to open the "Explorer" dialog and add more folders for shredding.
2. Invert selection: Press this button to invert your current selection of checkboxes.
3. Remove selected from the list: Click this button to remove all currently selected items from the shredding list.
4. Sort: Press this button to sort the items from A to Z or from Z to A.

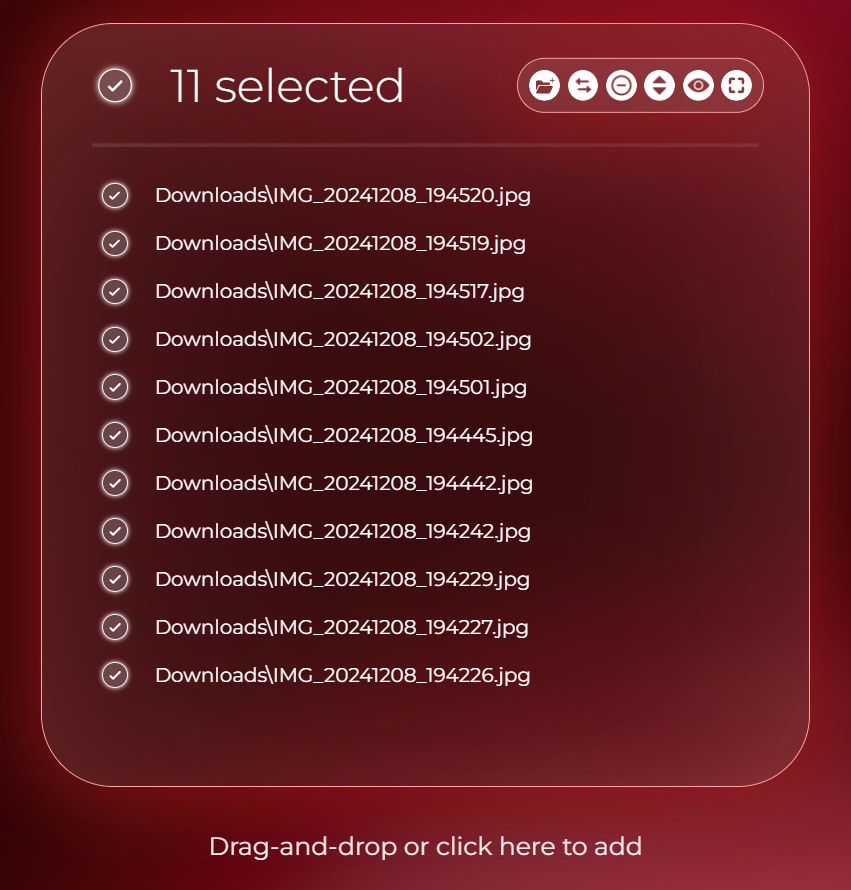
By clicking the "Cycle through view modes" button, you can switch the view mode of the Shredding items list. In this screenshot, the view mode was set to "filename," so only the file names are displayed.
5. Cycle through view modes: Click this button to toggle between four different view modes for the list:
- Default Mode: Displays the full file path of the items selected for shredding.
- File Name Mode: Shows only the file names.
- Directory + File Name Mode: Displays the last directory and the file name.
- Unique Path Tails Mode: Removes all common prefixes, showing only the unique "path tails" of the items.
You can switch between these modes by clicking the button repeatedly.

By clicking on the "Toggle fullscreen mode" button, you can toggle between the normal and fullscreen view of the shredding items list. This can be useful if you need to work with a larger number of items.
6. Toggle fullscreen mode: By clicking on this button, you can toggle between the normal and fullscreen view mode of the shredding list. This can be useful if you need to modify a large list of items for shredding.
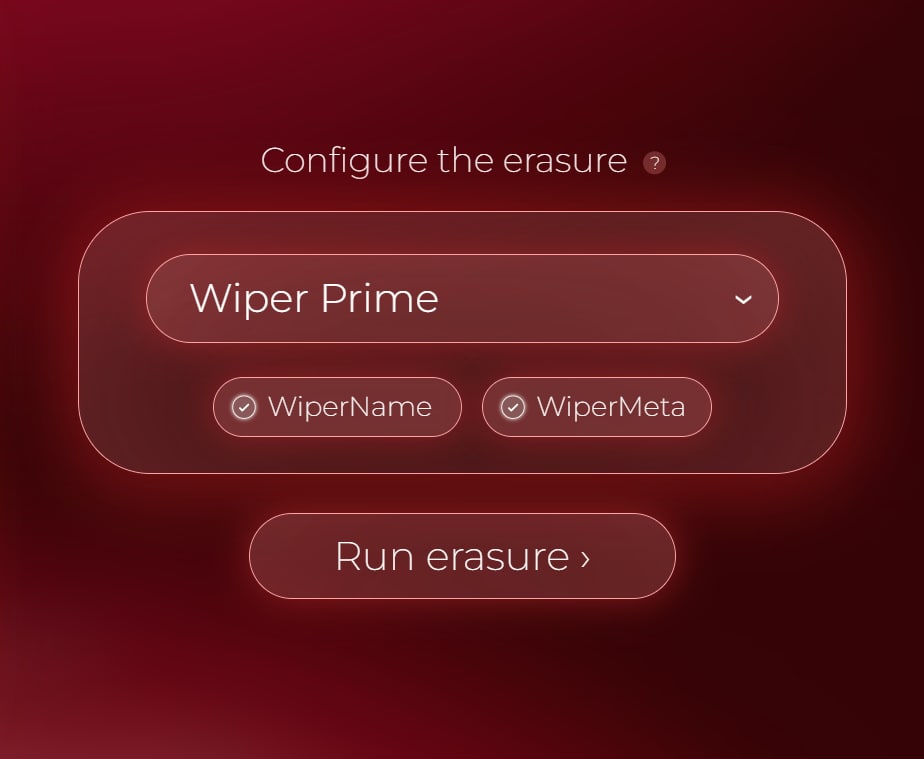
On the right side, you can change the erasure algorithm and enable or disable the WiperName and WiperMeta technologies.
Now, let's focus on the right side of the Shredding Configuration window. Here, you can adjust the erasure algorithm and enable or disable the WiperName and WiperMeta technologies. By default, the shredding algorithm is set to Wiper Prime, Offigneum’s proprietary algorithm, which is recommended for securely erasing any files.
Additionally, the WiperName and WiperMeta options are enabled by default. WiperName is a unique feature of Offigneum—when activated, it shreds not only the file itself but also its name and the path where it was located, enhancing privacy. WiperMeta goes a step further by erasing timestamps, modification times, creation dates, and other time-related attributes of the files and folders.
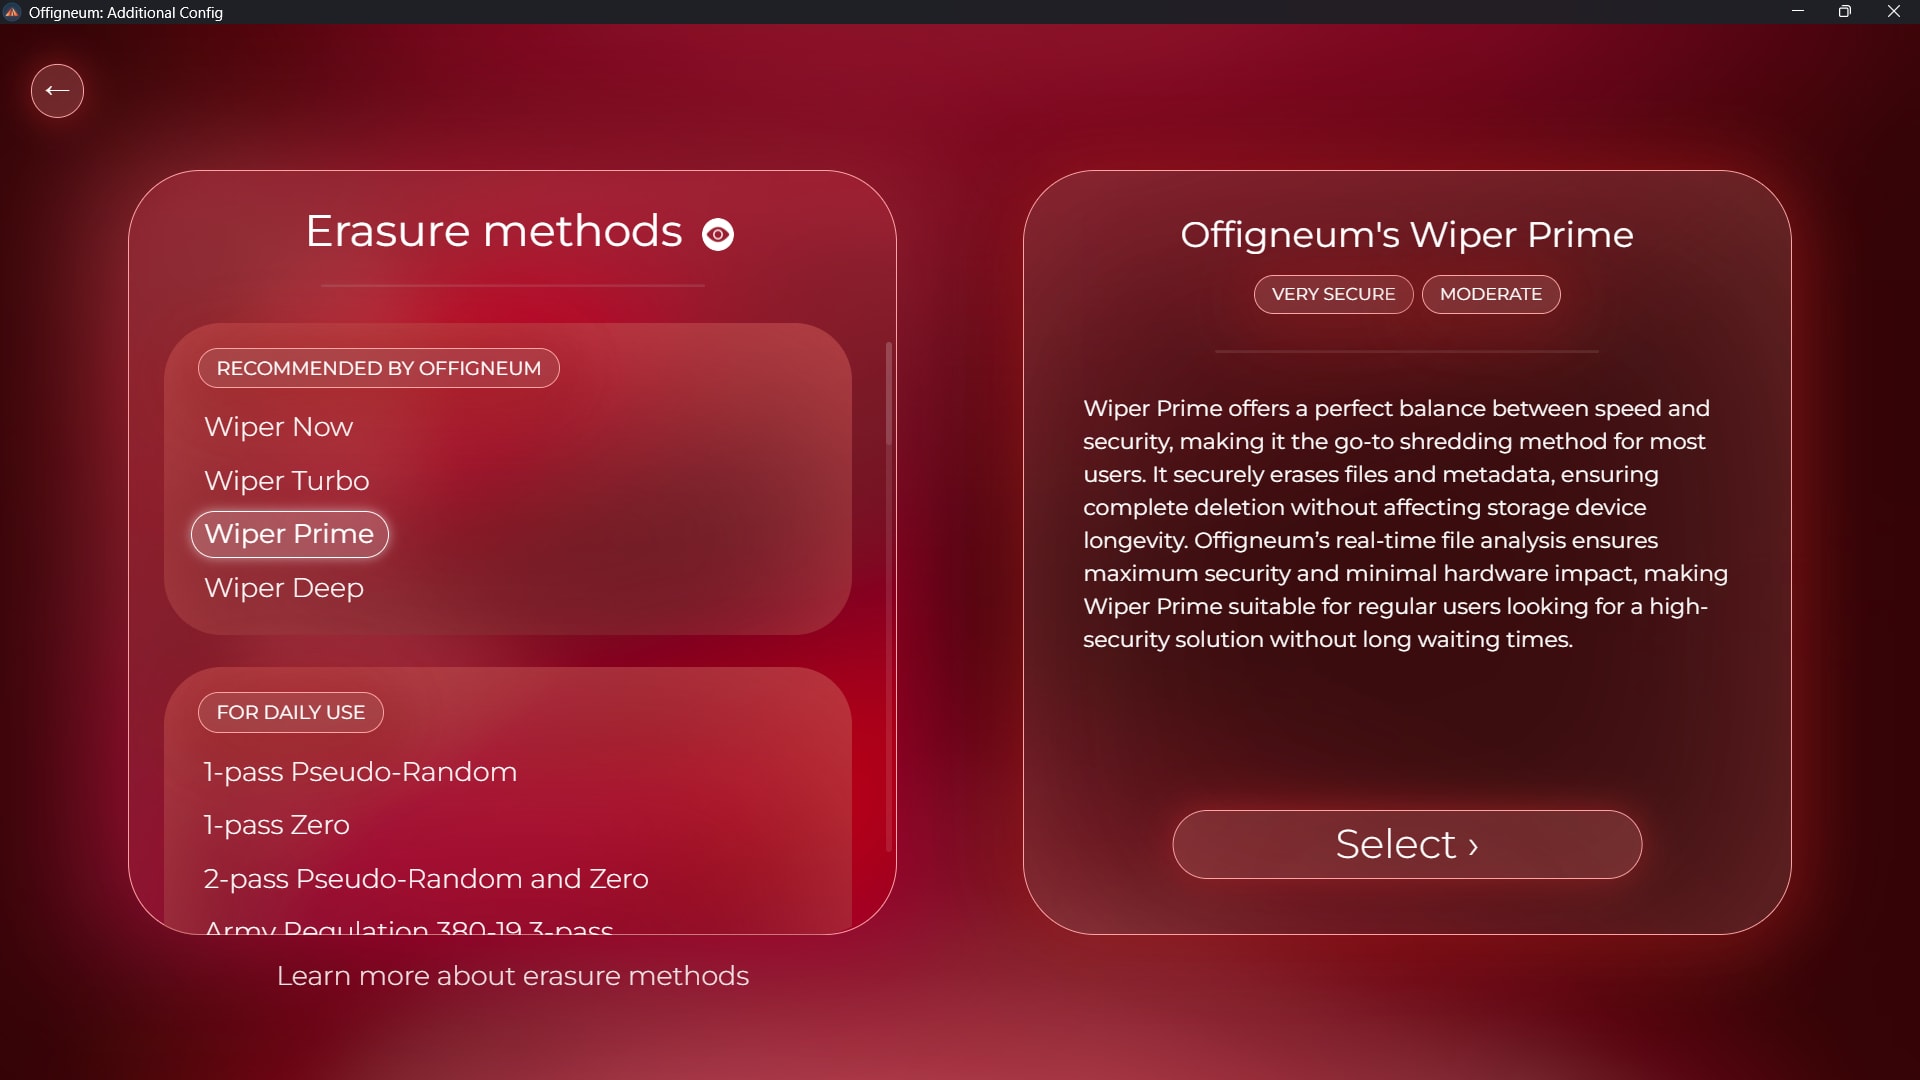
Click on the "WiperPrime" label to access Offigneum's full list of supported erasure algorithms. You can click on any algorithm to view detailed information about it, and click "Select" to choose that algorithm for use.
To explore the wide range of erasure algorithms supported by Offigneum, simply click on Wiper Prime and choose another algorithm. This will open a new window where you can browse all available erasure algorithms. Clicking on any algorithm will display detailed information, including its attributes and tags. You can also click the eye icon at the top to adjust how the algorithms are grouped—by factors such as country of origin, security level, hardware care level, etc .
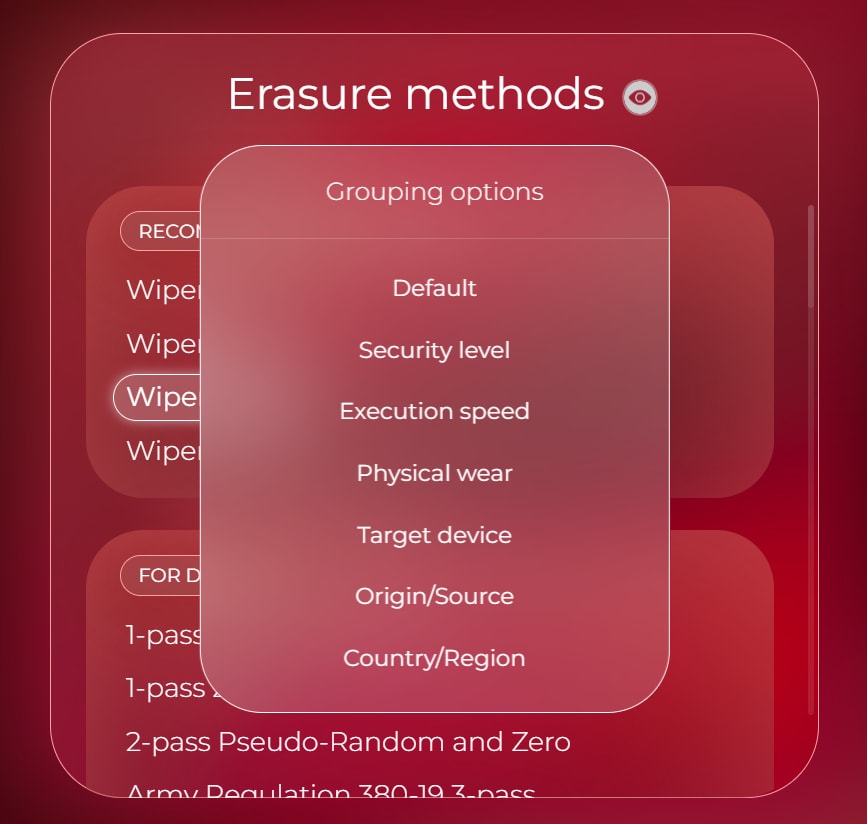
Click the eye icon at the top to switch the algorithm grouping mode for easier navigation.
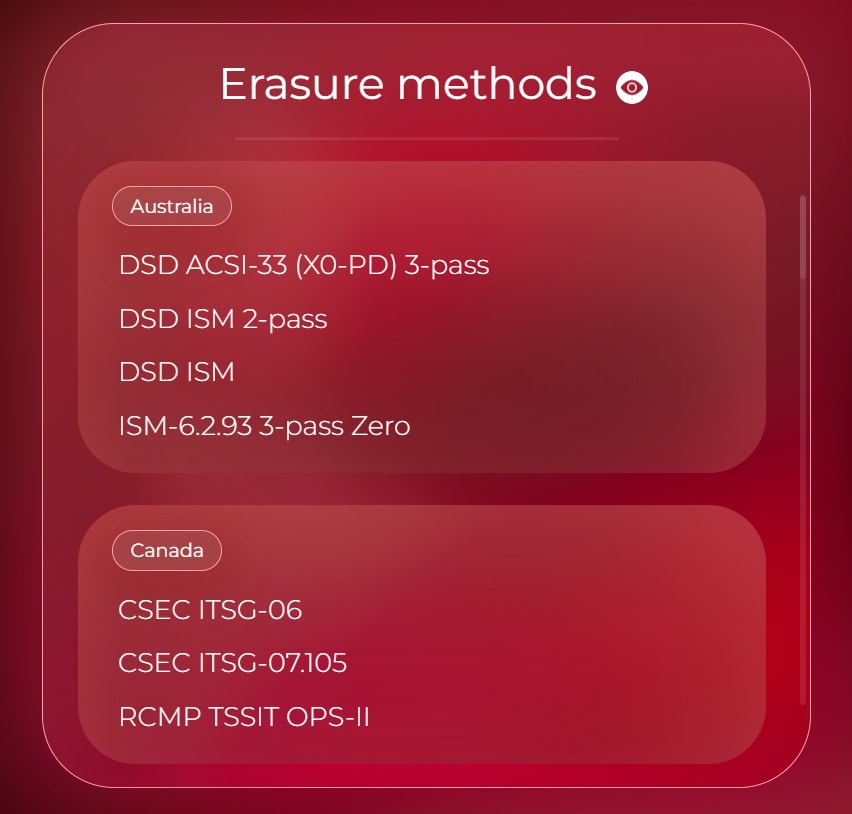
In this example, we've selected the "Country/Region" grouping method, and the algorithm list view has been updated accordingly.
Finally, once you have configured your shredding, press the "Run erasure" button to start the shredding process. All of the files and folders currently in the shredding list will be erased.
Click on the "Run Erasure" button to begin the shredding process.
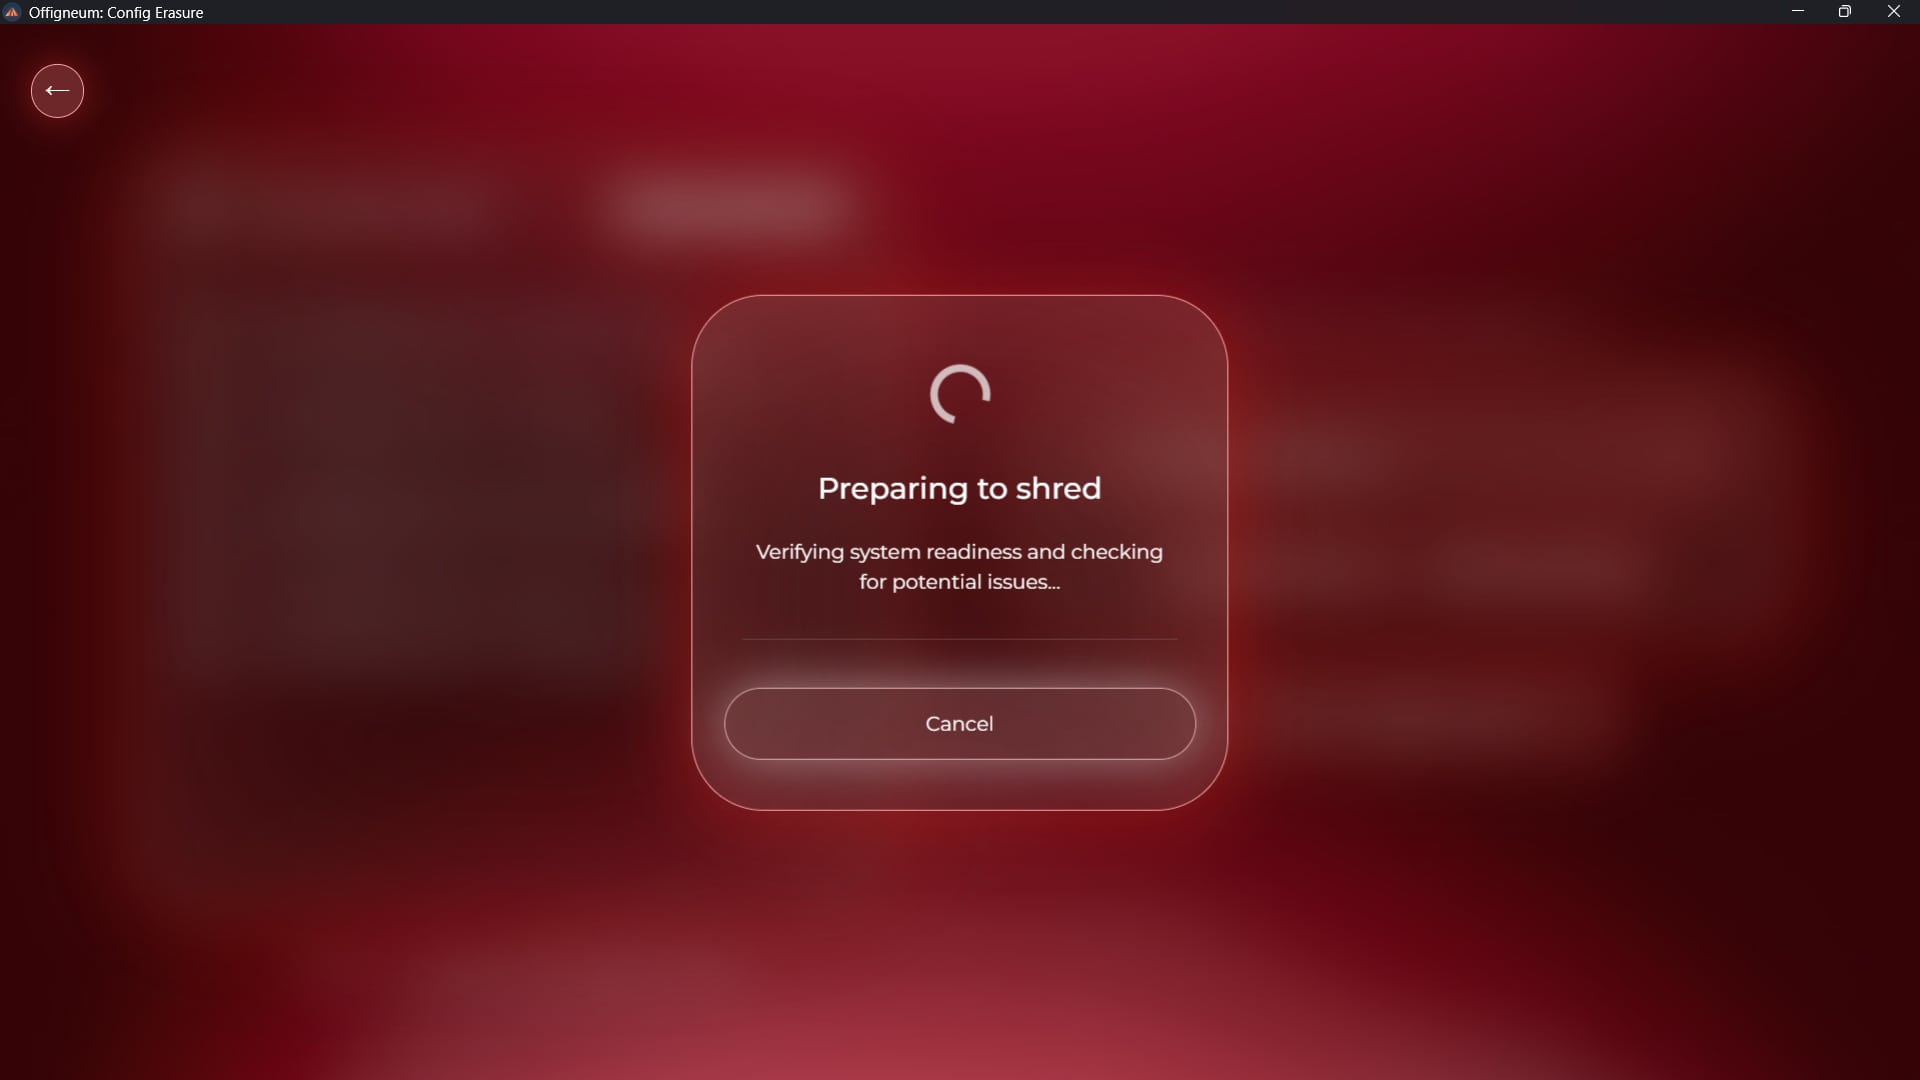
Offigneum will perform file system checks to ensure the shredding functions properly.
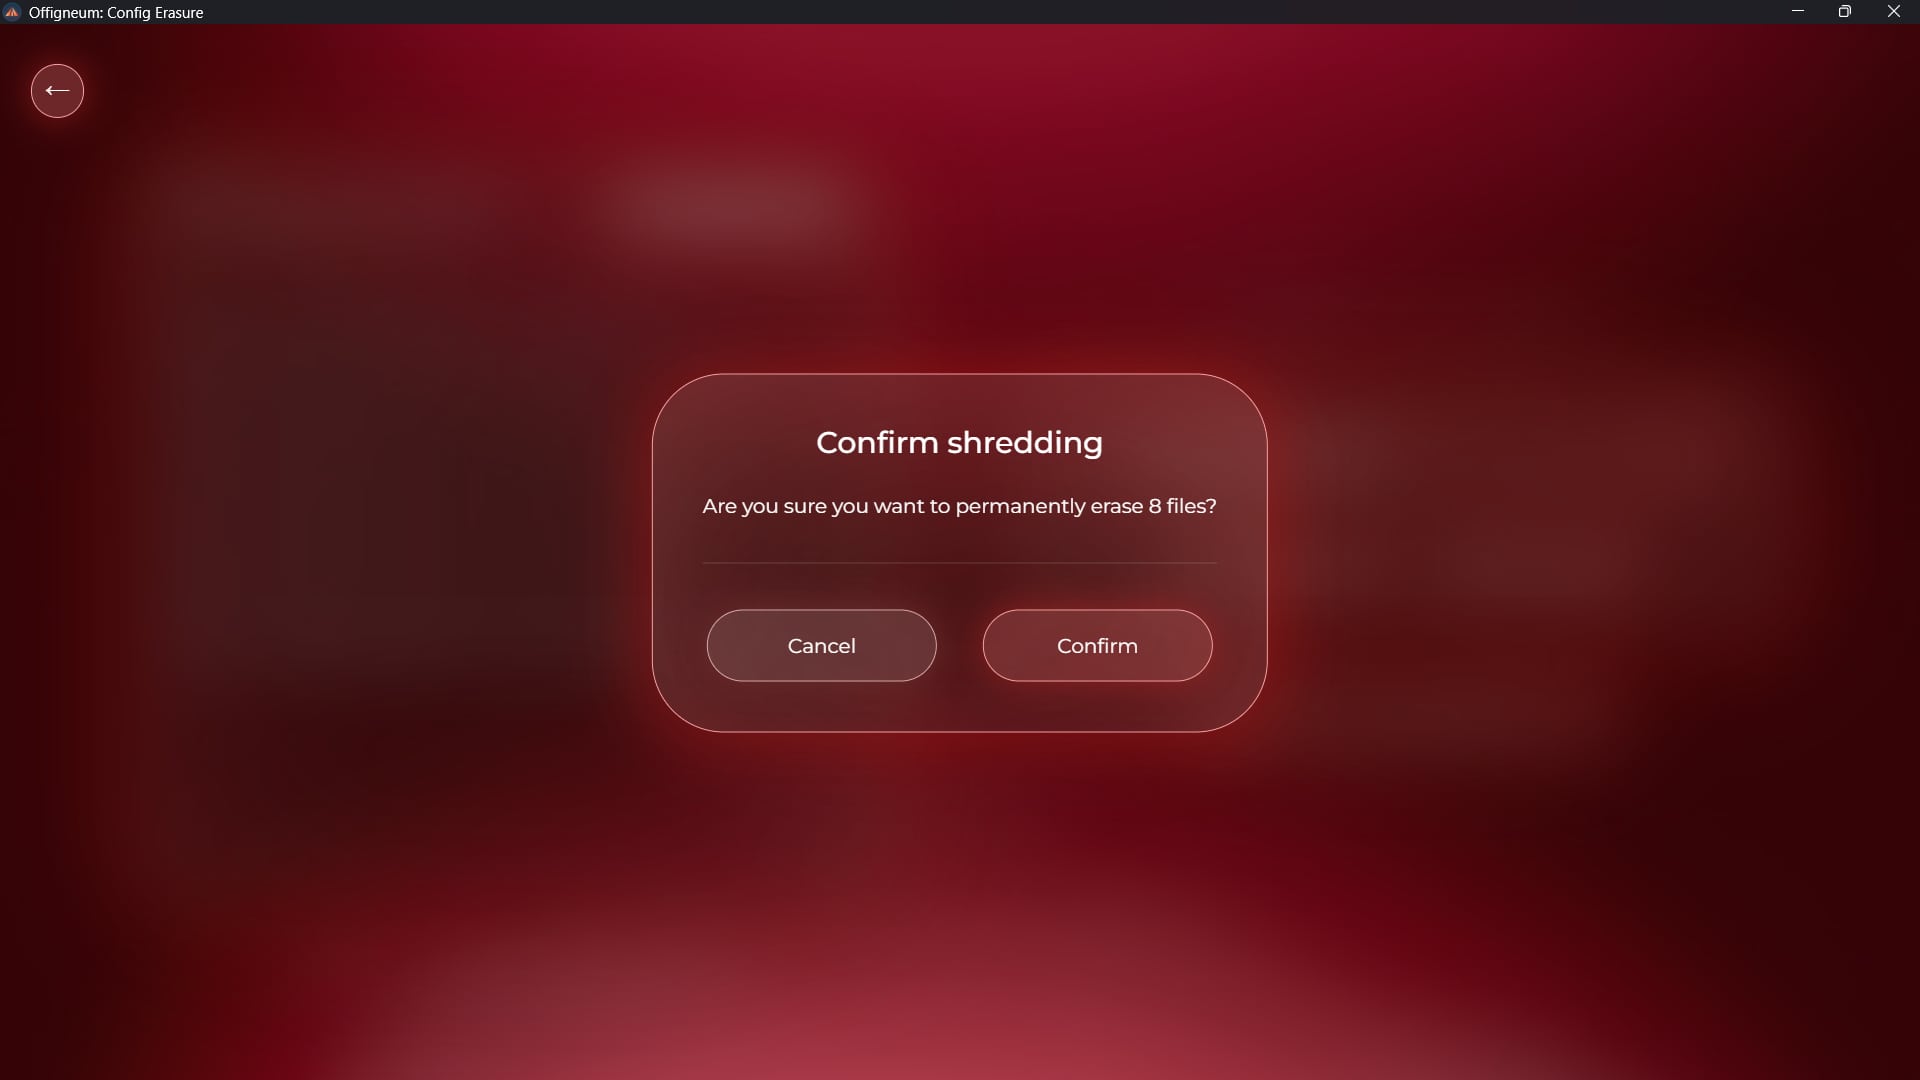
Finally, confirm the shredding to proceed. All data will be permanently erased.
Once the erasure is confirmed, Offigneum will begin shredding your files.
› During the Shredding
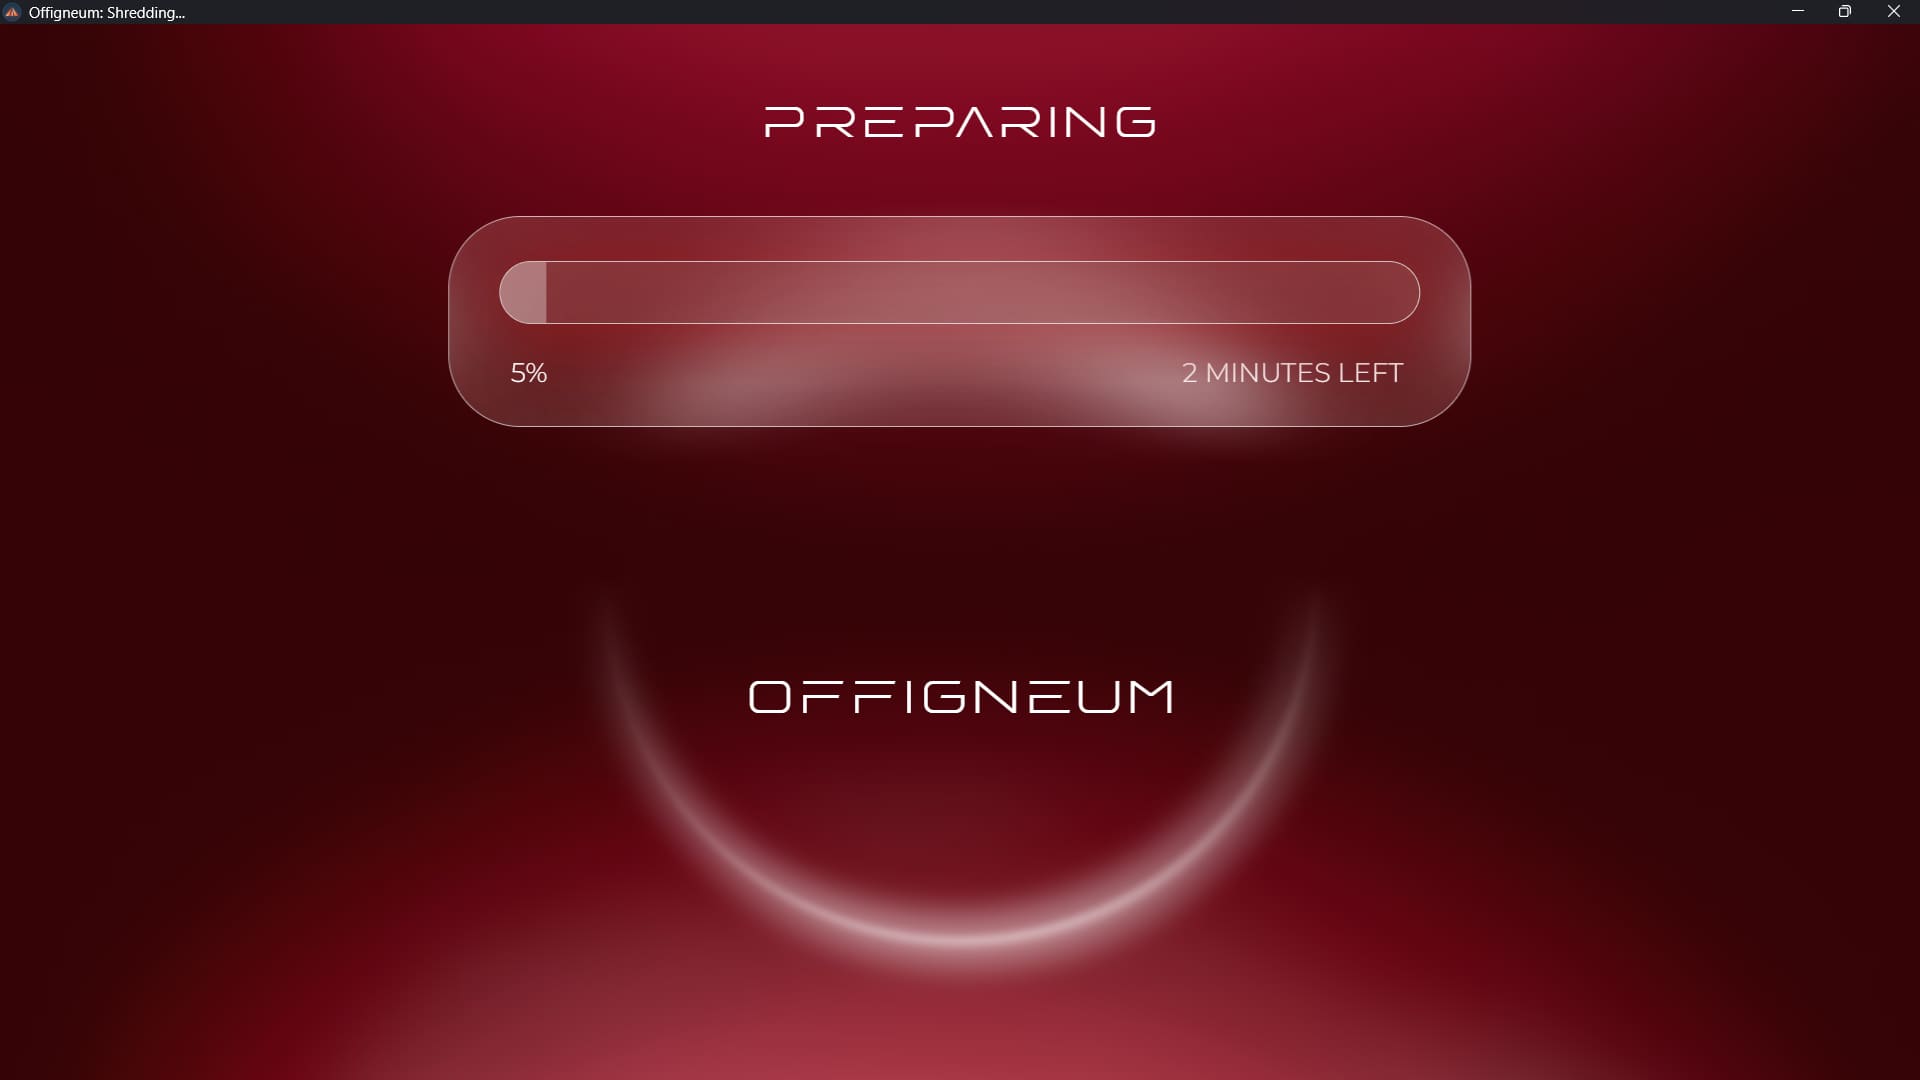
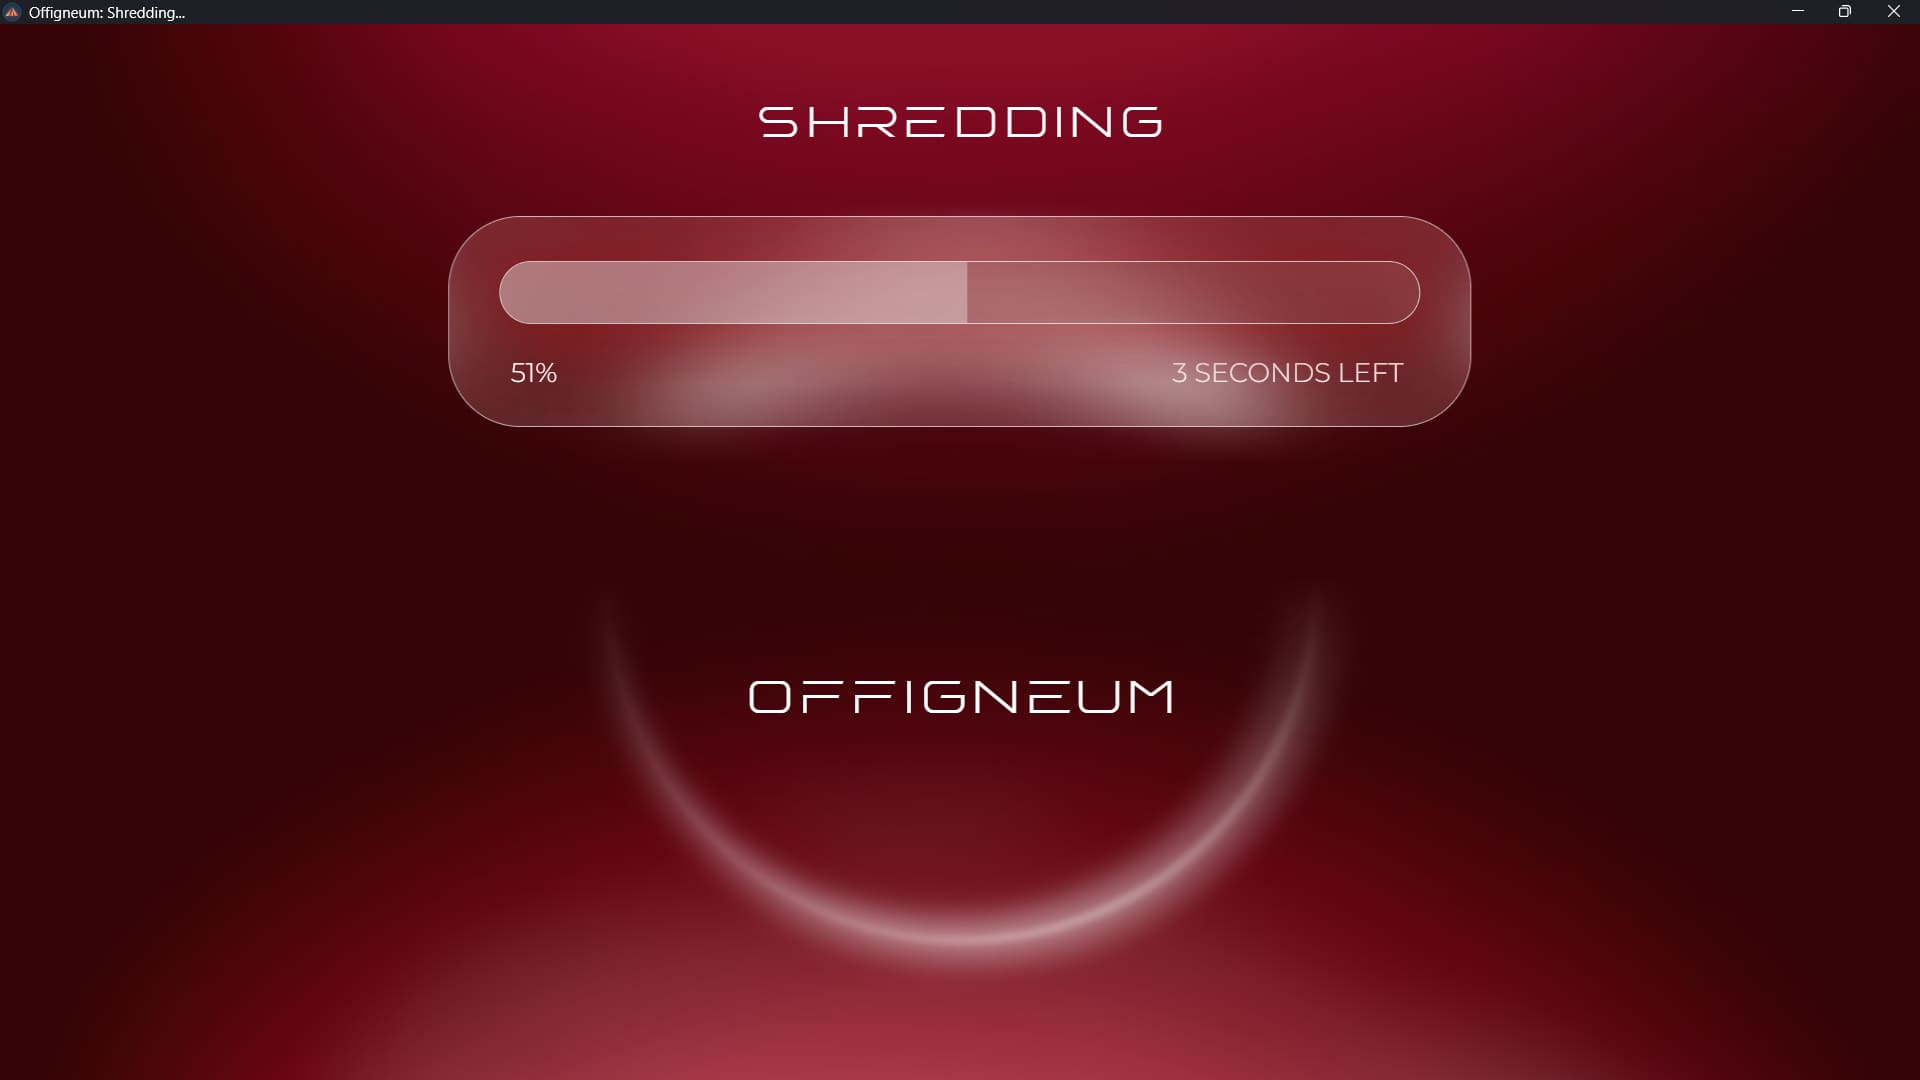
Once shredding begins, you can monitor its status, progress, and estimated completion time in real time. Please be patient as Offigneum securely erases the files. The process may take some time, depending on the speed of your storage devices, the size of the files being shredded, and the number of individual files and folders.
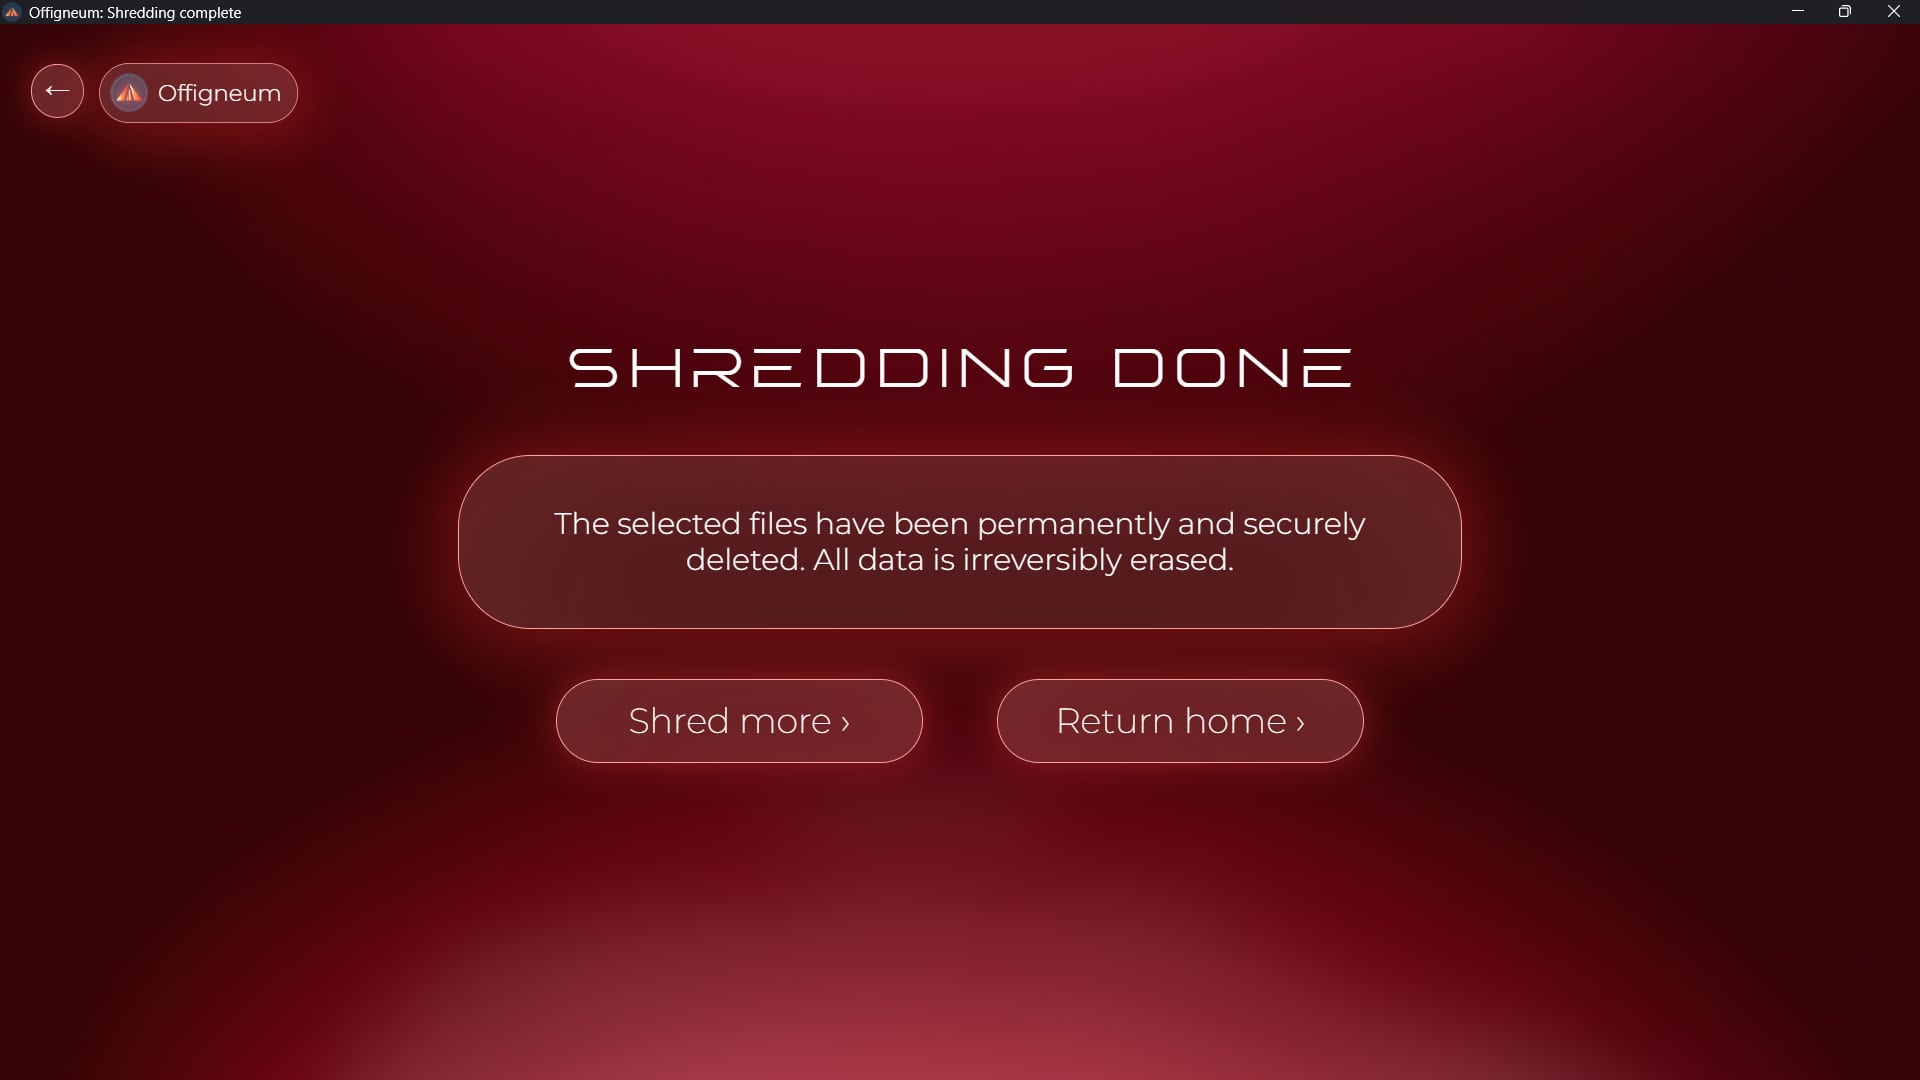
Once the shredding is complete, Offigneum will display a "Shredding Done" page, confirming that the files and folders have been securely erased.
If, for any reason, the shredding was unsuccessful, Offigneum will provide details about the files or folders it couldn’t erase. This typically occurs if the files or folders had "Read-only" access, were in use by other software on your PC, were being used by Windows itself, or if there were permission errors.
In such cases, we recommend ensuring that no other software is blocking access to the files or folders you wish to delete, that you have the necessary permissions to remove them, and that the storage device is not write-locked (as is common with many SD cards). A simple solution to ensure no other program is blocking access is to restart your computer. If the issue persists and you're unable to shred files, you may want to check the currently running programs through the "Task Manager."
Additionally, please note that if the shredding did not complete successfully, some files or folders may appear under different names—this is normal. If an external factor interrupted the process, Offigneum may have been able to rename or partially erase the file, but not delete it entirely. As a result, you might come across unexpected file or folder names, such as "AAAAAAAAAAAAAAAAAA," "BBBBBBBBBBBBBBBB," or other unfamiliar labels.
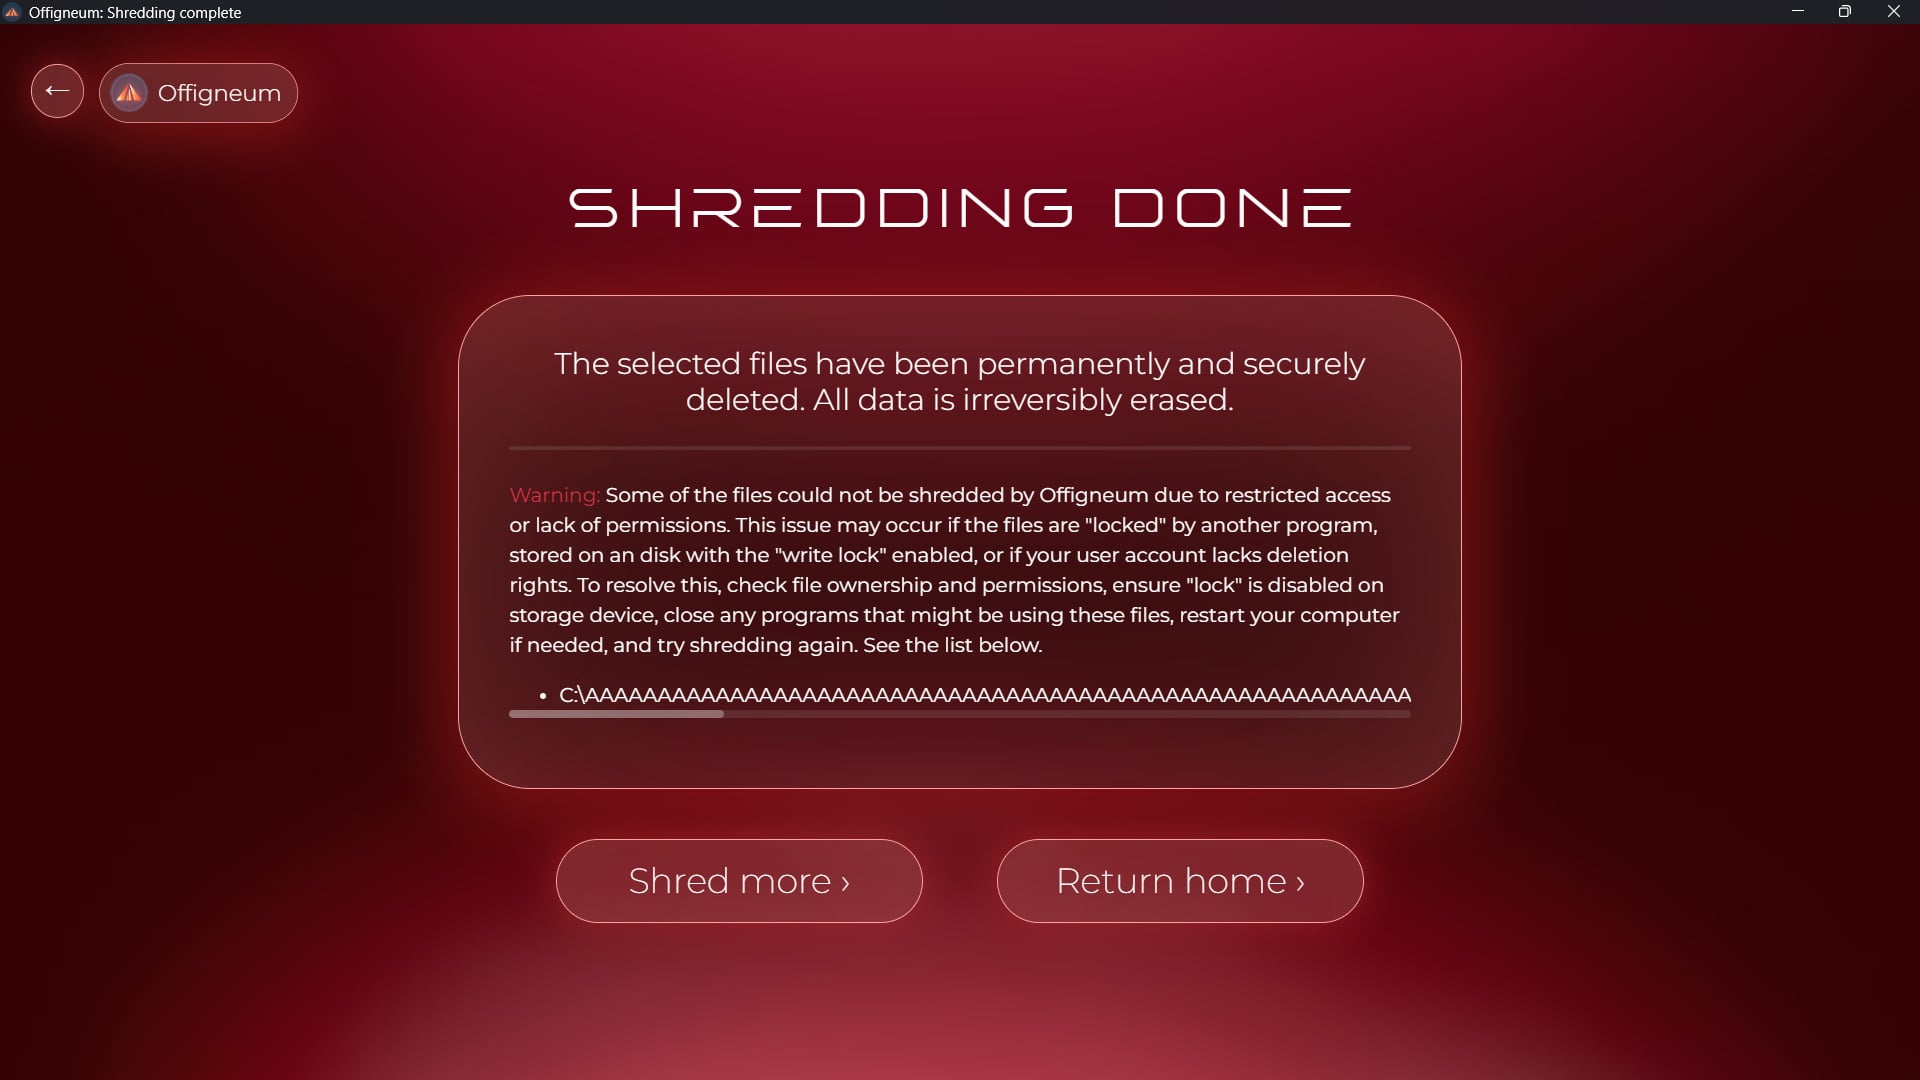
If some files or folders have not been shredded by Offigneum, you’ll see similar error information. For your convenience, you can use your mouse or hotkeys (like Ctrl+A) to copy the complete list of paths that weren’t deleted.
› Shredding the Recycle Bin
From the Main window menu, click on the "Recycle Bin" option.
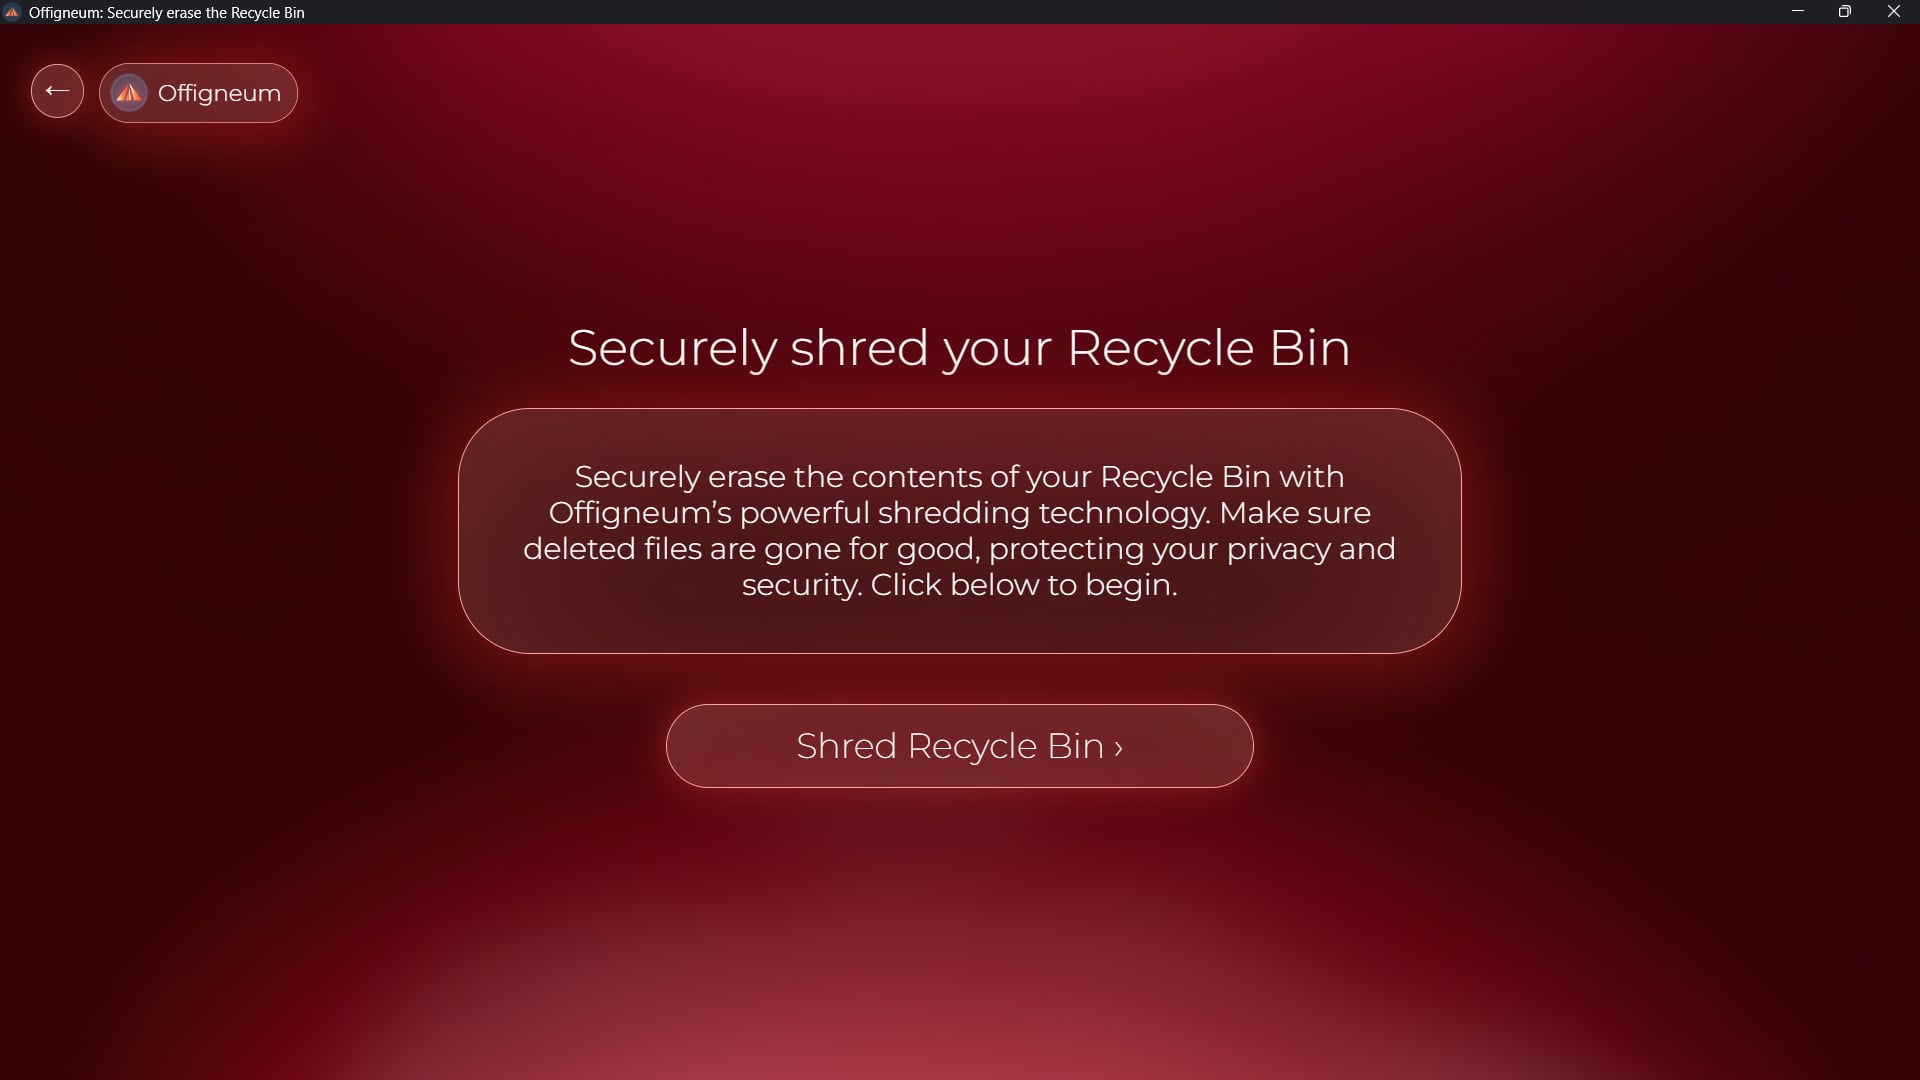
Use this window to securely shred the contents of your Recycle Bin.
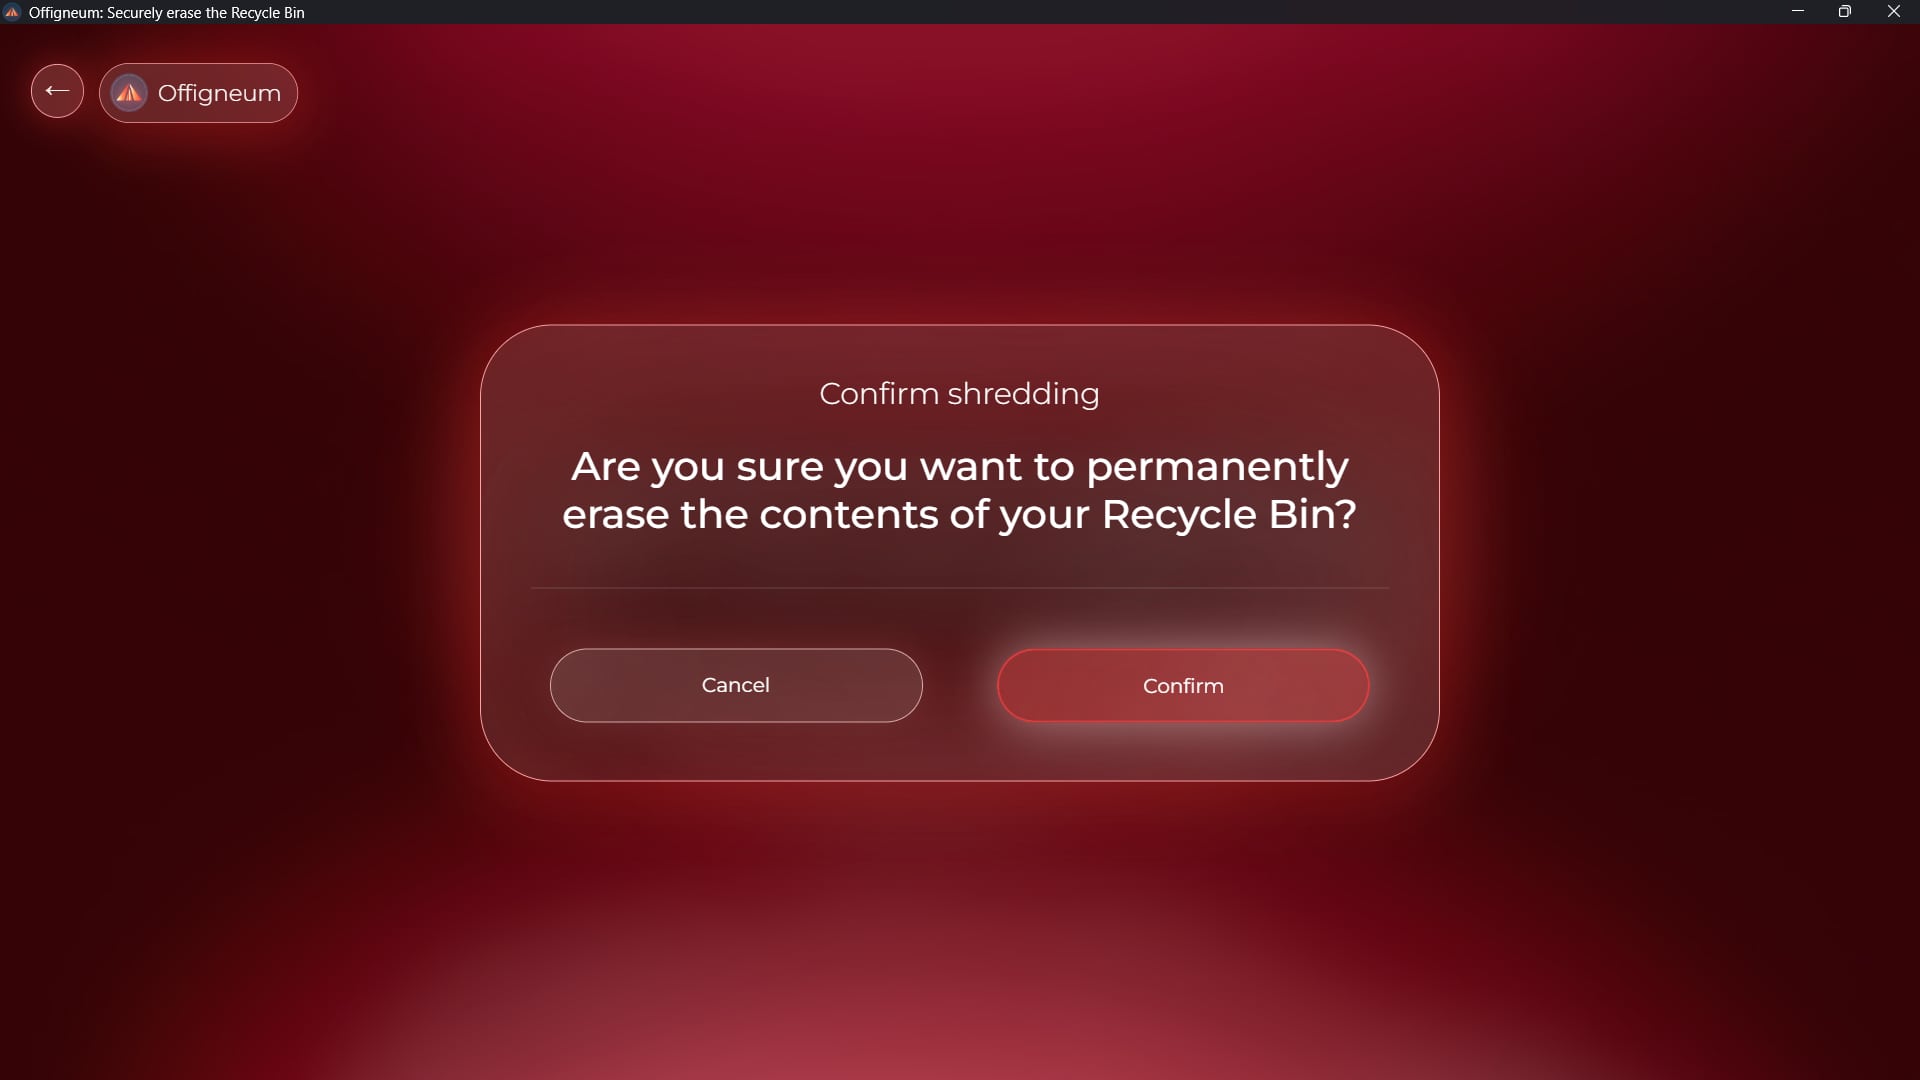
Confirm the shredding to proceed. All data will be permanently erased.
Offigneum makes it easy to securely shred the contents of your Recycle Bin. To do so, simply click the "Recycle Bin" option in the Main window menu. Then, click the "Shred Recycle Bin" button and confirm the shredding. Afterward, you'll see the standard shredding progress window.
› Erasing disks
Open the Erase Disk feature. From the main window menu, click on "Erase Disk".
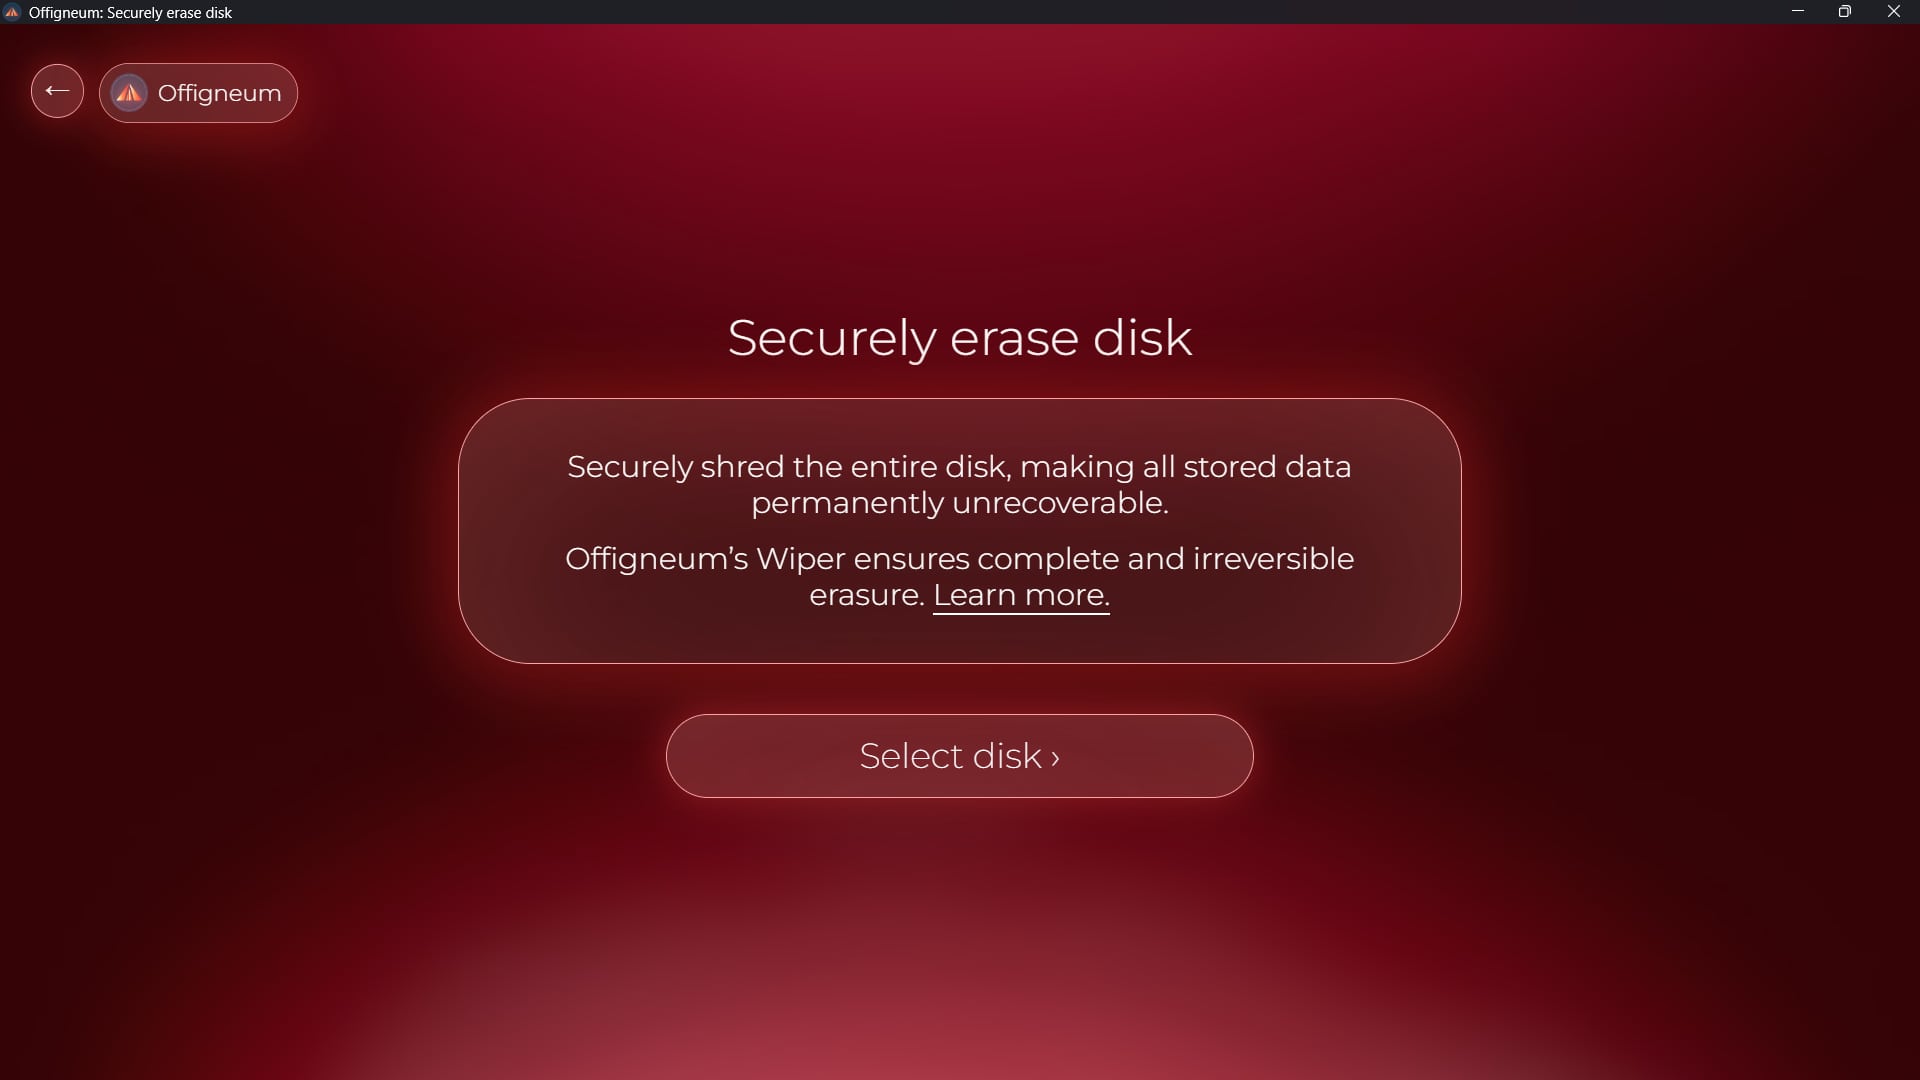
Feature Introduction. A new window will appear with a brief introduction to the disk shredding feature.
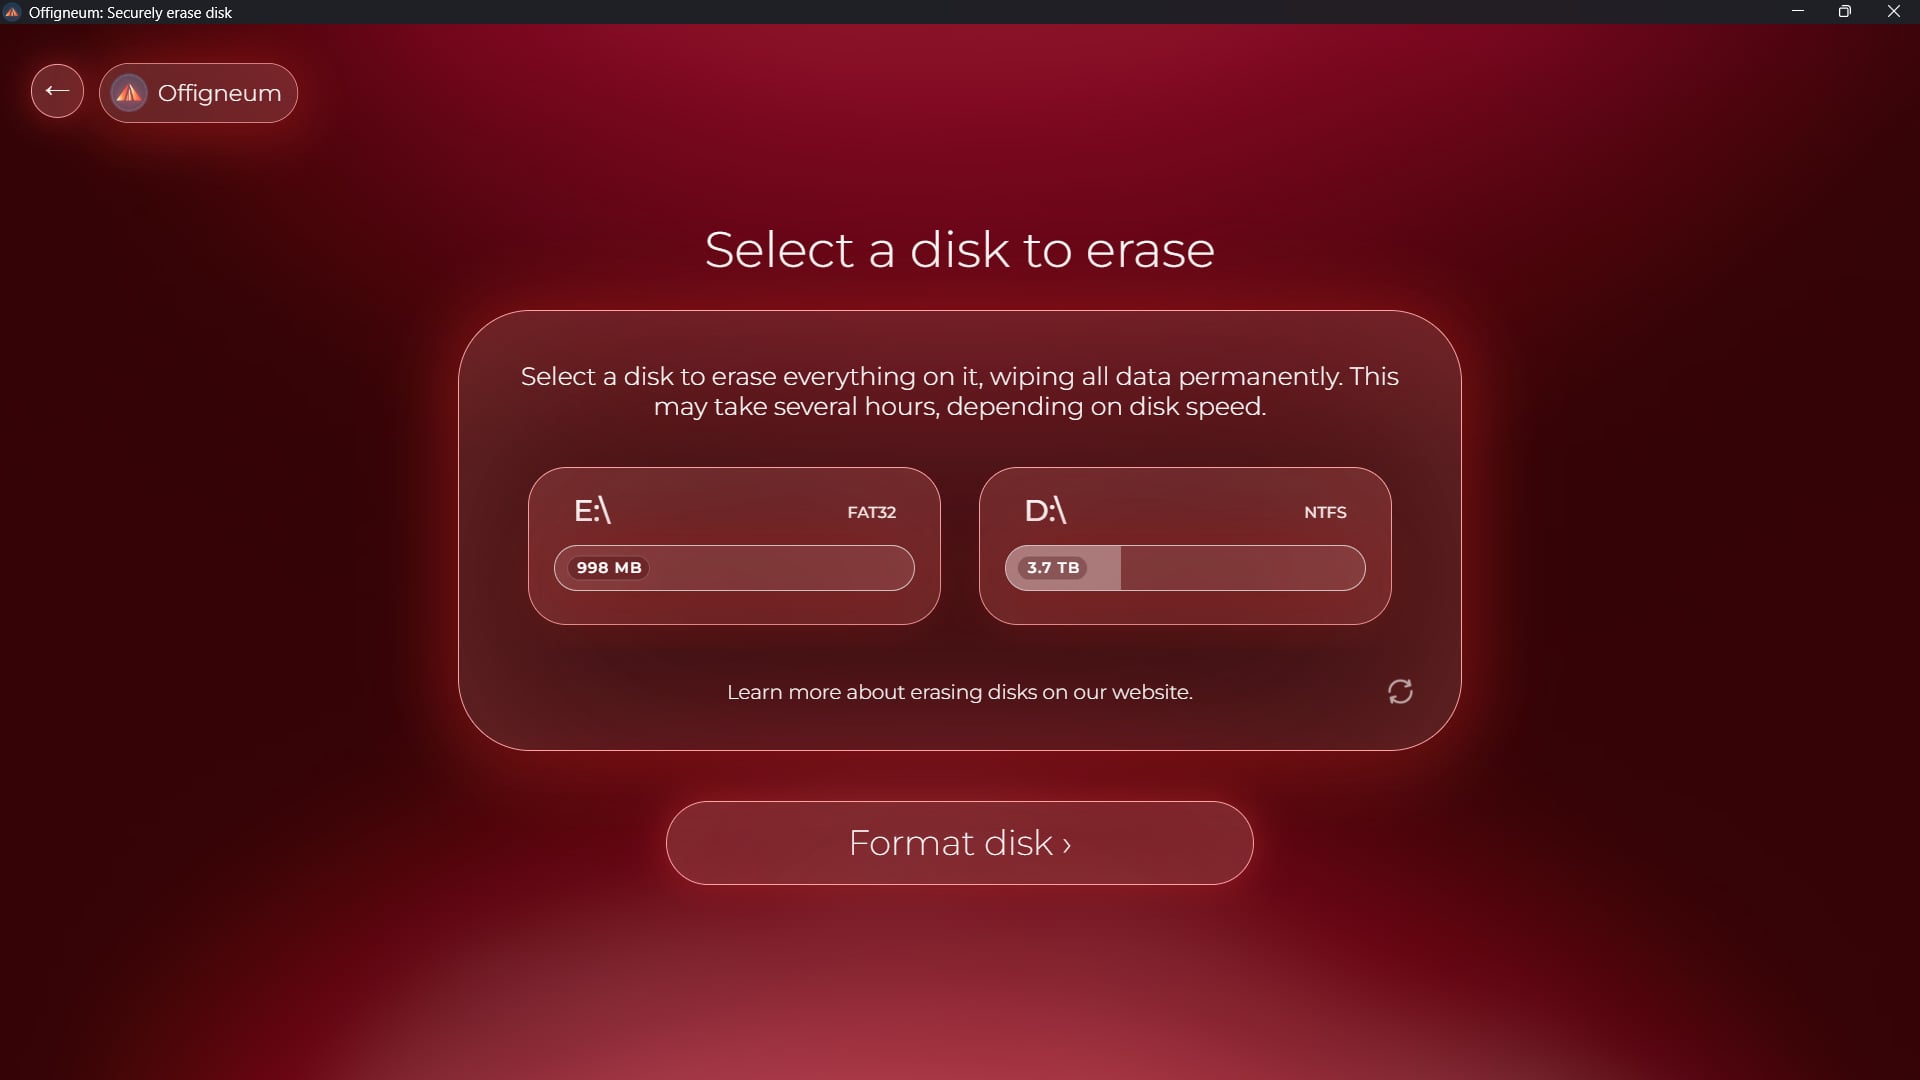
Select a Disk to Erase. Choose the disk you want to shred. All data on this disk will be permanently deleted—double-check before proceeding.

Confirm and Start Shredding. Confirm your selection to begin the shredding process. This may take a significant amount of time depending on the drive.

Shredding Complete. Once shredding is finished, Offigneum will display a confirmation message.
Offigneum includes a powerful feature that allows you to securely shred an entire drive. Think of it as formatting—but for security. This process completely erases all data from the selected disk, making it ideal for situations where you need to ensure that no information can ever be recovered.
To use this feature:
Click "Erase Disk" in the main window menu.
Select the drive you want to erase.
Confirm the shredding operation.
Once confirmed, the standard shredding progress window will appear, showing the status as the drive is securely erased.
Important Note: Please be aware that shredding an entire drive can take a significant amount of time—potentially several hours—depending primarily on the speed of your drive.
This action is irreversible. Once a drive is erased, no data can be recovered. Double-check that you’ve selected the correct disk before proceeding.
For more information on how this feature works, see our short dedicated guide: Offigneum: Securely Erase Disk Feature Guide
› Wiping Free Space
Access the Wipe Free Space function. From the main window menu, click on "Wipe space".
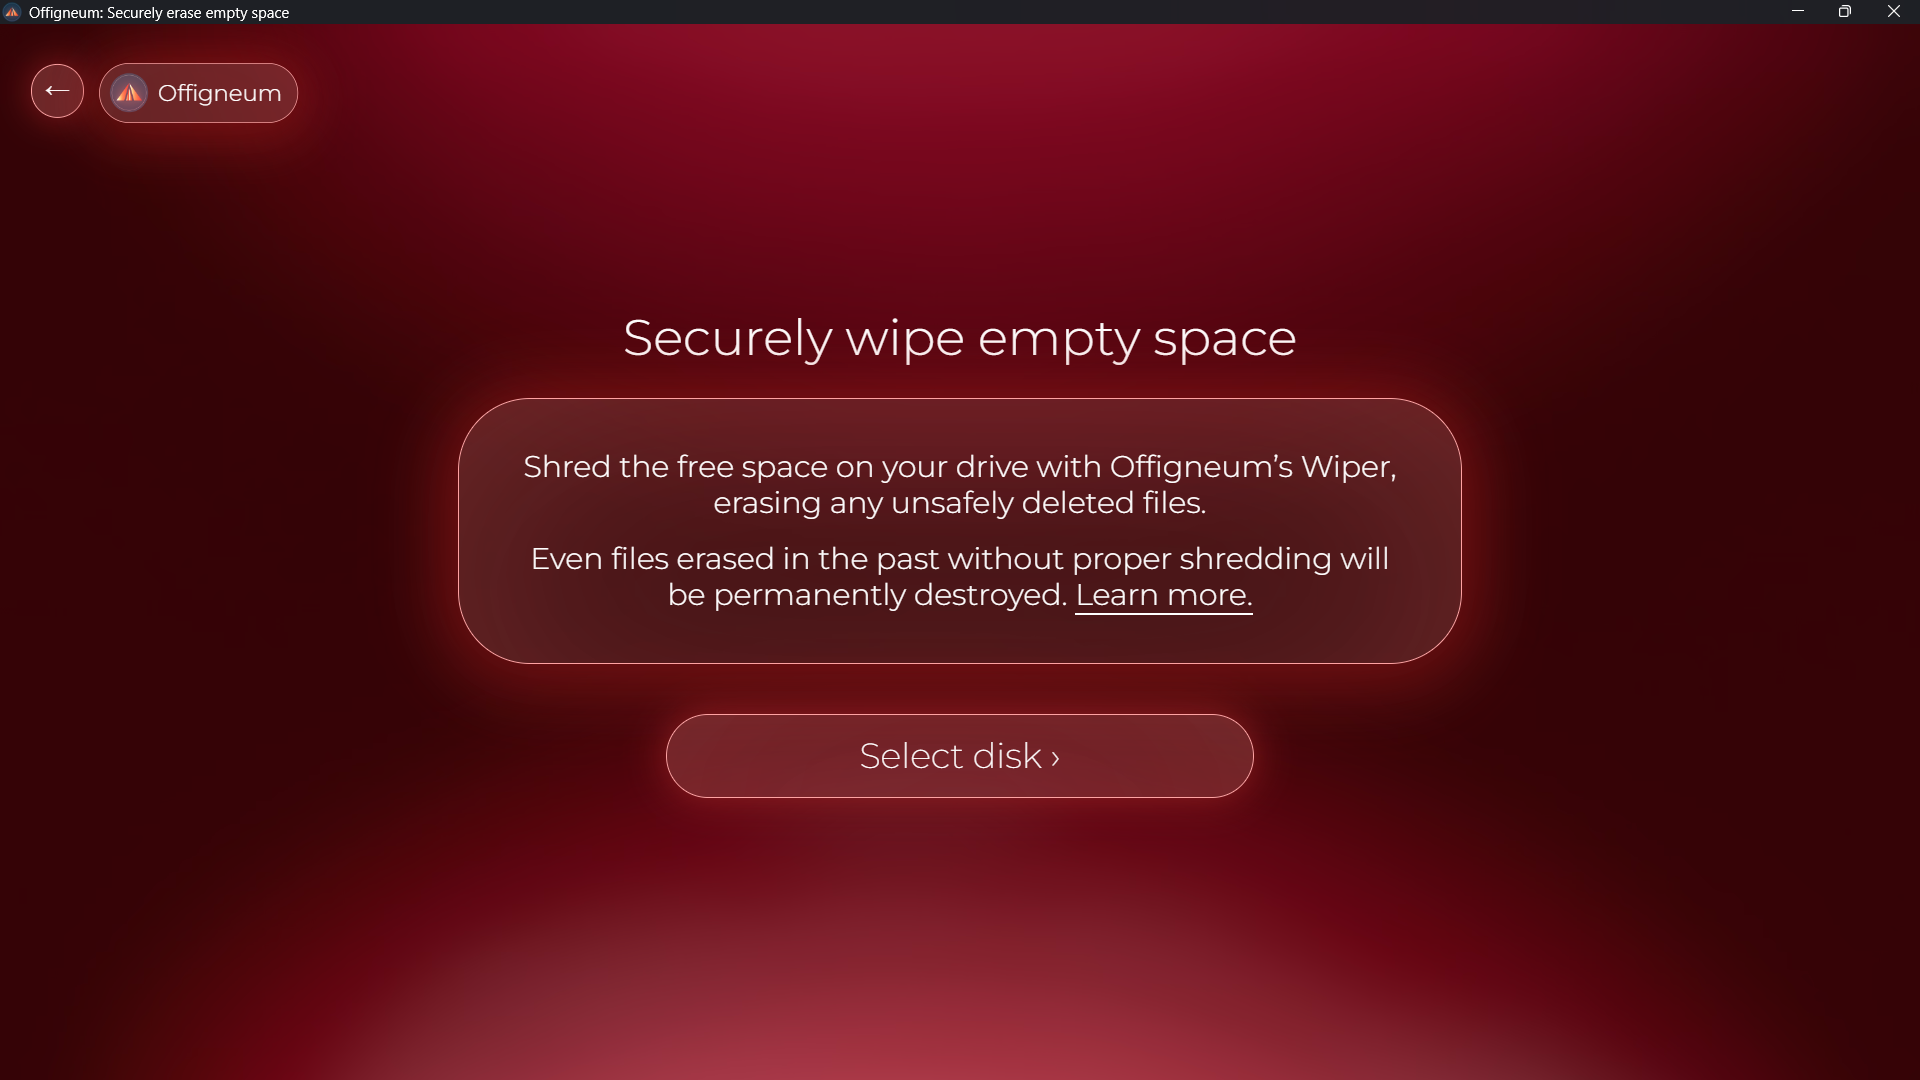
Feature Introduction. A new window will appear with a brief introduction to the free space wiping feature.
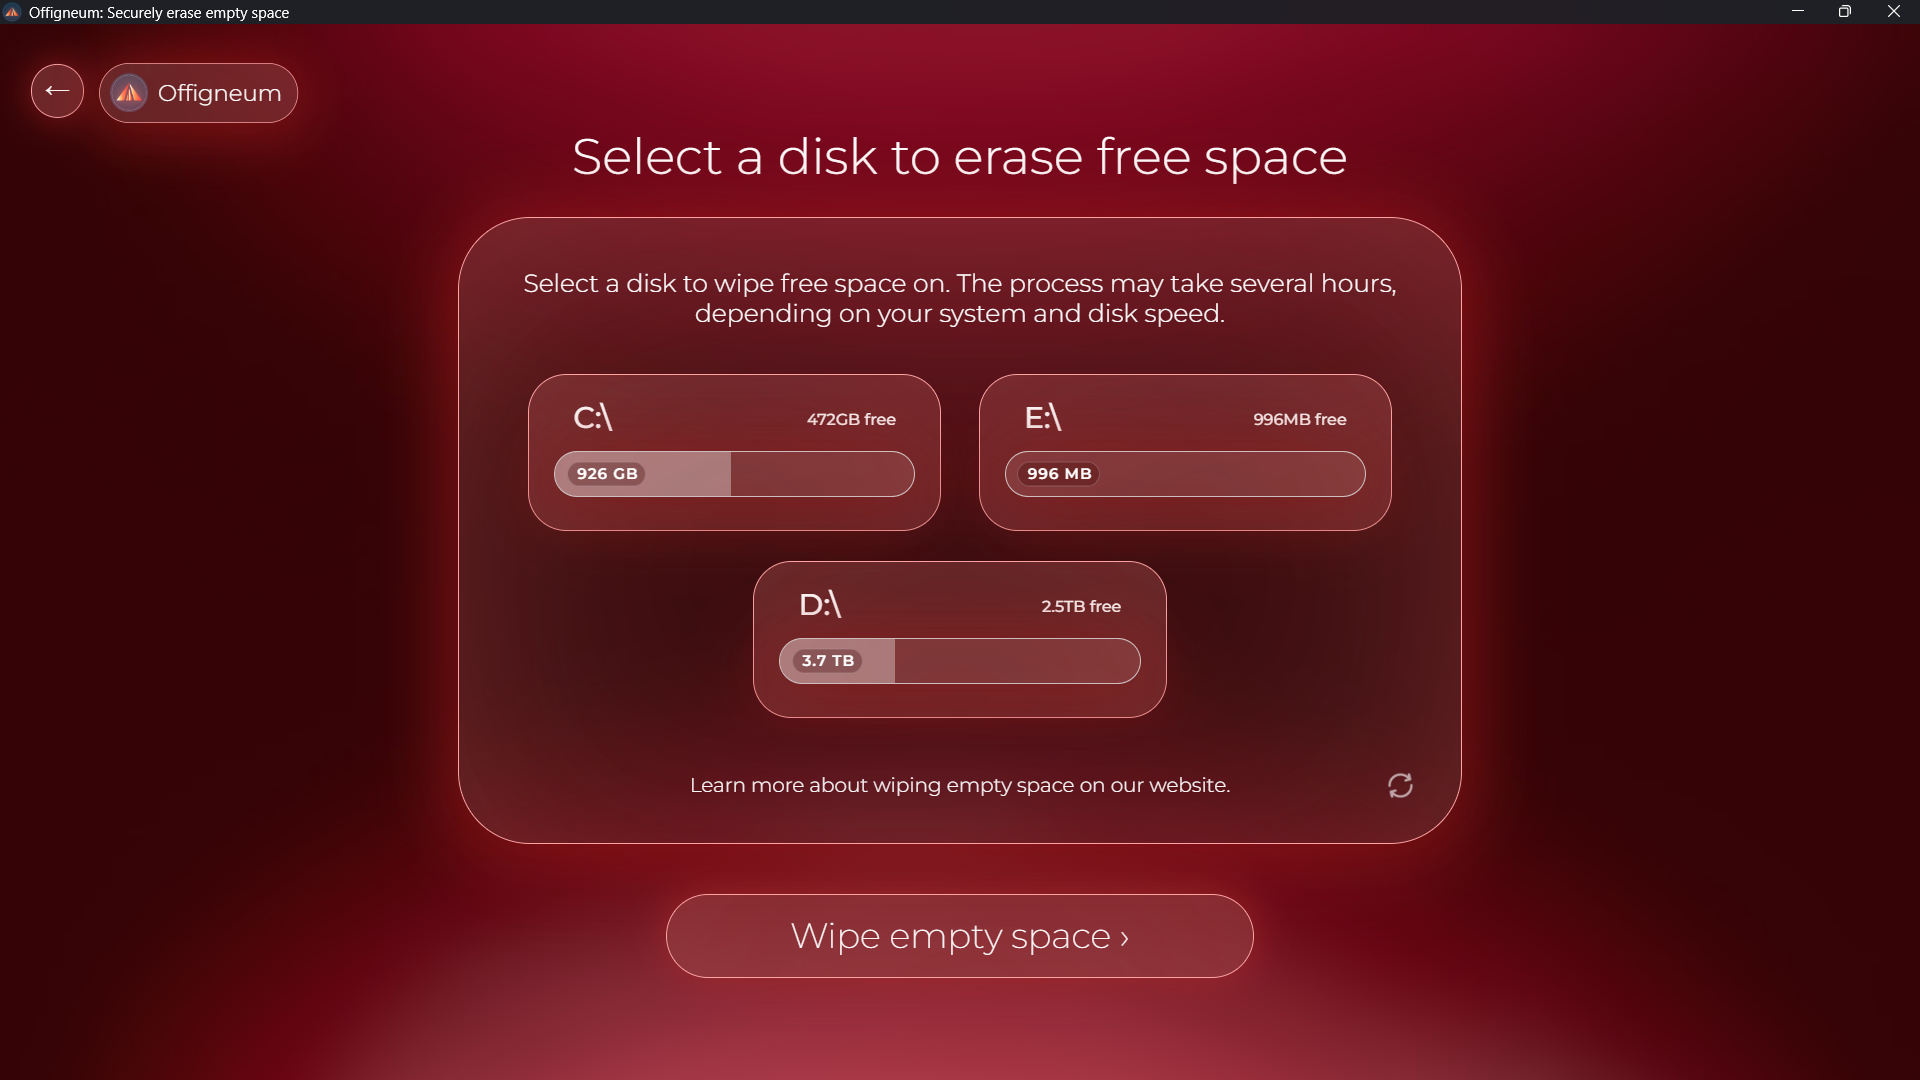
Select a Disk to Wipe Free Space. Choose the disk where you want to wipe free space. Your existing files will remain untouched.
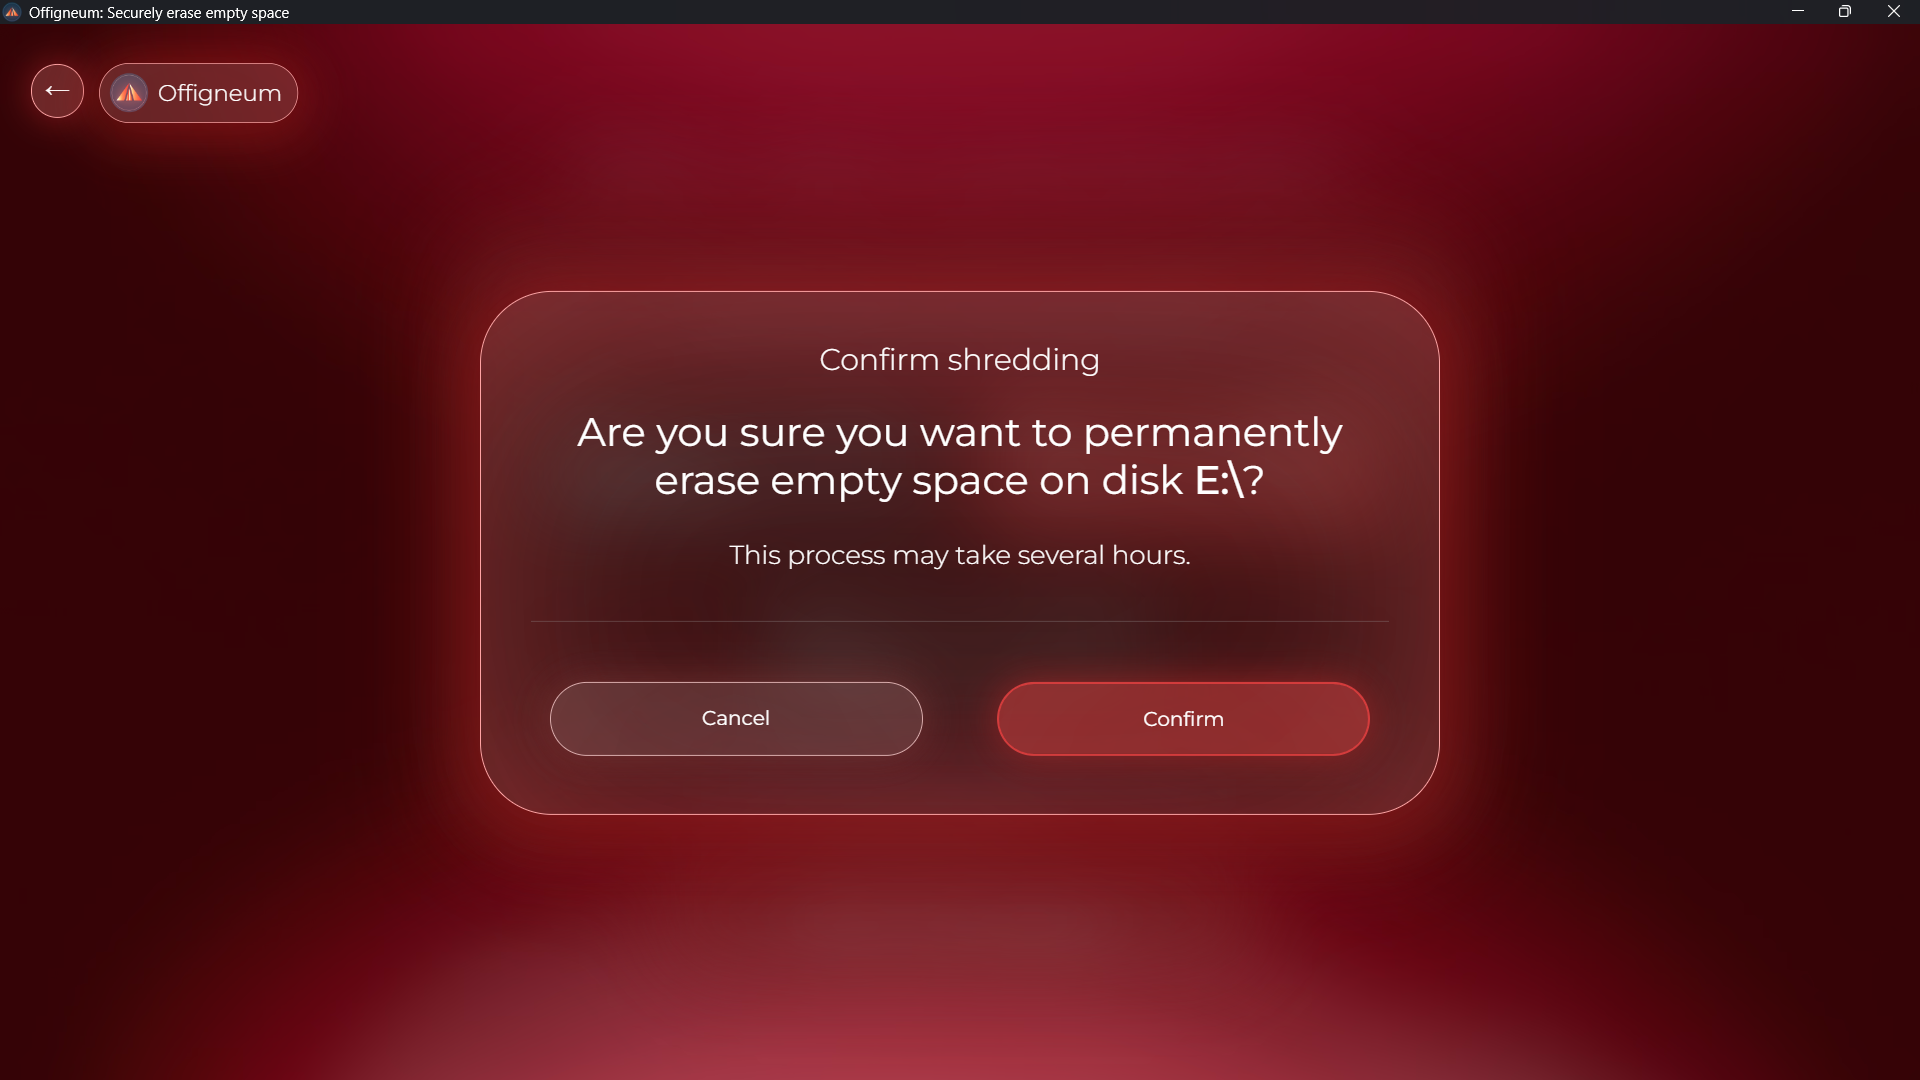
Confirm and Start Wiping. Confirm your selection to begin the free space wiping process. This may take a significant amount of time depending on the drive size.
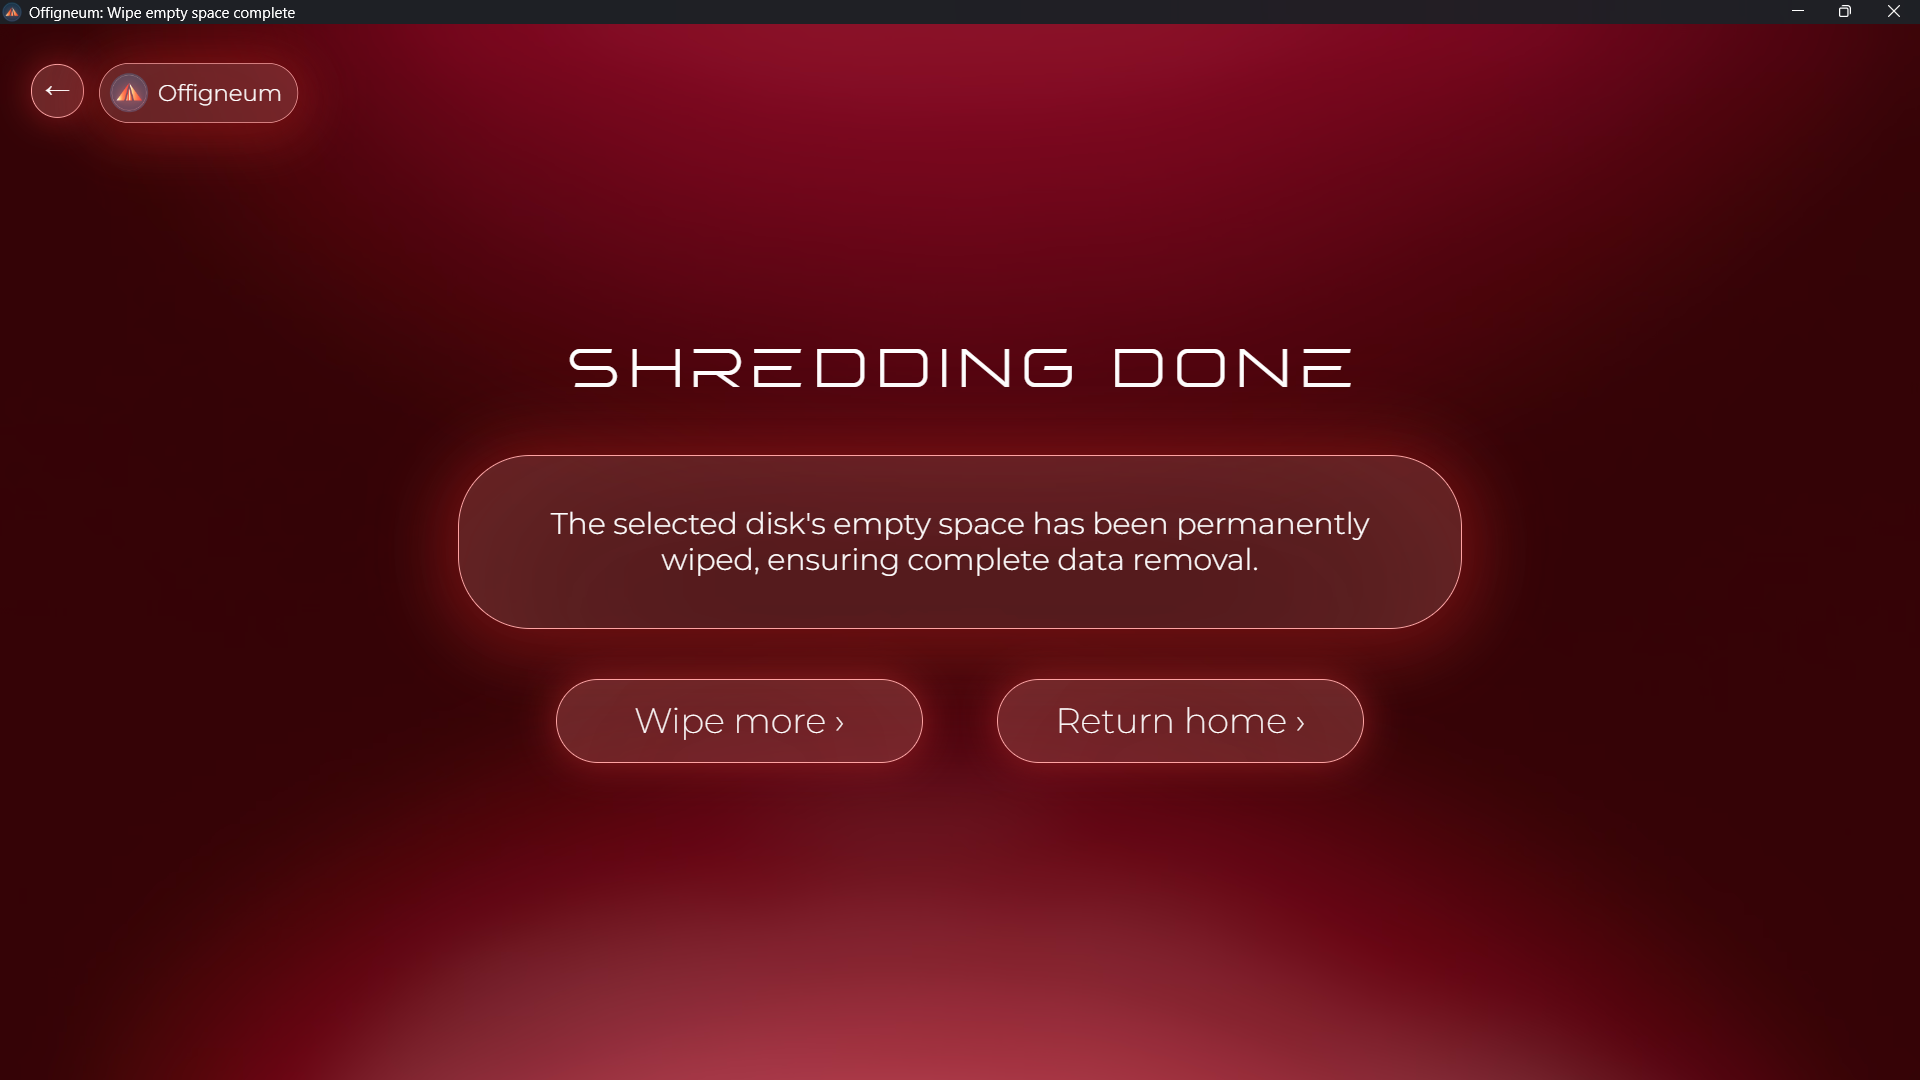
Shredding Complete. Once shredding of the empty space is finished, Offigneum will display a confirmation message.
Offigneum includes a specialized feature that securely wipes only the free space on your drive. Unlike the "Erase Disk" feature which removes everything, "Wipe Free Space" erases only the remnants of previously deleted files while preserving all your current data.
To use this feature:
Click "Wipe Space" in the main window menu.
Select the drive where you want to wipe free space.
Confirm the wiping operation.
Once confirmed, the standard wiping progress window will appear, showing the status as the free space is securely erased.
Important Note: Please be aware that wiping free space can take a significant amount of time—potentially several hours—depending on the size of your drive, its speed, and your computer's performance.
This process makes previously deleted files unrecoverable while keeping your current files intact, making it perfect for when you want to maintain privacy without reformatting your entire drive.
For more information on how this feature works, see our short dedicated guide: Offigneum: Securely Wipe Free Space Feature Guide
› Settings
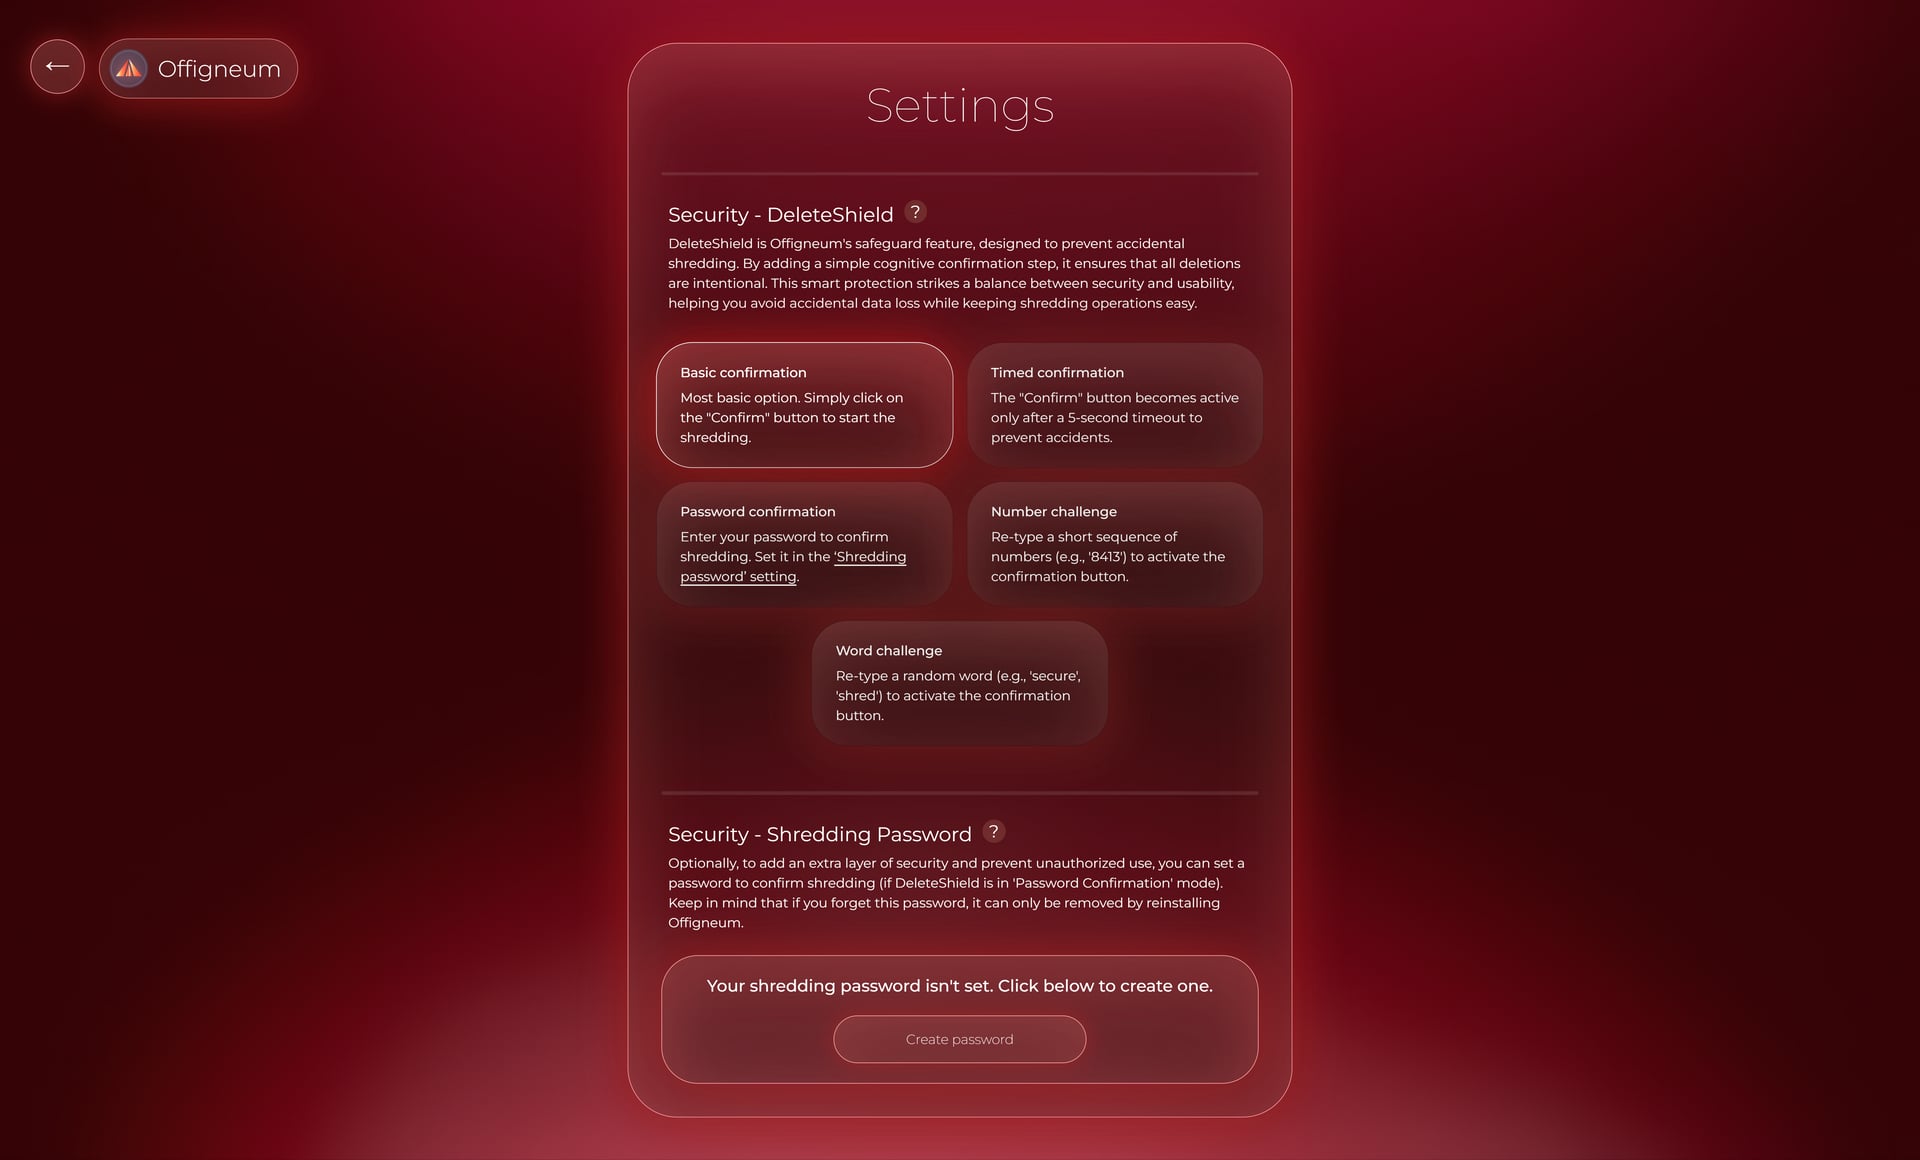
Offigneum's Settings window.
From the Main window menu, you can access Offigneum's settings. In the Settings window, you'll find options to configure how DeleteShield protects against accidental file deletions.
DeleteShield is a powerful feature that helps prevent unintentional deletions by requiring users to confirm their actions through customizable confirmation dialogs. These dialogs include:
- Rewriting a word
- Entering a sequence of numbers
- Authorizing shredding with a password
- Setting up a timed confirmation
In the Settings window, you can adjust the DeleteShield mode to fit your preferences. Once you're finished, simply click the "Back" button in the top-left corner. Any changes you make are saved automatically.
› Floating Menu

Offigneum's floating menu in the open state. Click the "←" symbol to go back, or click the "Offigneum" label to toggle the floating menu.
In the top-left corner of the window, next to the "Back" button ("←" symbol), you'll occasionally see Offigneum's floating menu, which provides quick navigation options within the program.
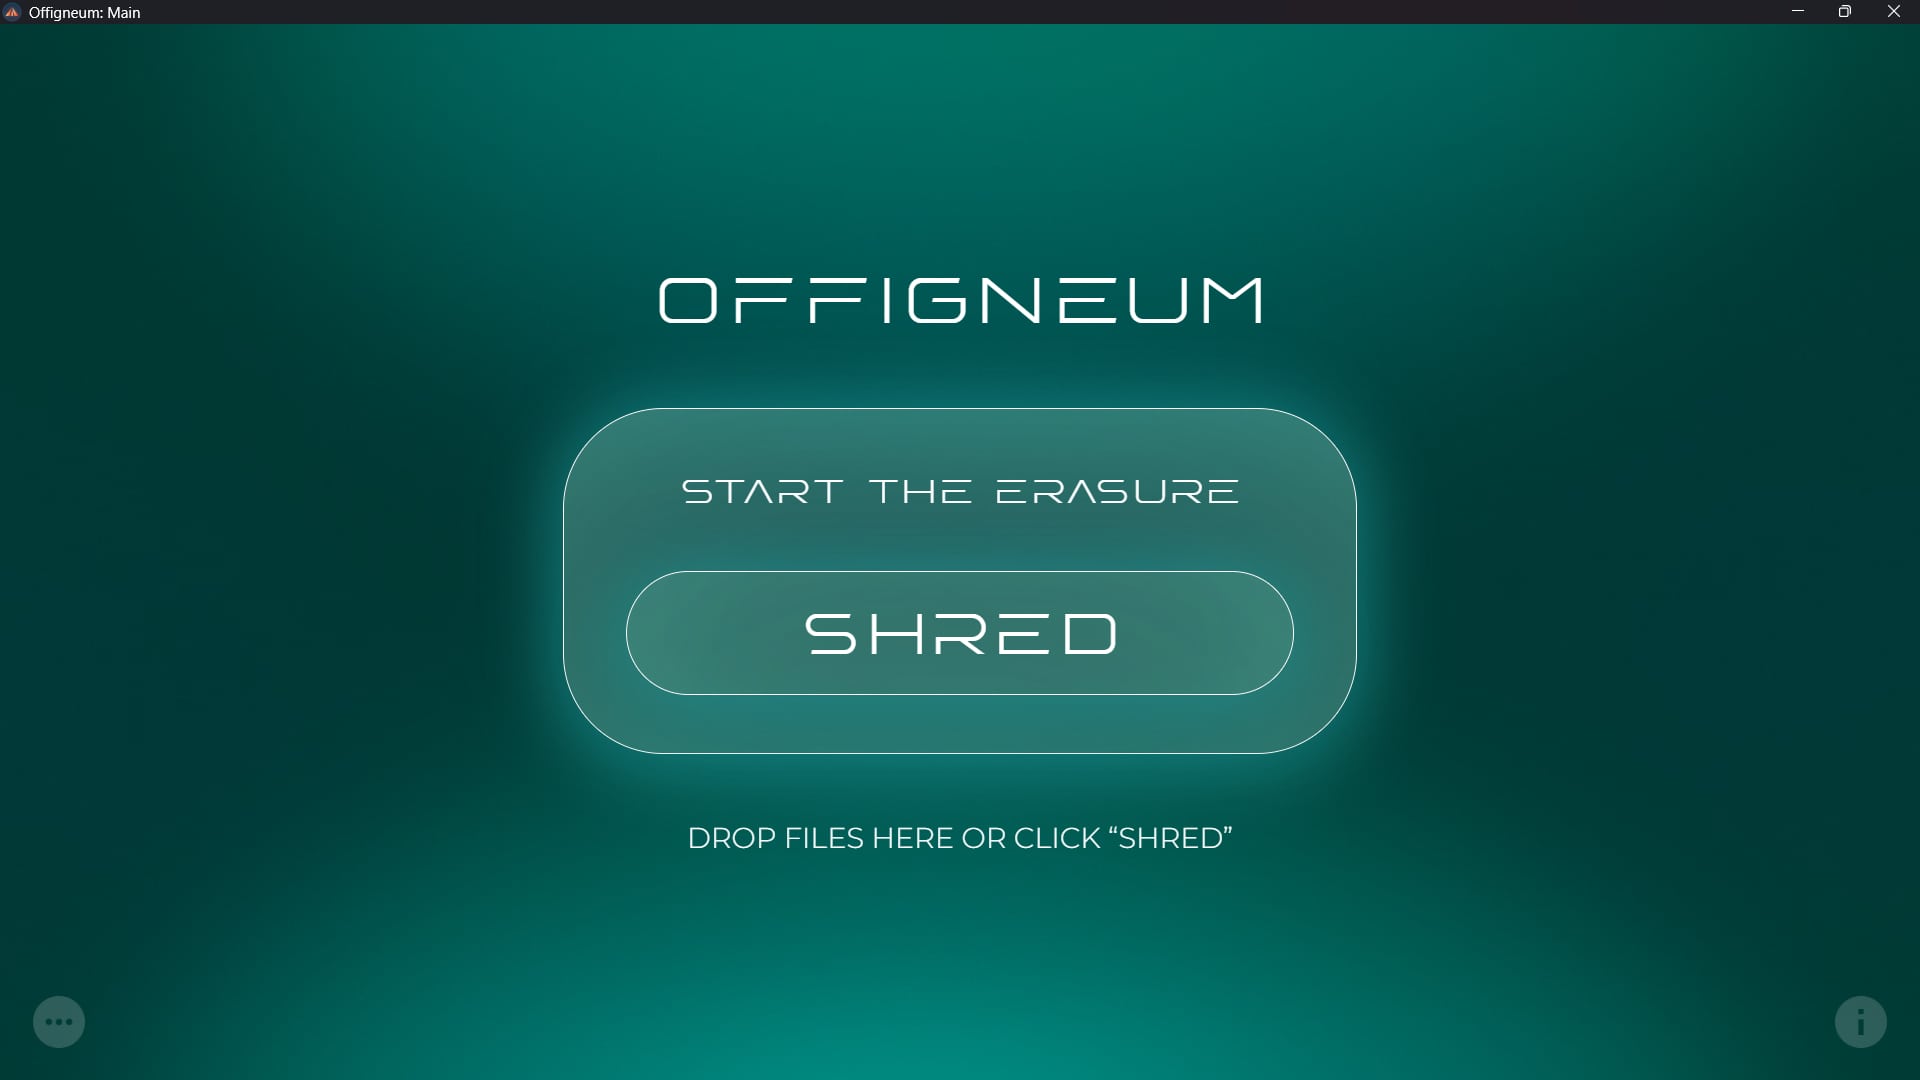
› Themes
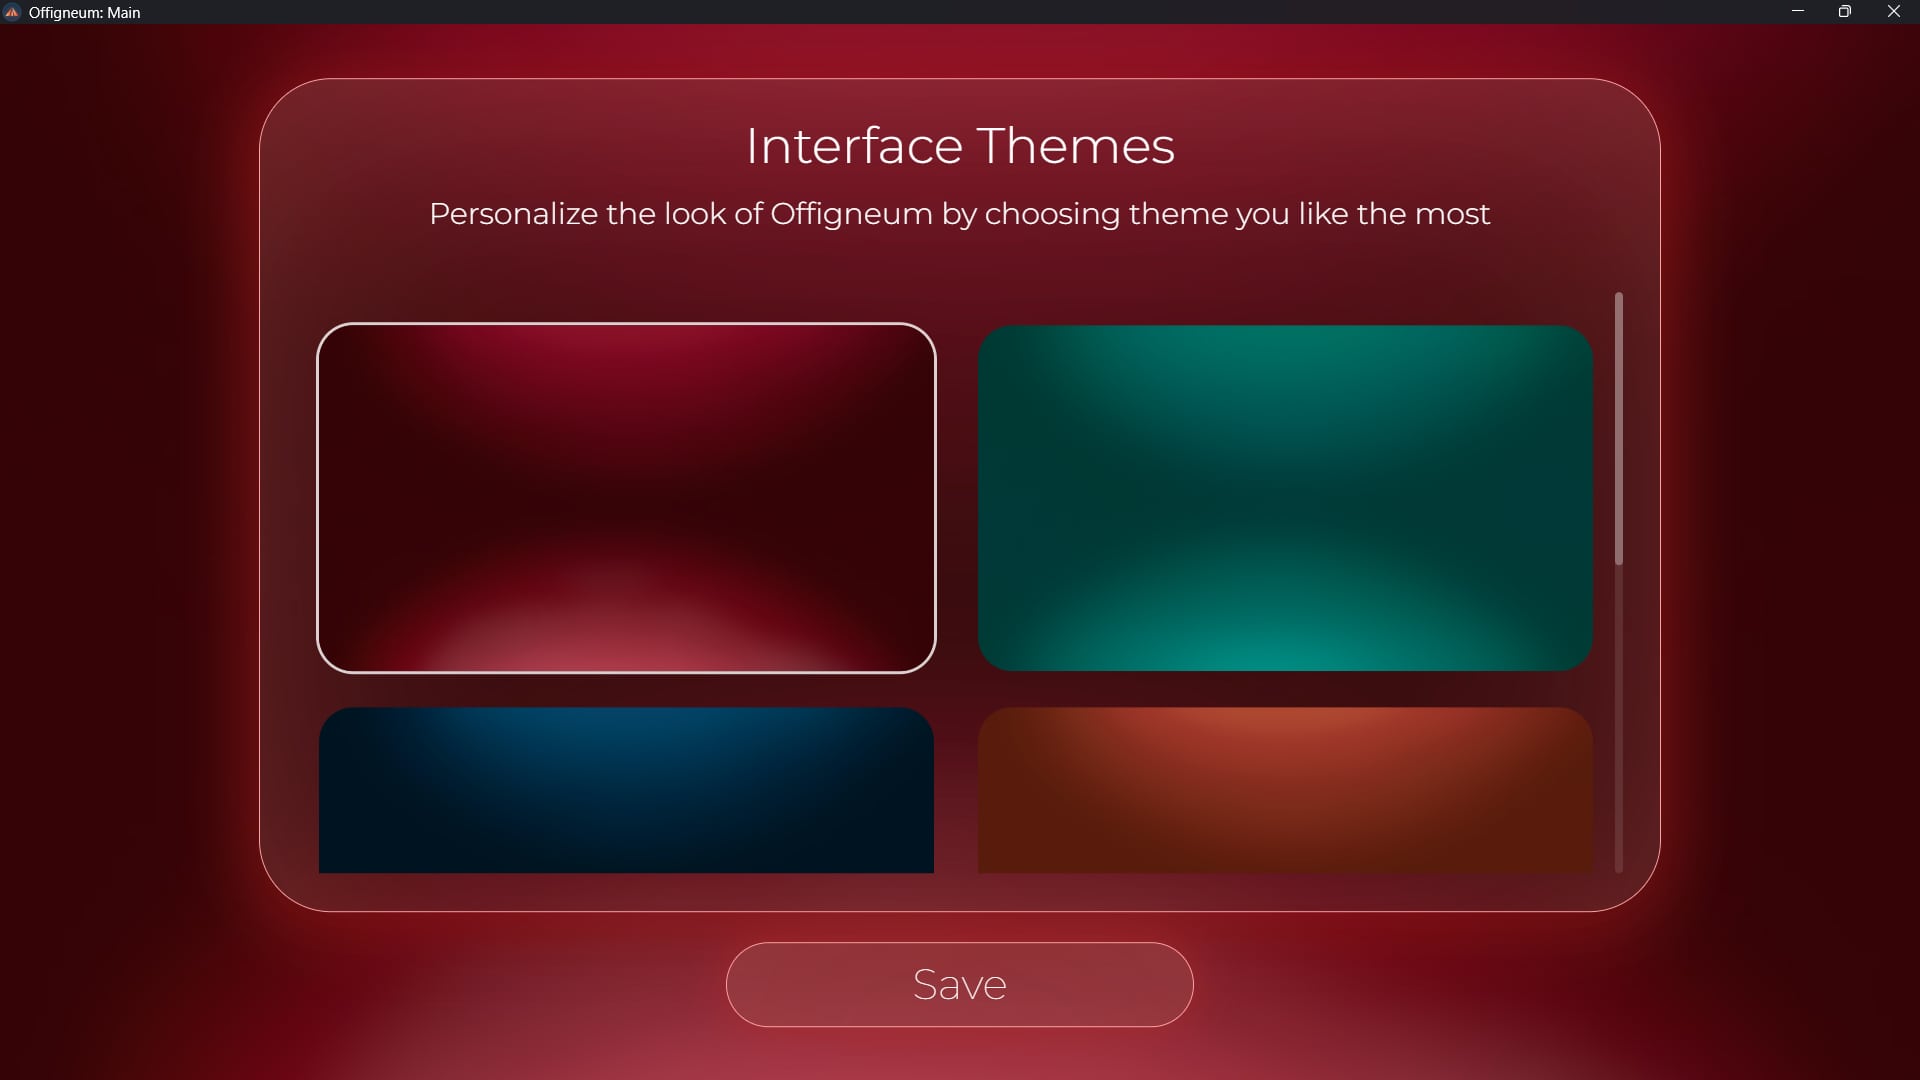
Offigneum allows you to customize the interface with different "themes," letting you adjust the look and feel to your liking. Themes change the appearance of all windows within Offigneum, including the splash screen that appears when the program starts. There are 6 themes available. To preview a theme, simply click on the image. To save your selection, click the "Save" button. You can access the "Themes" page through the pop-up menu on the main screen.
› License Information
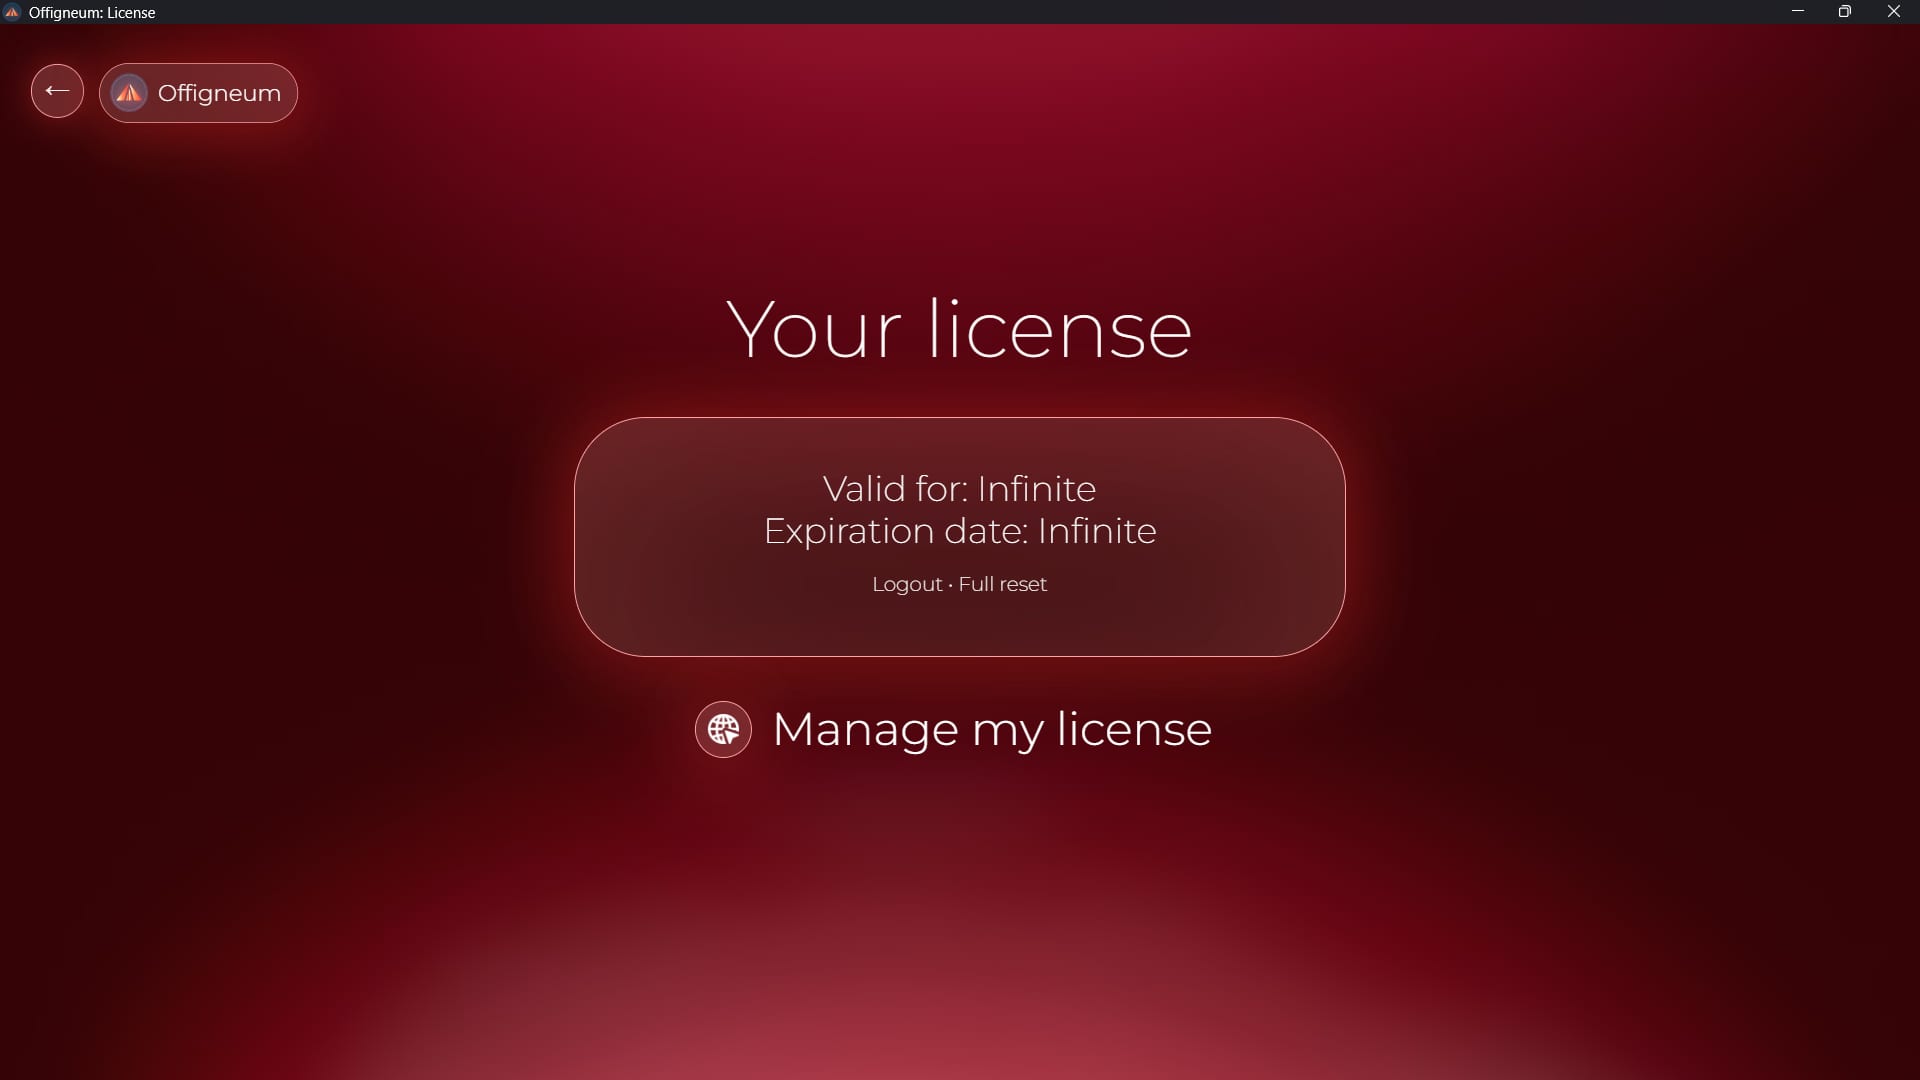
In this window, you can view your license’s expiration date and quickly access the Ambeteco Account page, where you'll also find the "Machines Manager" tool. Additionally, you can log out of your Ambeteco account or reset the program settings entirely.
› About Window
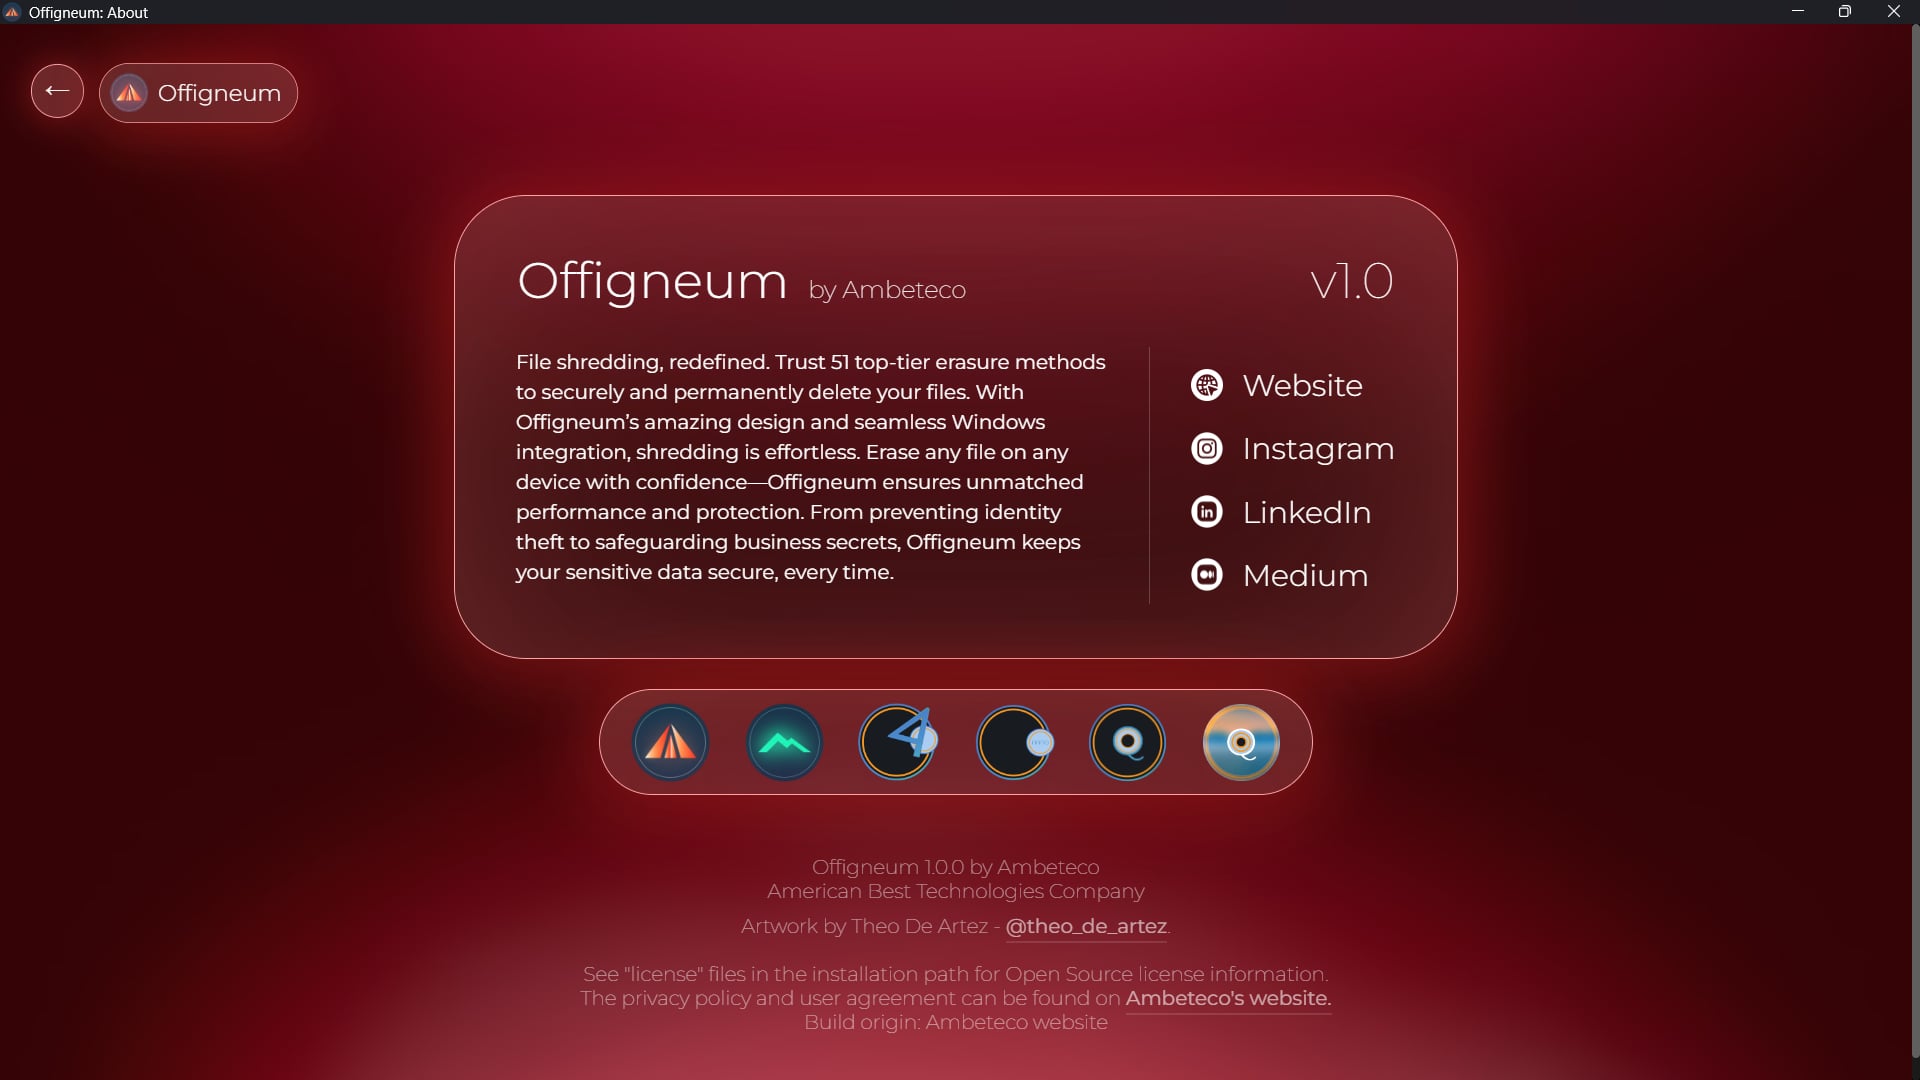
This window provides details about the current version of Offigneum, along with links to our website and social media accounts. You’ll also find links to our other software products and additional legal information.
› Important notice: UAC
After installing Offigneum, you will see two shortcuts on your desktop:
- "Offigneum"
- "Offigneum (Non-Admin)"
This setup is designed to accommodate Windows User Account Control (UAC), a security feature that differentiates between standard users and administrators. By default, UAC is enabled on most Windows systems.
To securely shred sensitive information such as file names, file paths, and metadata, Offigneum must run with administrator privileges. If it is not run as an administrator, it will not be able to erase these types of information effectively. Instead, it will only delete file content without addressing the associated metadata or paths.
- "Offigneum" Shortcut: This launches Offigneum with administrator privileges. When you open it, you will be prompted by the UAC dialog to grant administrative access. In this mode, Offigneum will securely erase all data, including file names, file paths, and metadata.
- "Offigneum (Non-Admin)" Shortcut: This option allows you to launch Offigneum as a standard user, without requiring administrative access. However, when running in non-admin mode, Offigneum will display a warning to inform you that it cannot shred file names, file paths, or metadata. It will only delete the file contents.
- Whenever possible, use the "Offigneum" shortcut to run Offigneum with administrator rights, ensuring complete and secure file shredding.
- If administrative access is unavailable (e.g., due to restrictions on the system you’re using), you can use the Offigneum (Non-Admin) shortcut. Keep in mind the limitations in this mode.
By understanding these options, you can ensure Offigneum meets your file shredding needs while working within your system's constraints. You can learn more about UAC and how it works with Offigneum in our guide: “What is Windows UAC (‘Run as Administrator’) and How Does It Affect Offigneum?”
› Important notice #2: OneDrive interference
During testing, we discovered that OneDrive interferes with Offigneum’s ability to securely shred files, particularly when using WiperName technology. This issue can also impact general file erasure, posing a significant security risk, as sensitive data may not be completely destroyed.
A common symptom of this problem is the "Error Shredding" message in Offigneum, along with a list of file paths that were not erased. Additionally, you may notice remnants of deleted files with strange names such as "AAAAAAAAAAA" or "sV7qhuJHSGG", indicating that the shredding process was disrupted.
Even further, OneDrive not only interferes with file shredding in synced folders—it also prevents file erasure in other locations, including external drives and removable storage. If OneDrive remains active, your confidential files may not be fully erased, leaving them vulnerable to potential recovery. To ensure complete and irreversible deletion, it is crucial to completely exit OneDrive before shredding files with Offigneum.
Offigneum will automatically detect if OneDrive is running. If it is, you’ll receive a prompt with the option to close OneDrive automatically. However, if that doesn't work, you can follow the manual instructions below to exit OneDrive yourself.
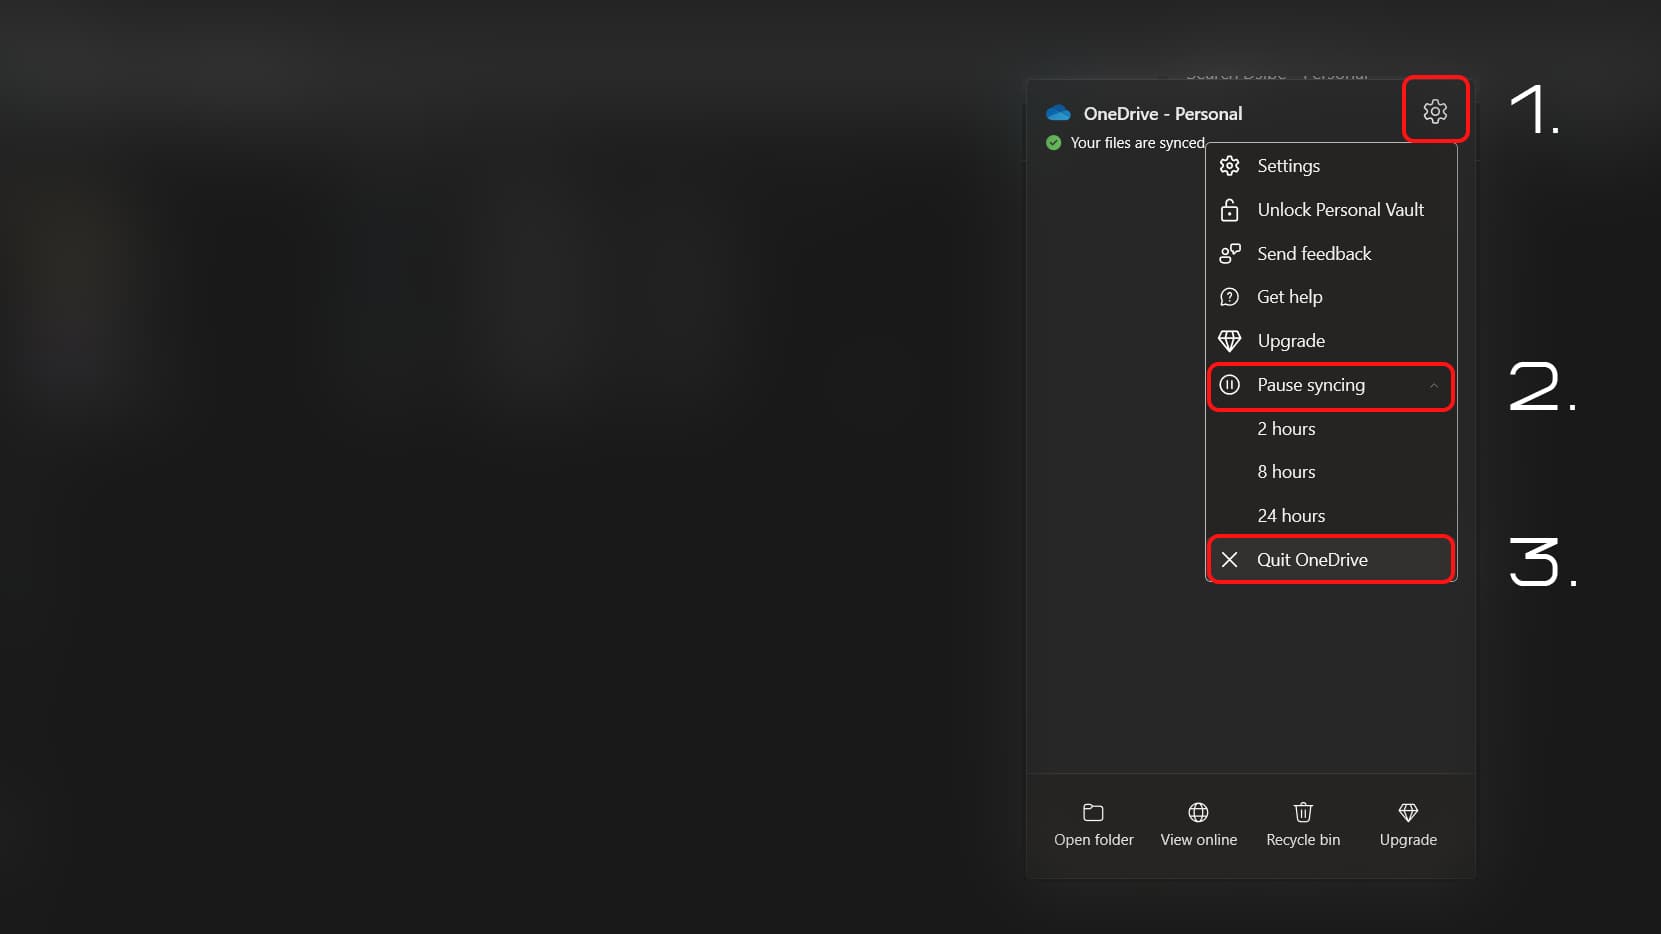
Click on "Settings" icon, then select "Pause syncing", and finally, click on "Quit OneDrive".
How to Properly Exit OneDrive Before Shredding Files
- Locate the OneDrive icon in your system tray.
- Click on it to open the menu.
- Click the settings (gear) icon.
- Select "Pause Syncing" and then "Quit OneDrive".
Additionally, other cloud storage apps such as Google Drive, Dropbox, and Mega can also interfere with the shredding process. If you have any other cloud-syncing software installed, follow similar steps to completely exit them before using Offigneum.
Why This Is Critical for Security
If these cloud services remain active, they may retain, duplicate, or interfere with file shredding, potentially leaving behind recoverable traces of sensitive data. For maximum security and privacy, always ensure that all cloud-sync applications are fully closed before performing any shredding operations.
This simple precaution will help guarantee that Offigneum can securely and permanently erase your files, protecting your data from unauthorized access or recovery.
› Conclusion
Offigneum is a powerful file-shredding software that can help you securely erase files, making them completely unrecoverable. This Quick Start Guide has outlined all the essential features and settings you need to know to get started with the program. Visit the Ambeteco Product Center for more information about Offigneum and other guides. Please feel free to reach out to us at any time if you have questions about our software.